Buss Up Shut Roti Recipe (Paratha Roti) with Milk
This buss-up-shut roti recipe gives you a wonderful, soft, buttery roti that tastes great with curry channa and aloo, pumpkin talkari, curry chicken and more.
To keep the roti soft, it should be cooked quickly with lots of butter or oil and stored in an airtight container to trap the heat and keep it from drying out.
This post may contain affiliate links.
Buss up shut 101
Is buss up shut and roti the same thing?
Buss up shut is a type of Trinidadian roti where butter or oil is rubbed onto rolled out dough before the dough is folded onto itself, reshaped into a ball and rolled out again. The rolled out roti is then cooked on a flat cast iron surface (tawa) while butter or oil is rubbed on it. The folds become layers of soft, buttery roti, somewhat similar to pastry layers.
Sada roti is different in that it is only rolled out once before being cooked, with no butter or oil. Dhalpuri is another Trini roti but this one is stuffed with cooked, seasoned and ground yellow split peas before being cooked with oil. So dhalpuri and paratha roti are different.
Why is it called buss up shut?
Tattered shirts filled with holes were commonplace amongst the Indian indentured laborers who made this paratha roti in the past. So, buss up shut is the Trini dialect version of burst up shirt which the roti resembles after it has been pulled together and hit on the tawa (flat cast iron surface).
Buss up shut roti ingredients
For this recipe, I used:
- all purpose flour: needed for the dough itself, for rolling out, and for sprinkling after the butter mixture has been rubbed onto the dough.
- baking powder
- salt
- sugar
- evaporated milk: this adds to the softness of the roti. Milk powder mixed with water can also be used to make up the volume.
- water
- butter: I use a mixture of butter and cookeen (refined vegetable fat) for rubbing the dough and butter for cooking. But, you can use any type of fat or oil like Cookeen, Crisco, shortening, margarine, coconut oil, vegetable oil or ghee.
- cookeen: or any type of refined vegetable fat or shortening.
Equipment for this recipe
To make buss up shut or any Trinidad roti, it is best to use:
- a rolling pin for rolling out the dough,
- a tawa or a flat cast iron griddle (get on Amazon) for cooking the roti,
- a pastry brush will help when coating the roti with butter or oil while on the tawa, though I use the bottom of an enamel cup,
- two long wooden spatulas called dablas (get on Amazon) for flipping and cooking the roti, though you can use the handles of two long spoons or even long knives.
How to make buss up shut
Knead the dough
Step 1: Add the all purpose flour, baking powder, sugar and salt to a large bowl. Mix thoroughly to ensure everything is evenly distributed.
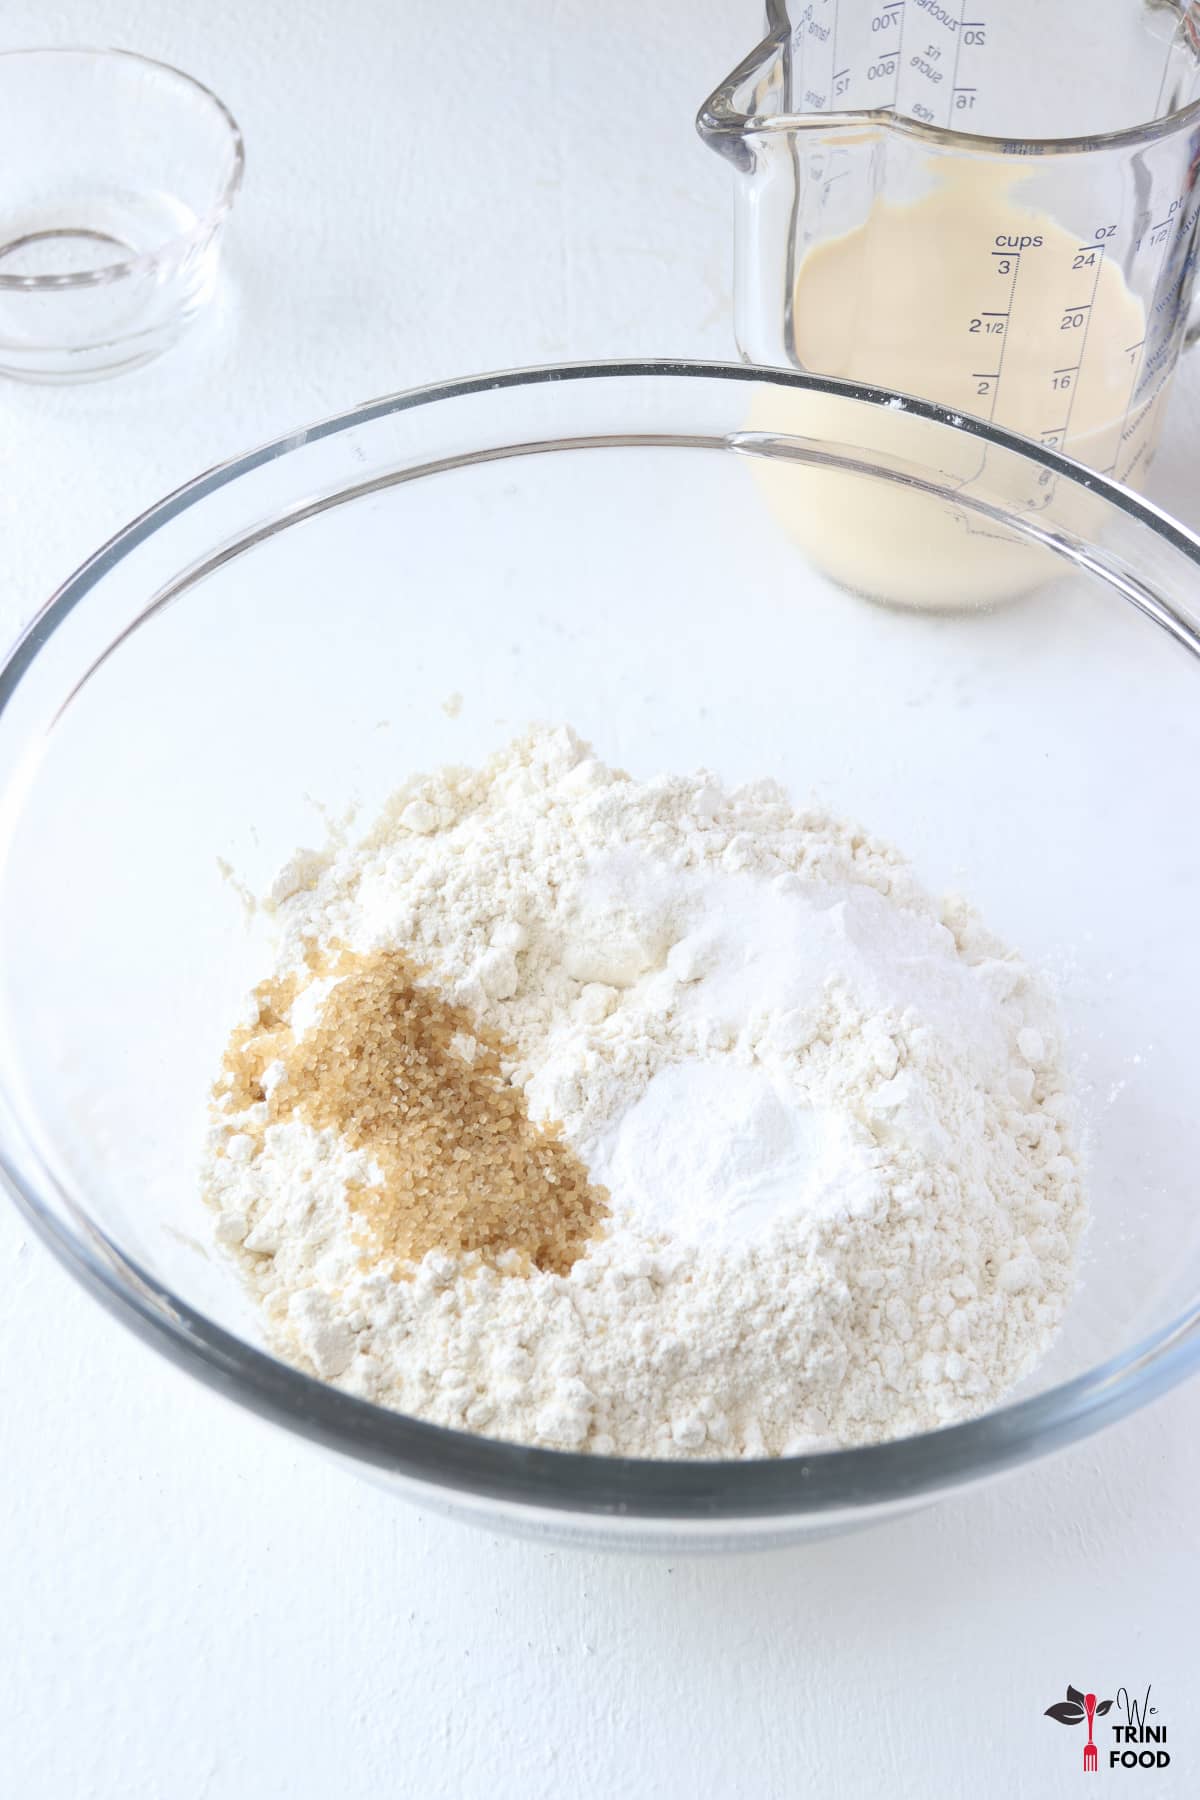
Step 2: Pour the evaporated milk and water into a large jug. Stir to combine.
Step 3: Add about half of the liquid to the dry ingredients and mix to incorporate.
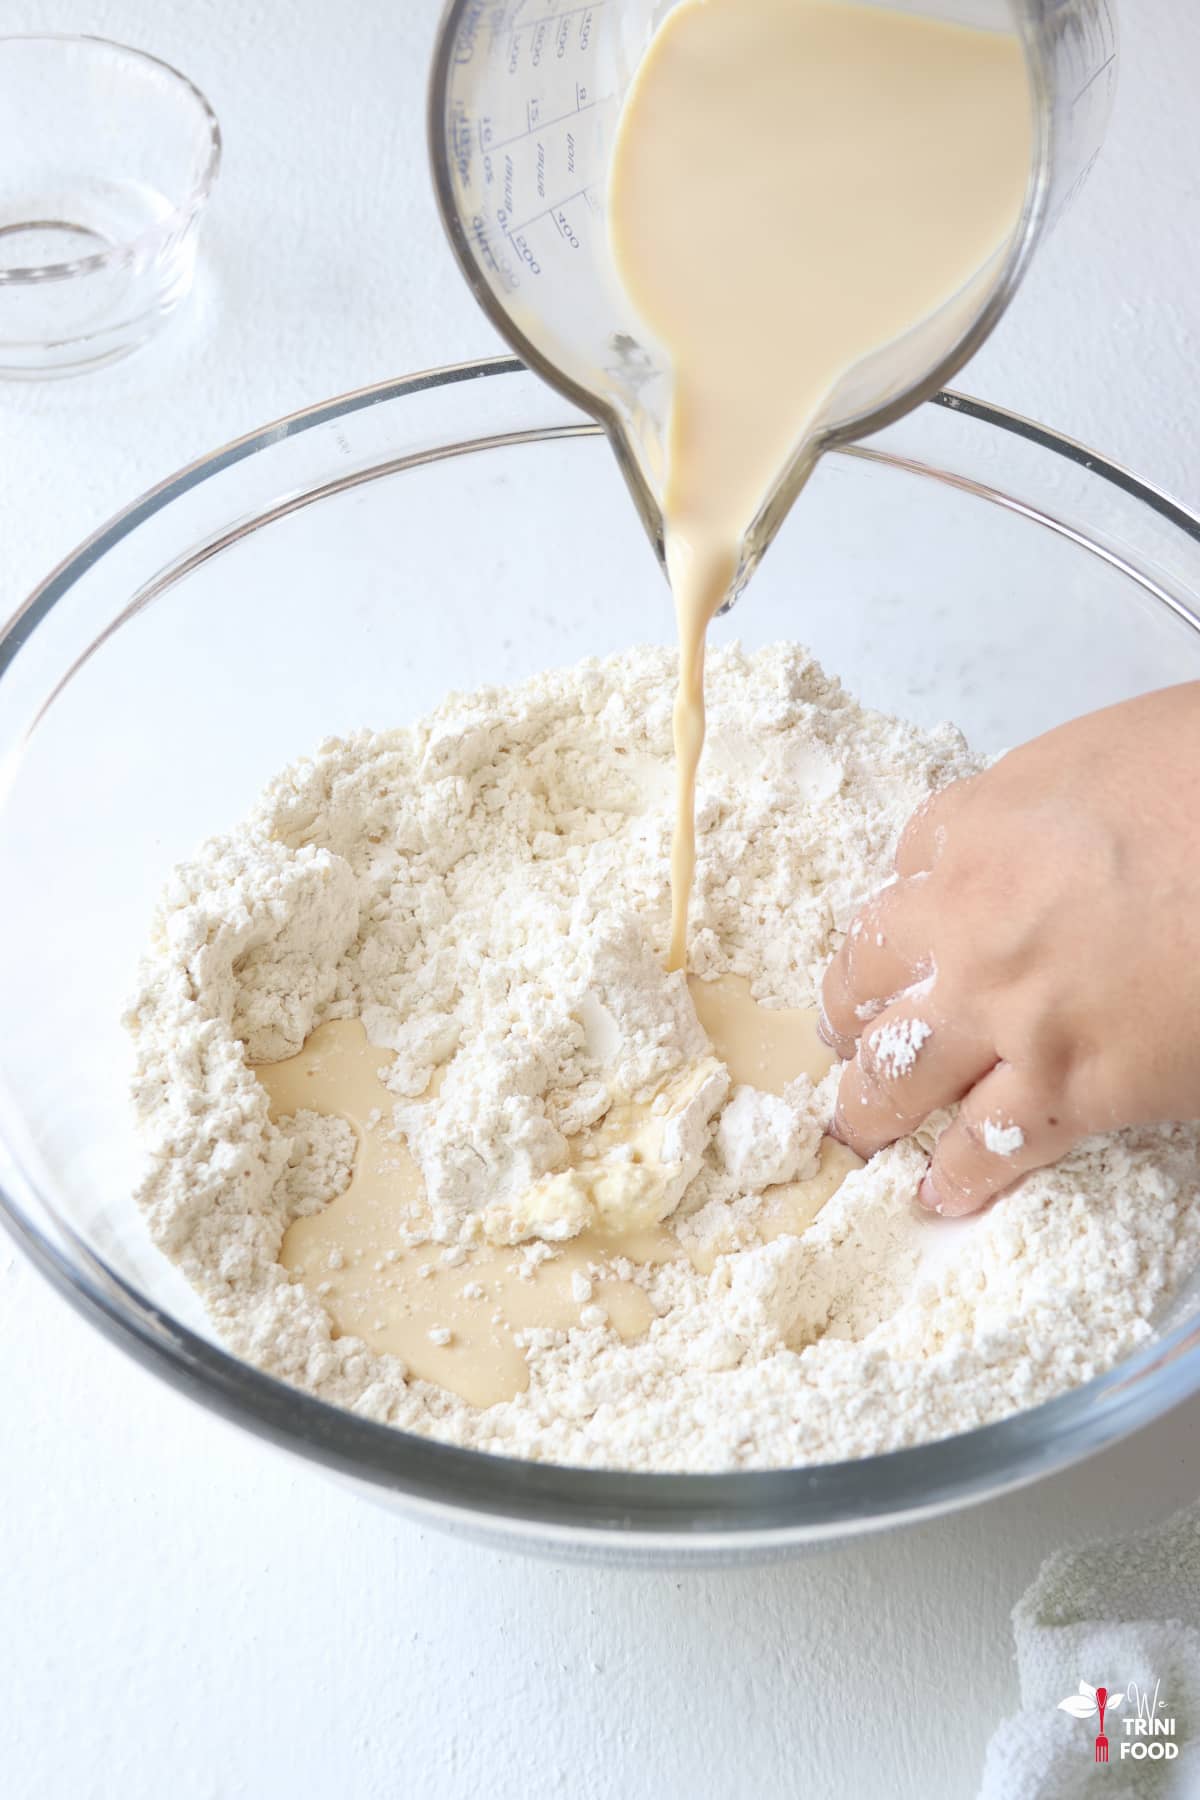
Step 4: Continue adding the milk-water mixture a little at a time until the dough comes together. Keep a little extra water on the side just in case you need it to form a soft dough.
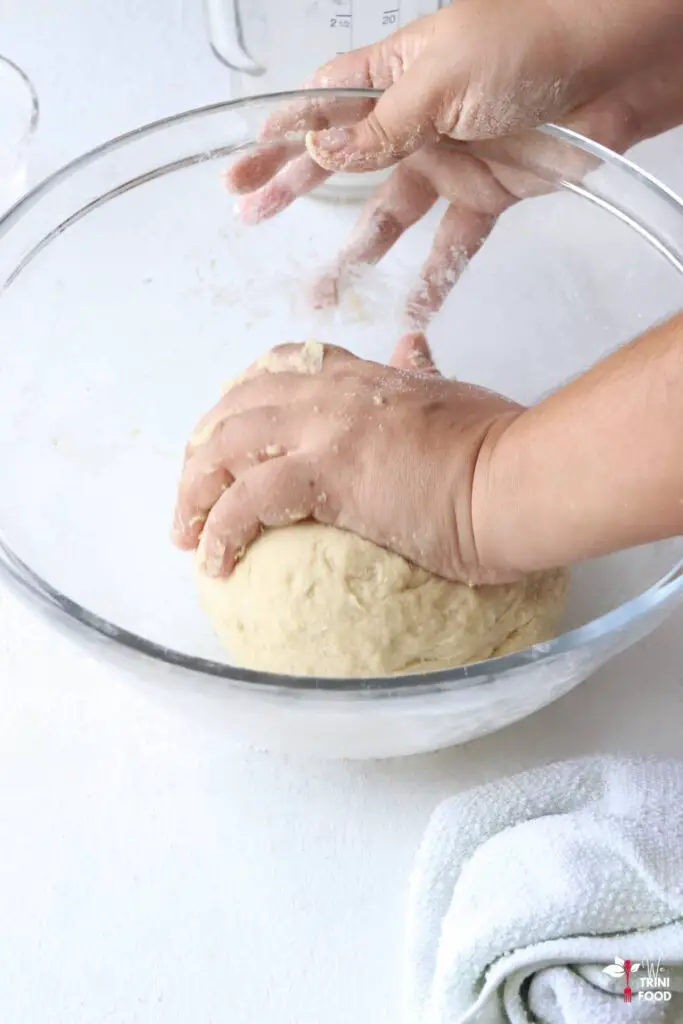
Step 5: Knead for 5 minutes, pulling the dough towards you with your fingers and pressing the dough away from you with the base of your palm. This will help the gluten bonds to develop and you should feel the change in the texture of the dough – it should be much softer and smoother after the kneading time.
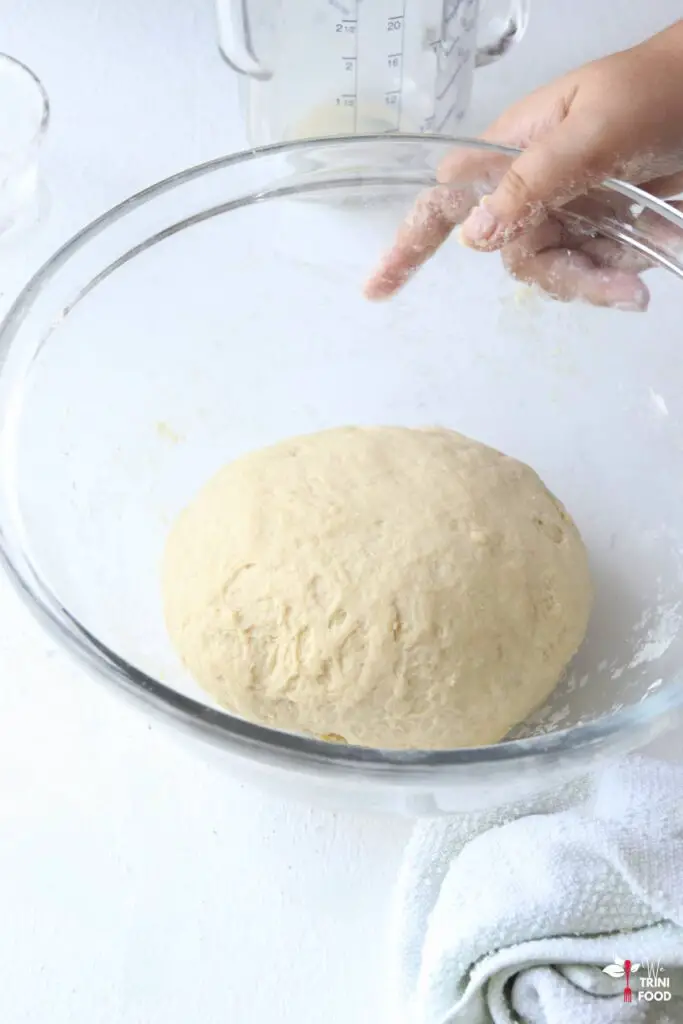
Step 6: Cover the dough with a damp cloth and leave to rest for 20 minutes.
Add butter to the dough
Step 7: Remove the cookeen and butter from the fridge. Add to the microwave to soften for about 30 seconds to 1 minute. Try to mix the two together.
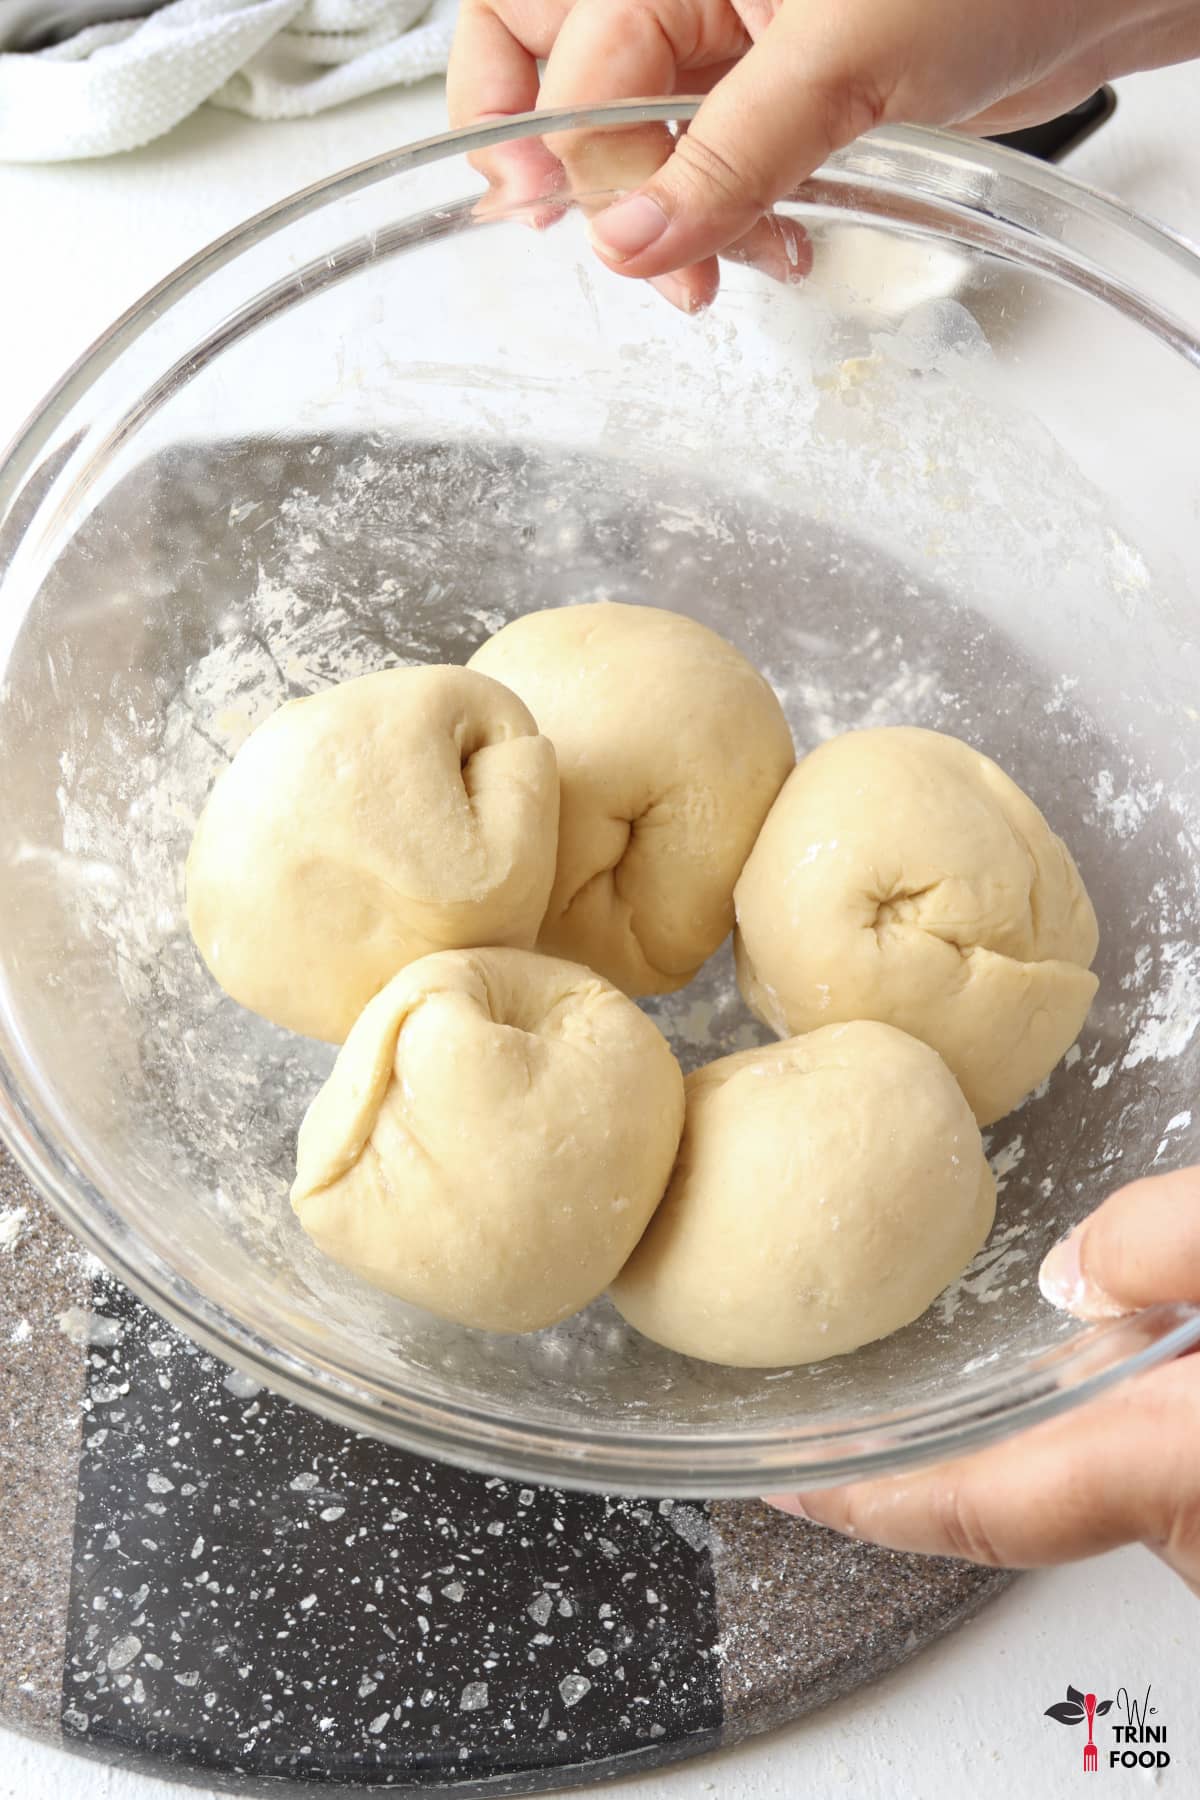
Step 8: Divide the dough into 5 or 6 dough balls (the Hindi term for a dough ball is loyah). Keep them covered during this stage.

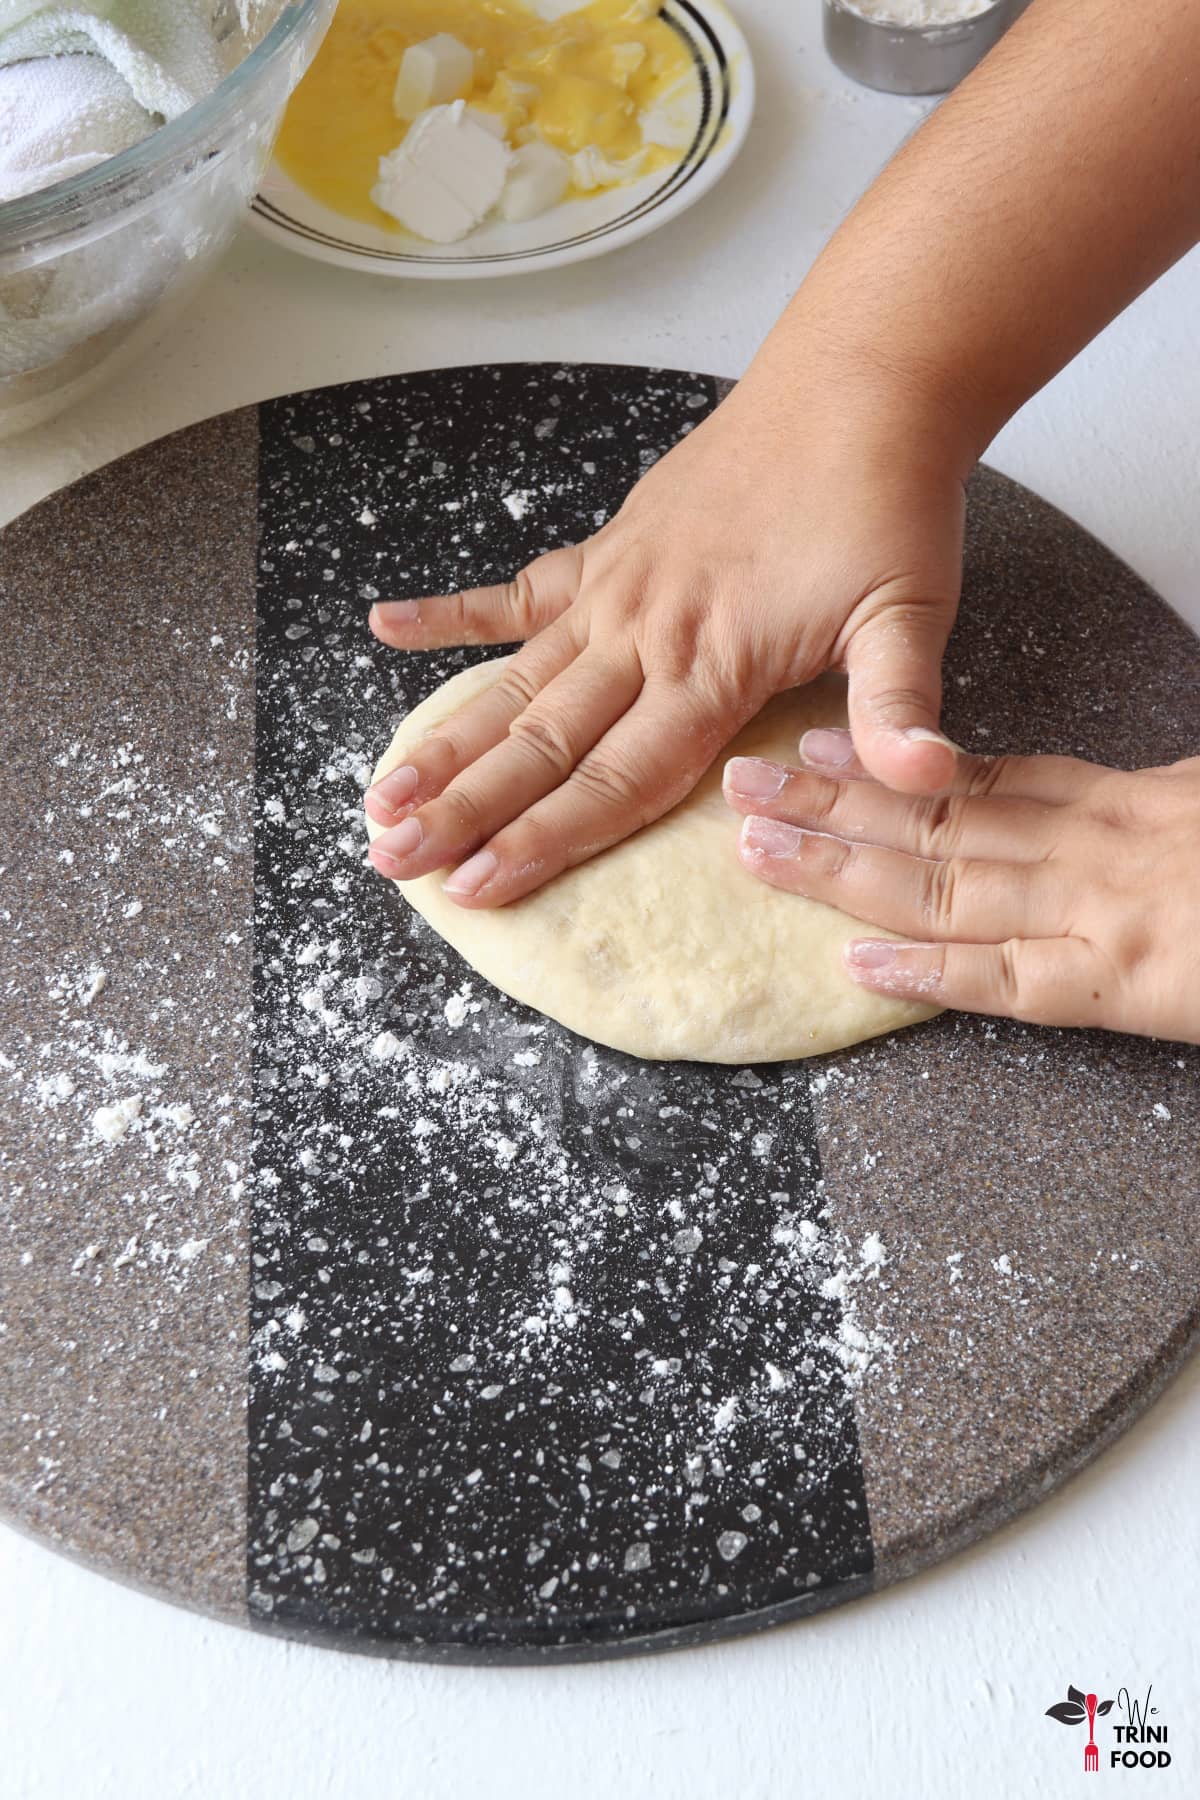
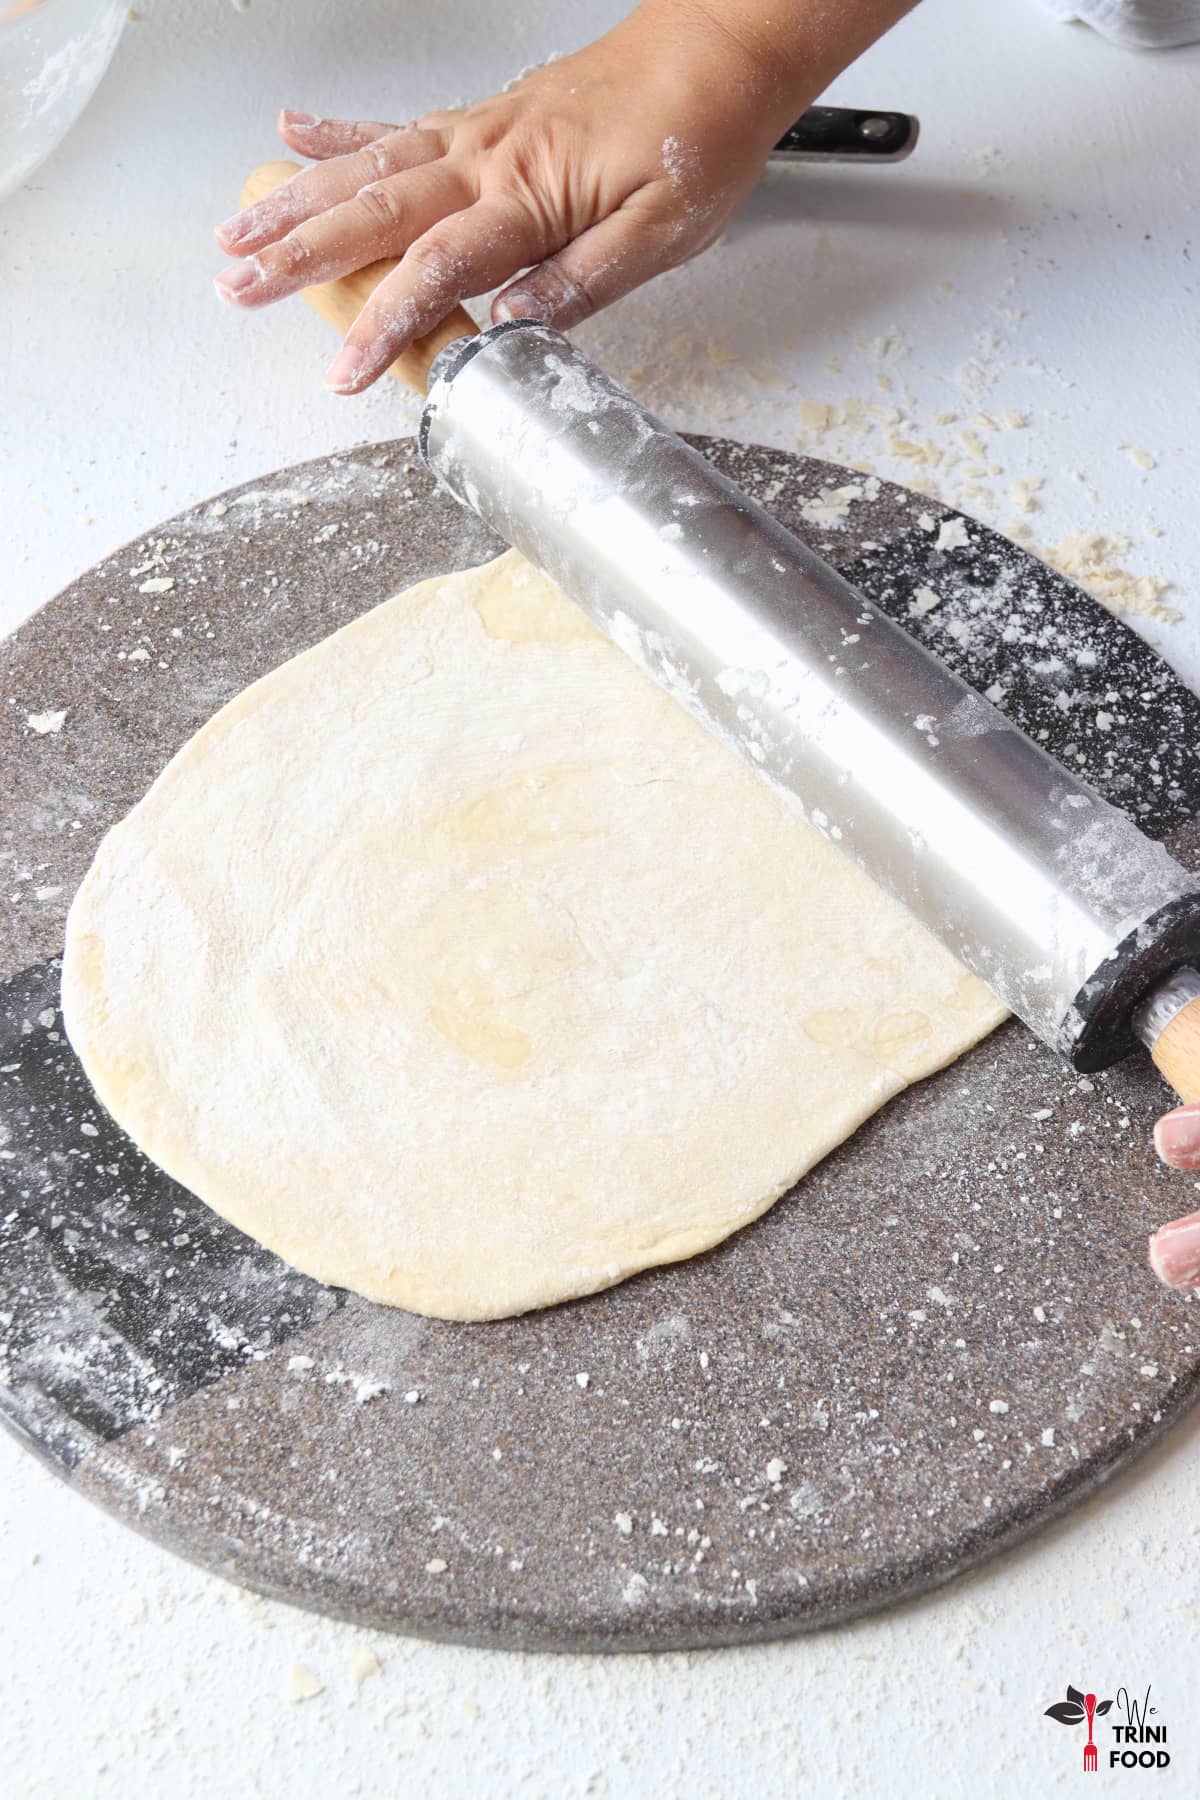
Step 9: Lightly dust your rolling surface with flour. Do the same with one dough ball. Press down on the dough and then press the edges to flatten as much as possible.
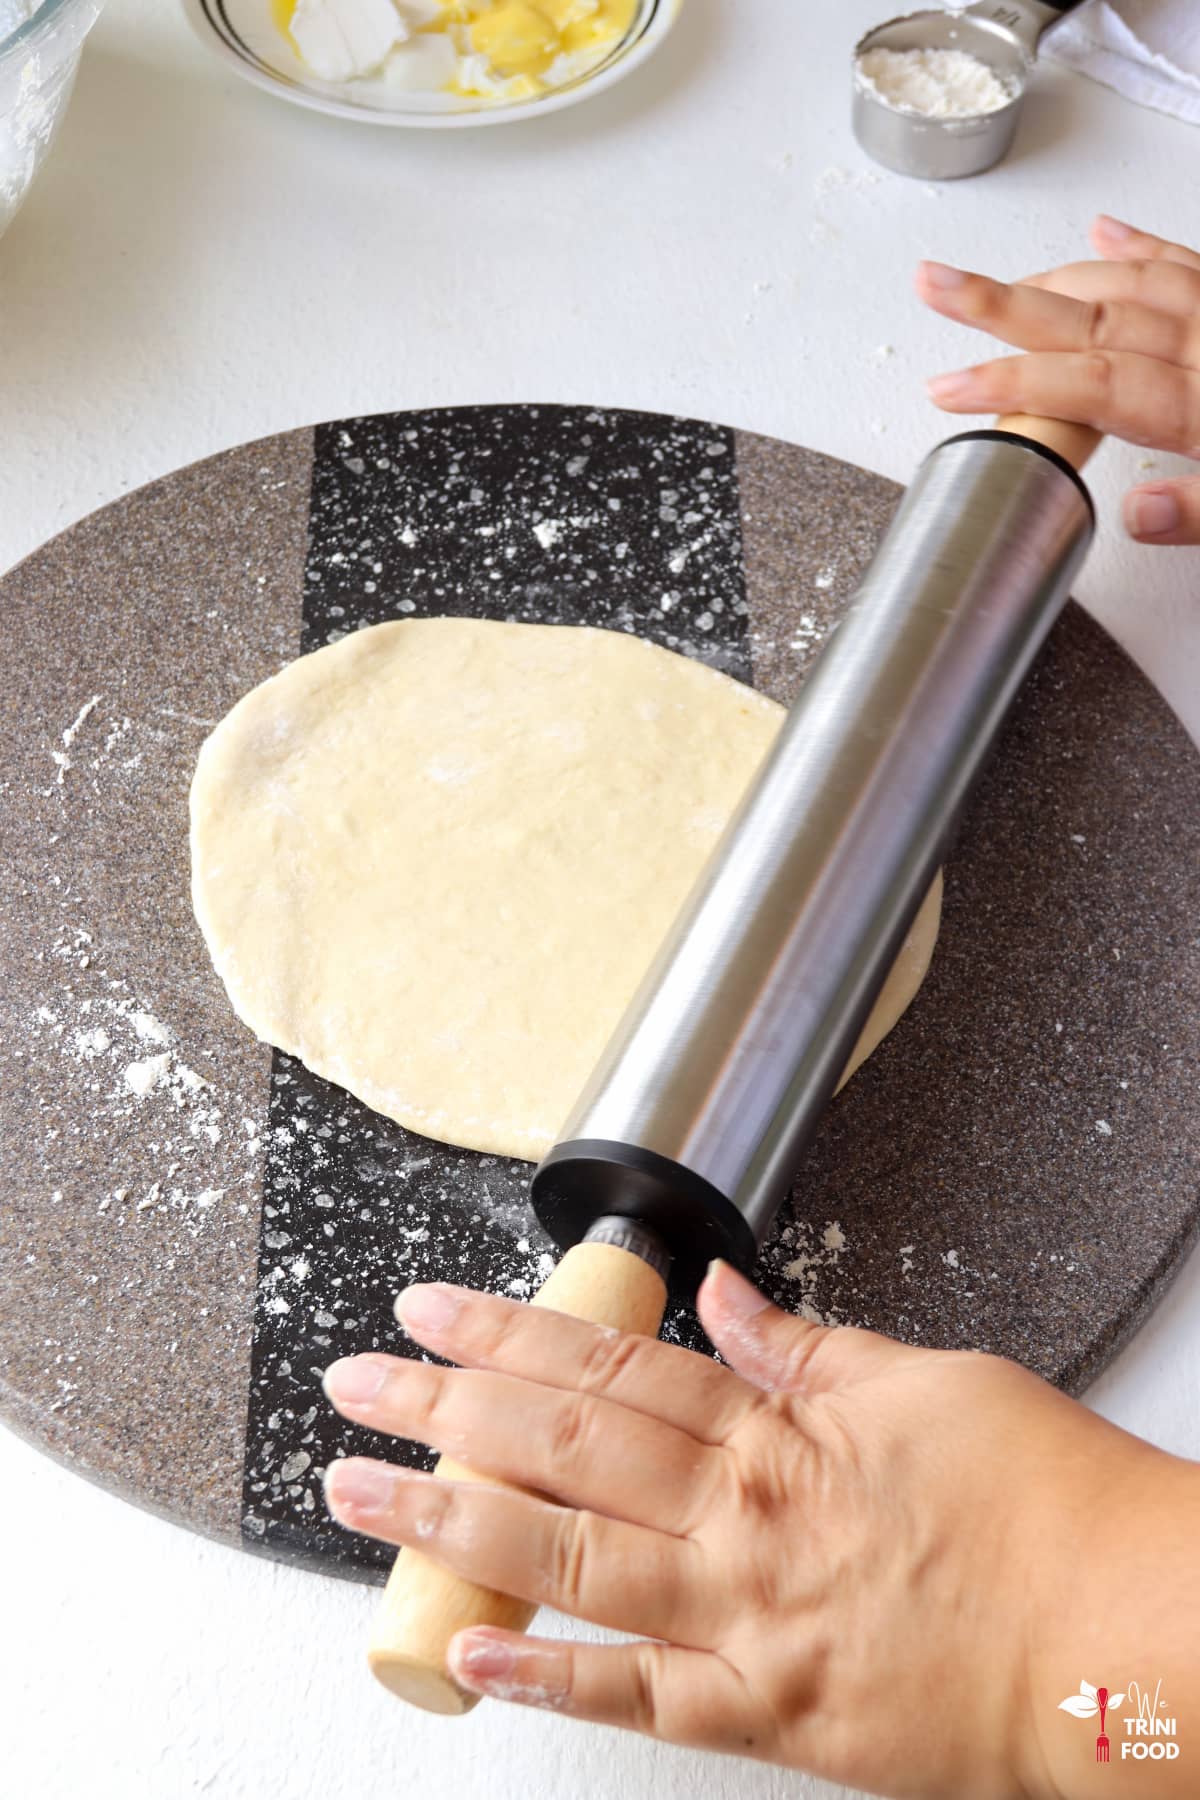
Step 10: Use a rolling pin (the Hindi term is belna) to roll out the dough in one direction, then flip and roll again in the opposite direction. Repeat rolling and flipping to form a flat circular roti about one eighth to one quarter of an inch in thickness (it doesn’t have to be exact or perfect).
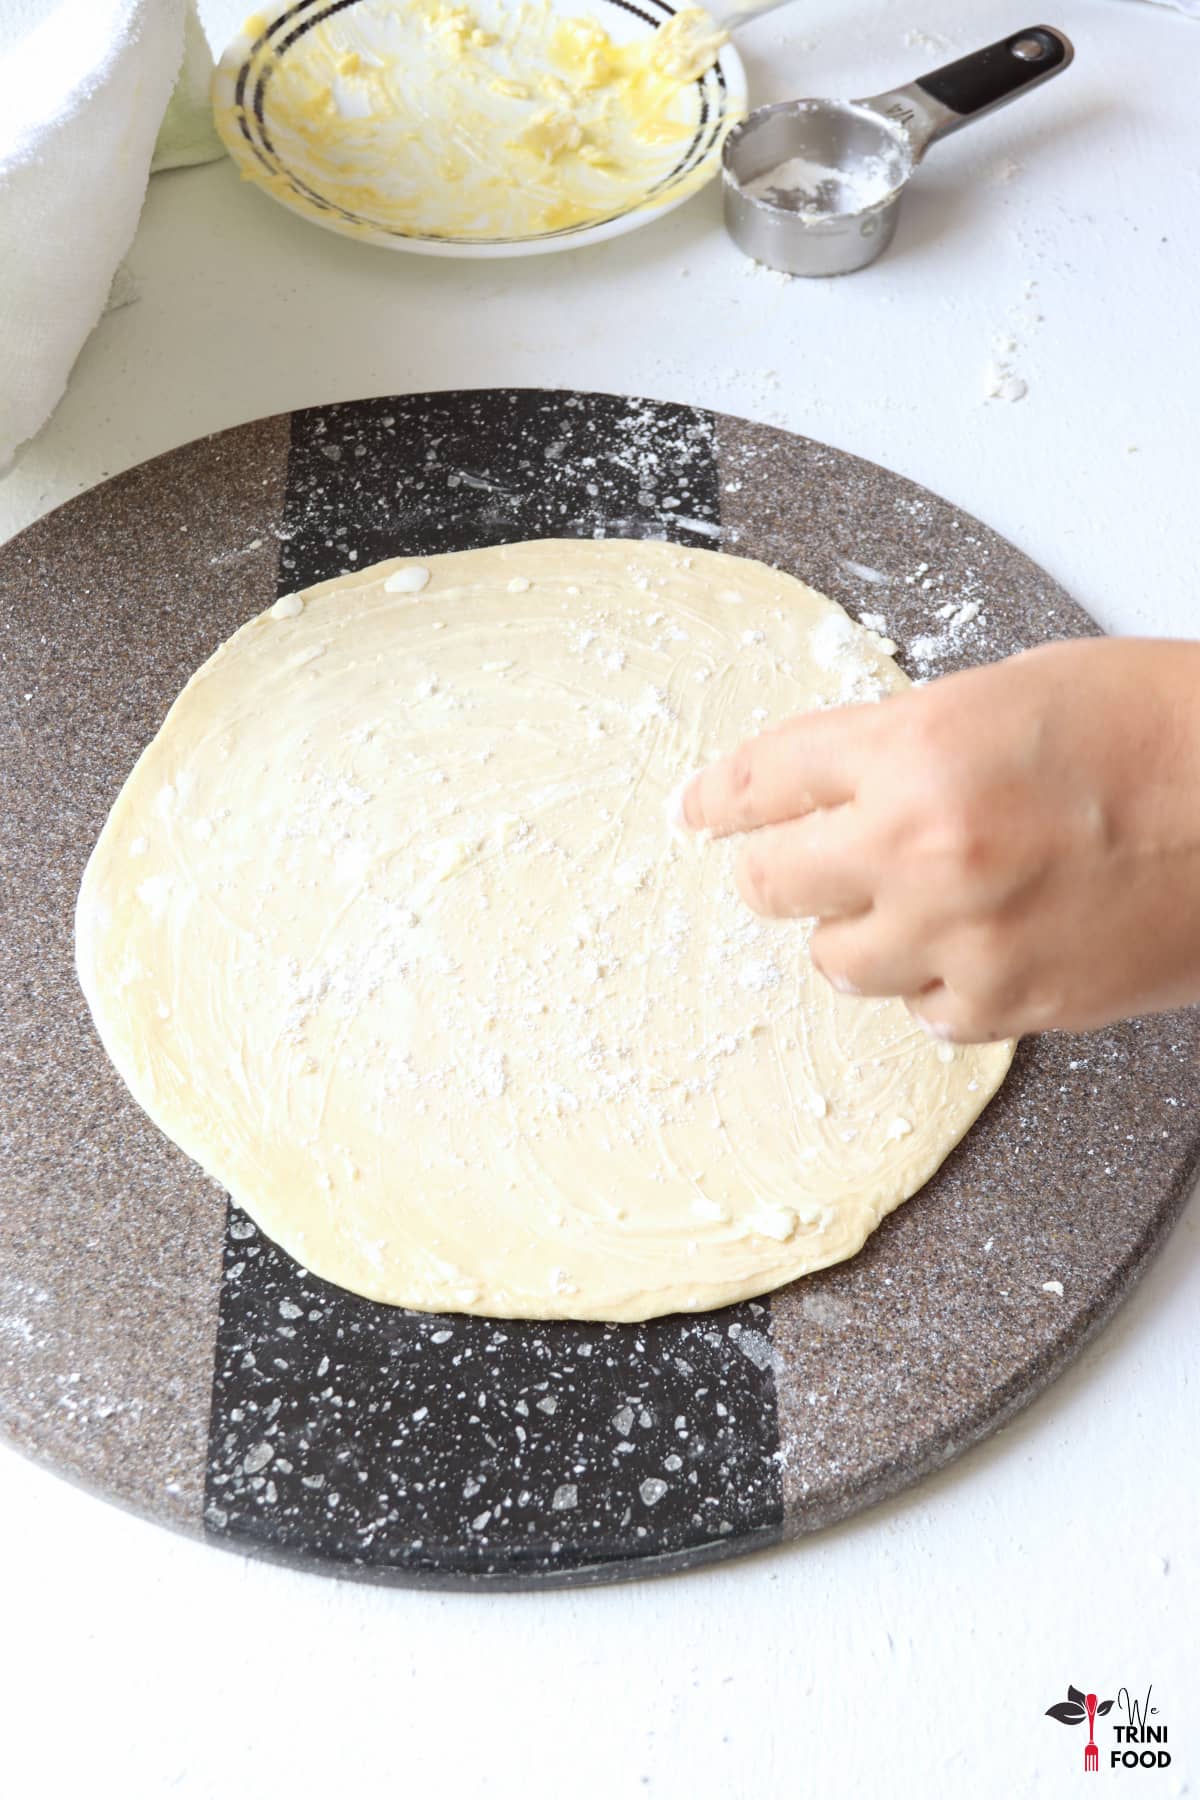
Step 11: Spread some of the butter-cookeen mixture on the roti. Make sure the entire roti is covered with a thin layer of the fat.
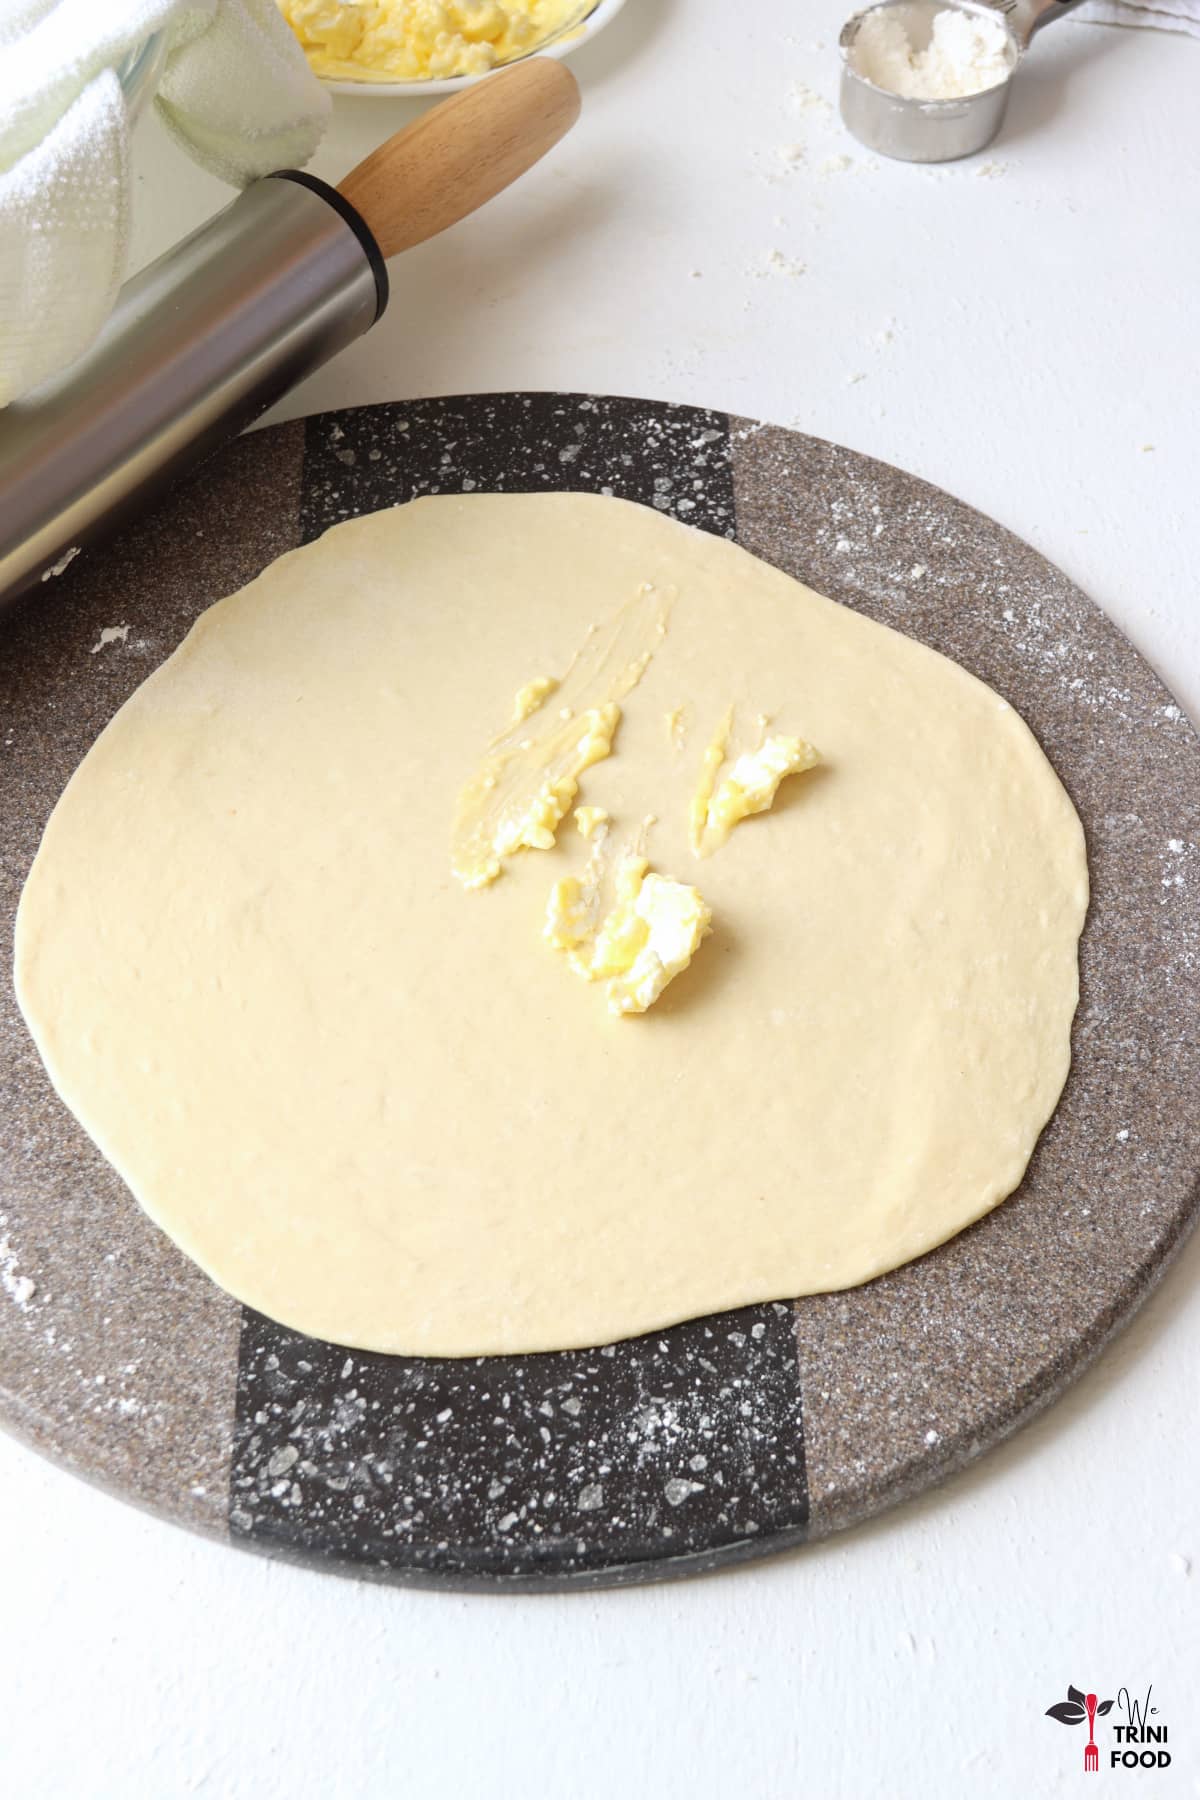

Step 12: Sprinkle some dry flour over the buttered roti.
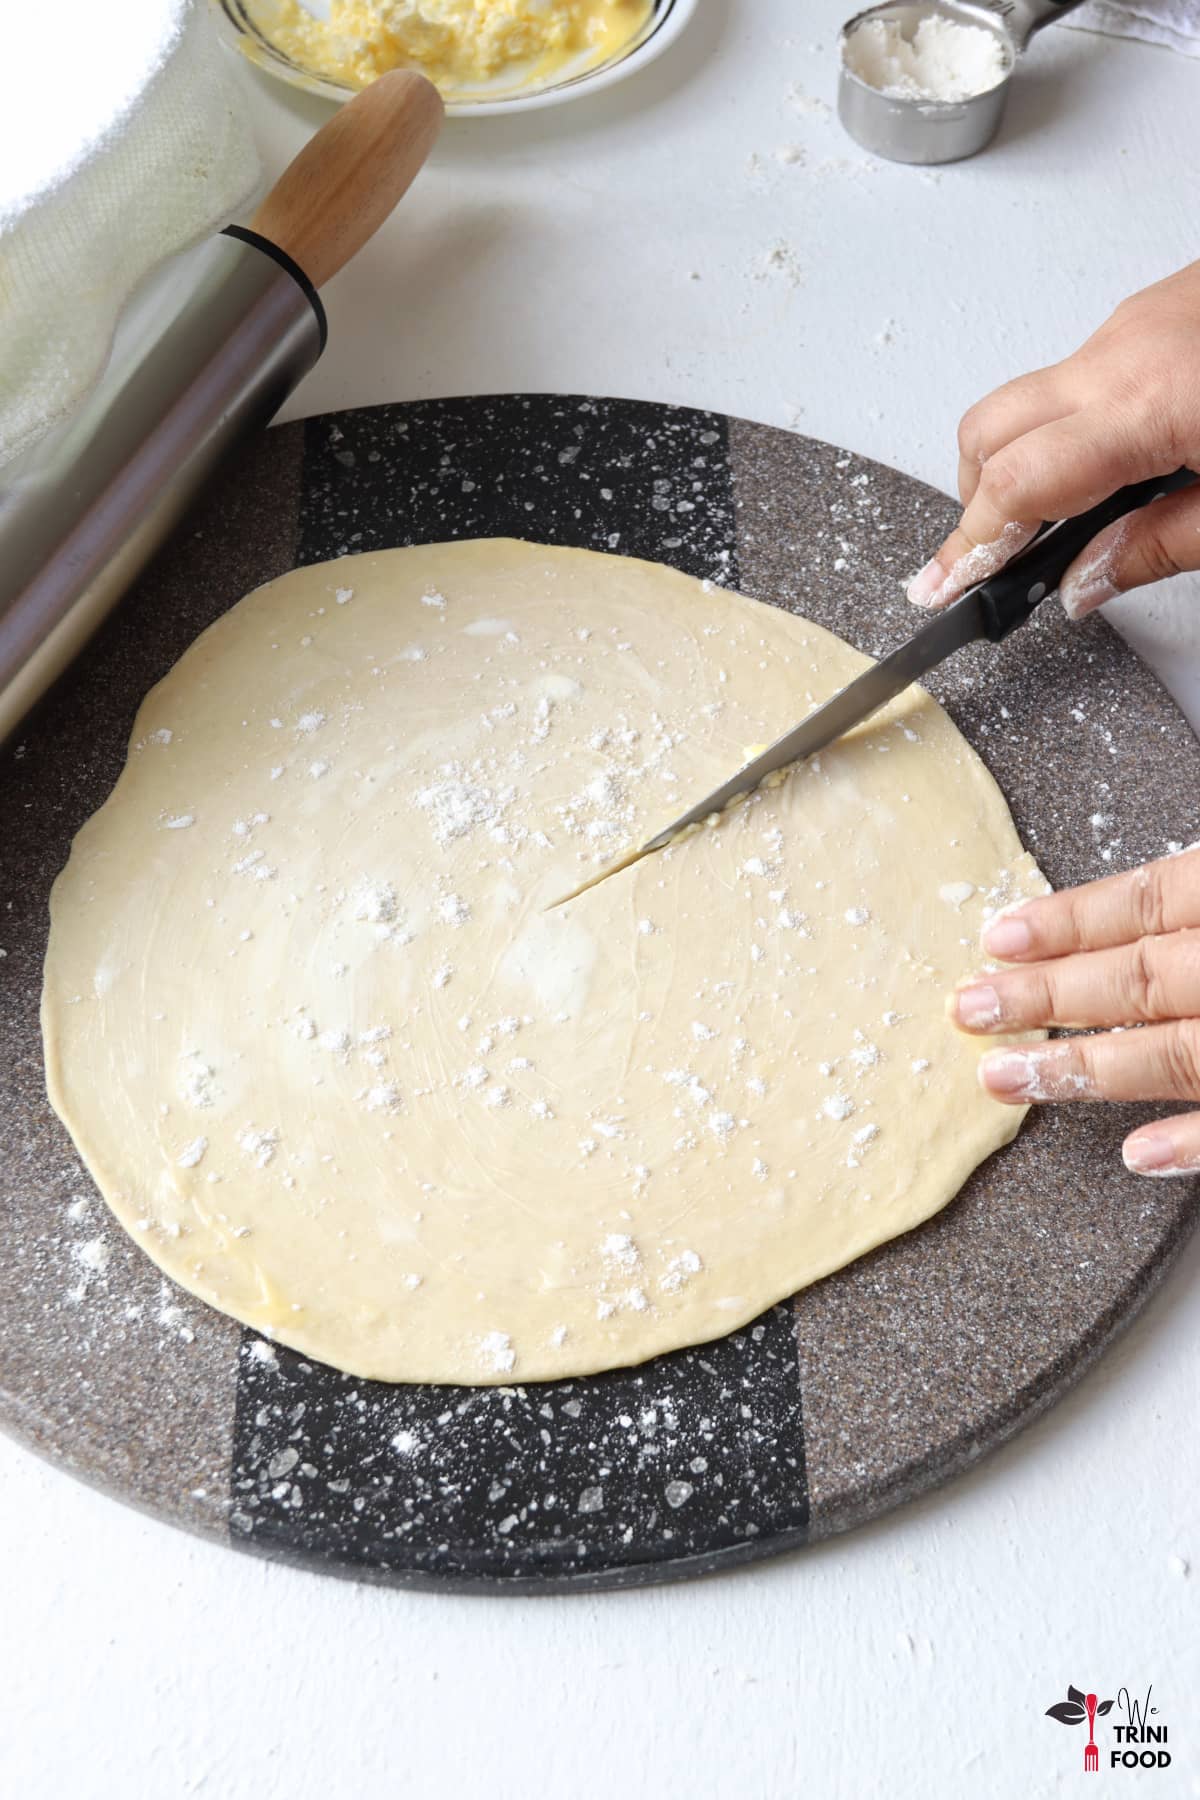
Step 13: Slice the roti from the center to an edge.
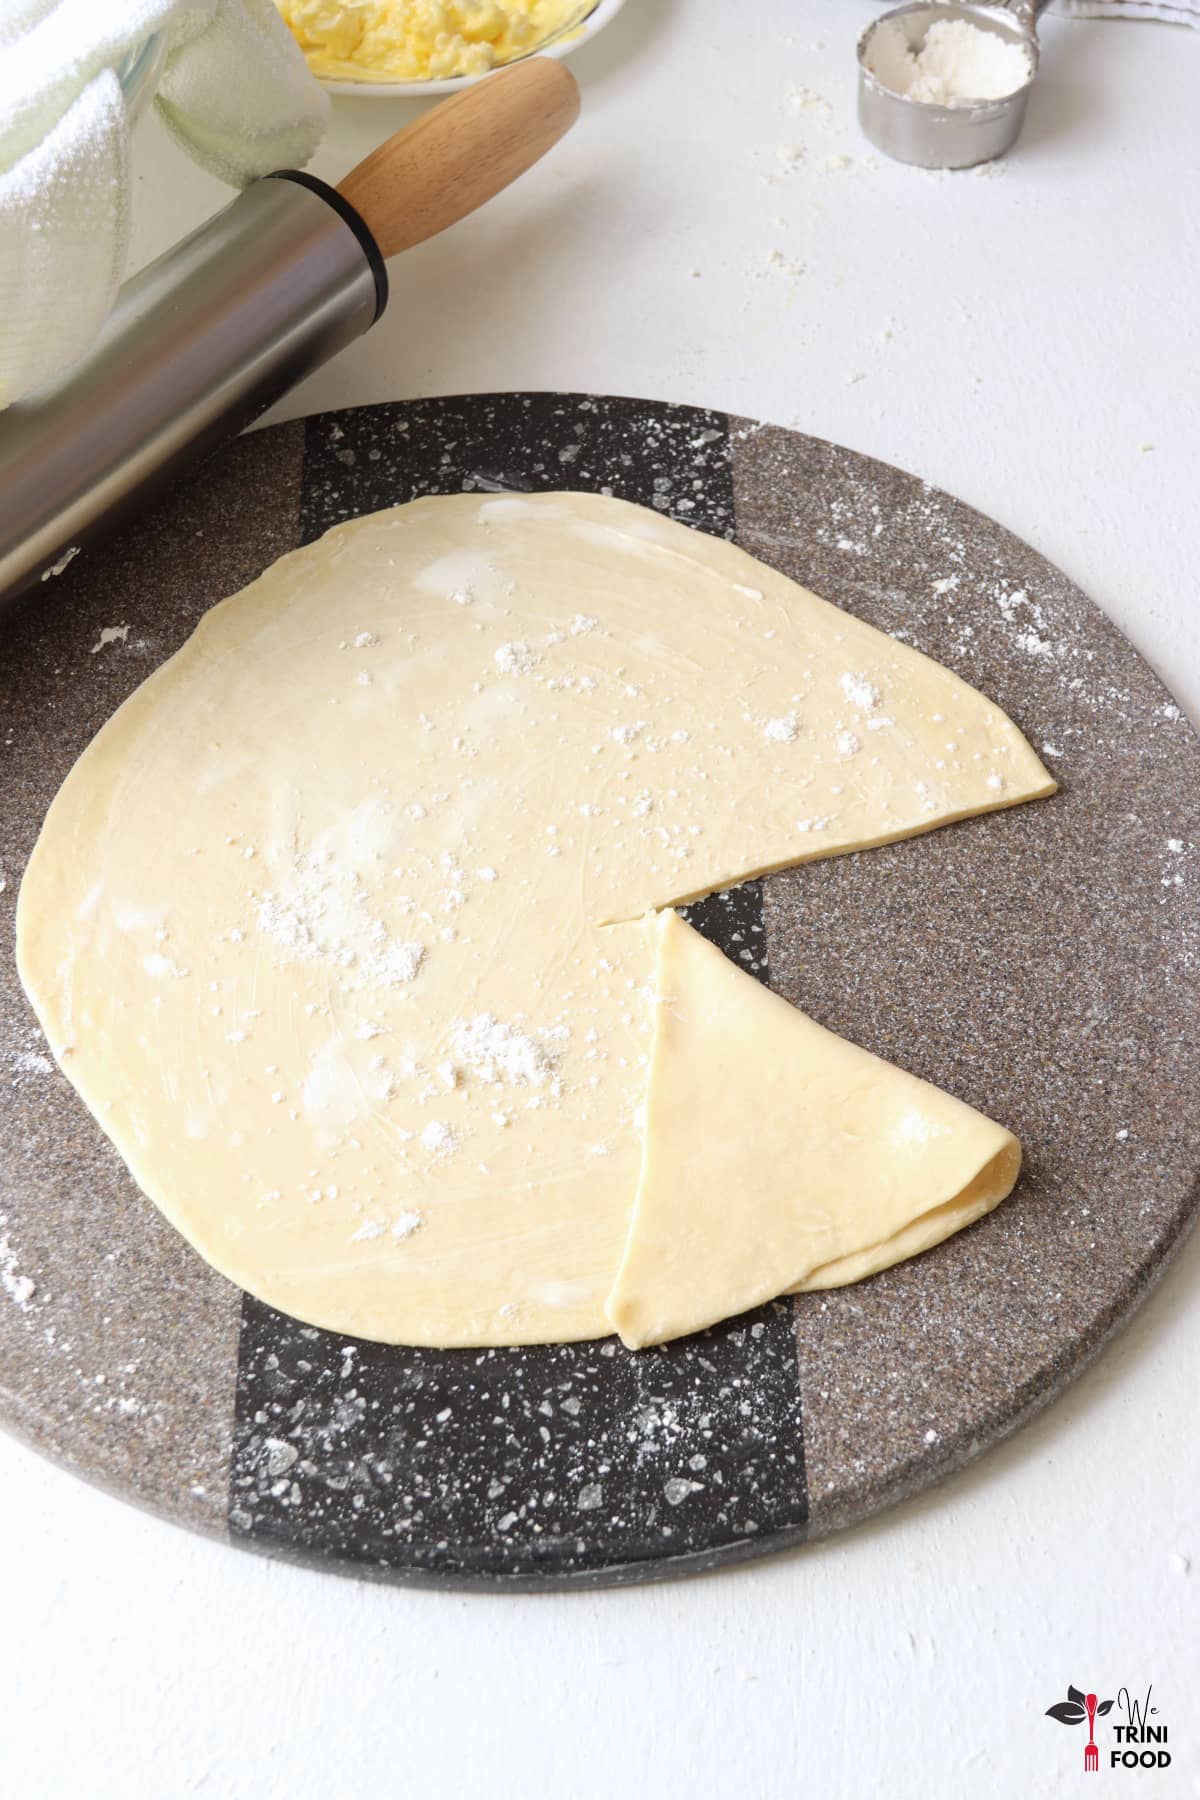
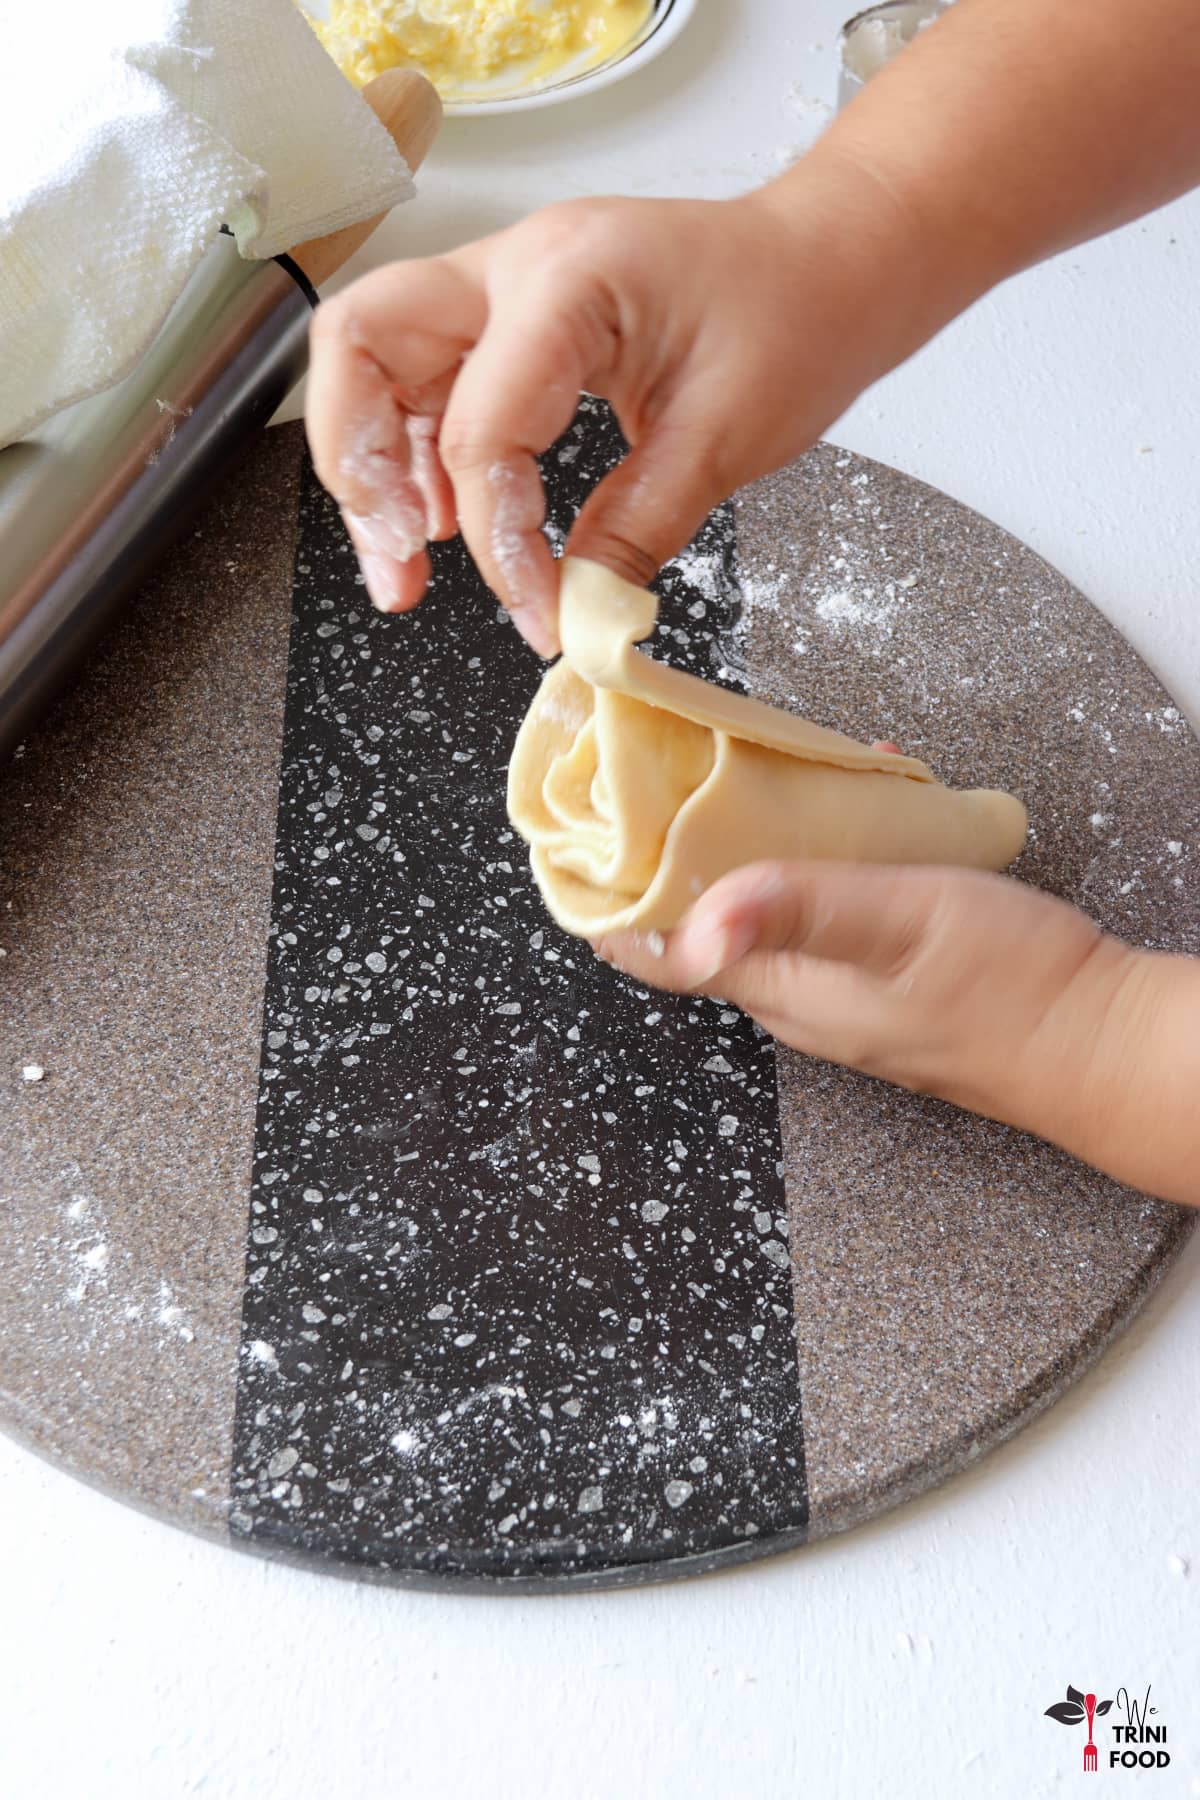
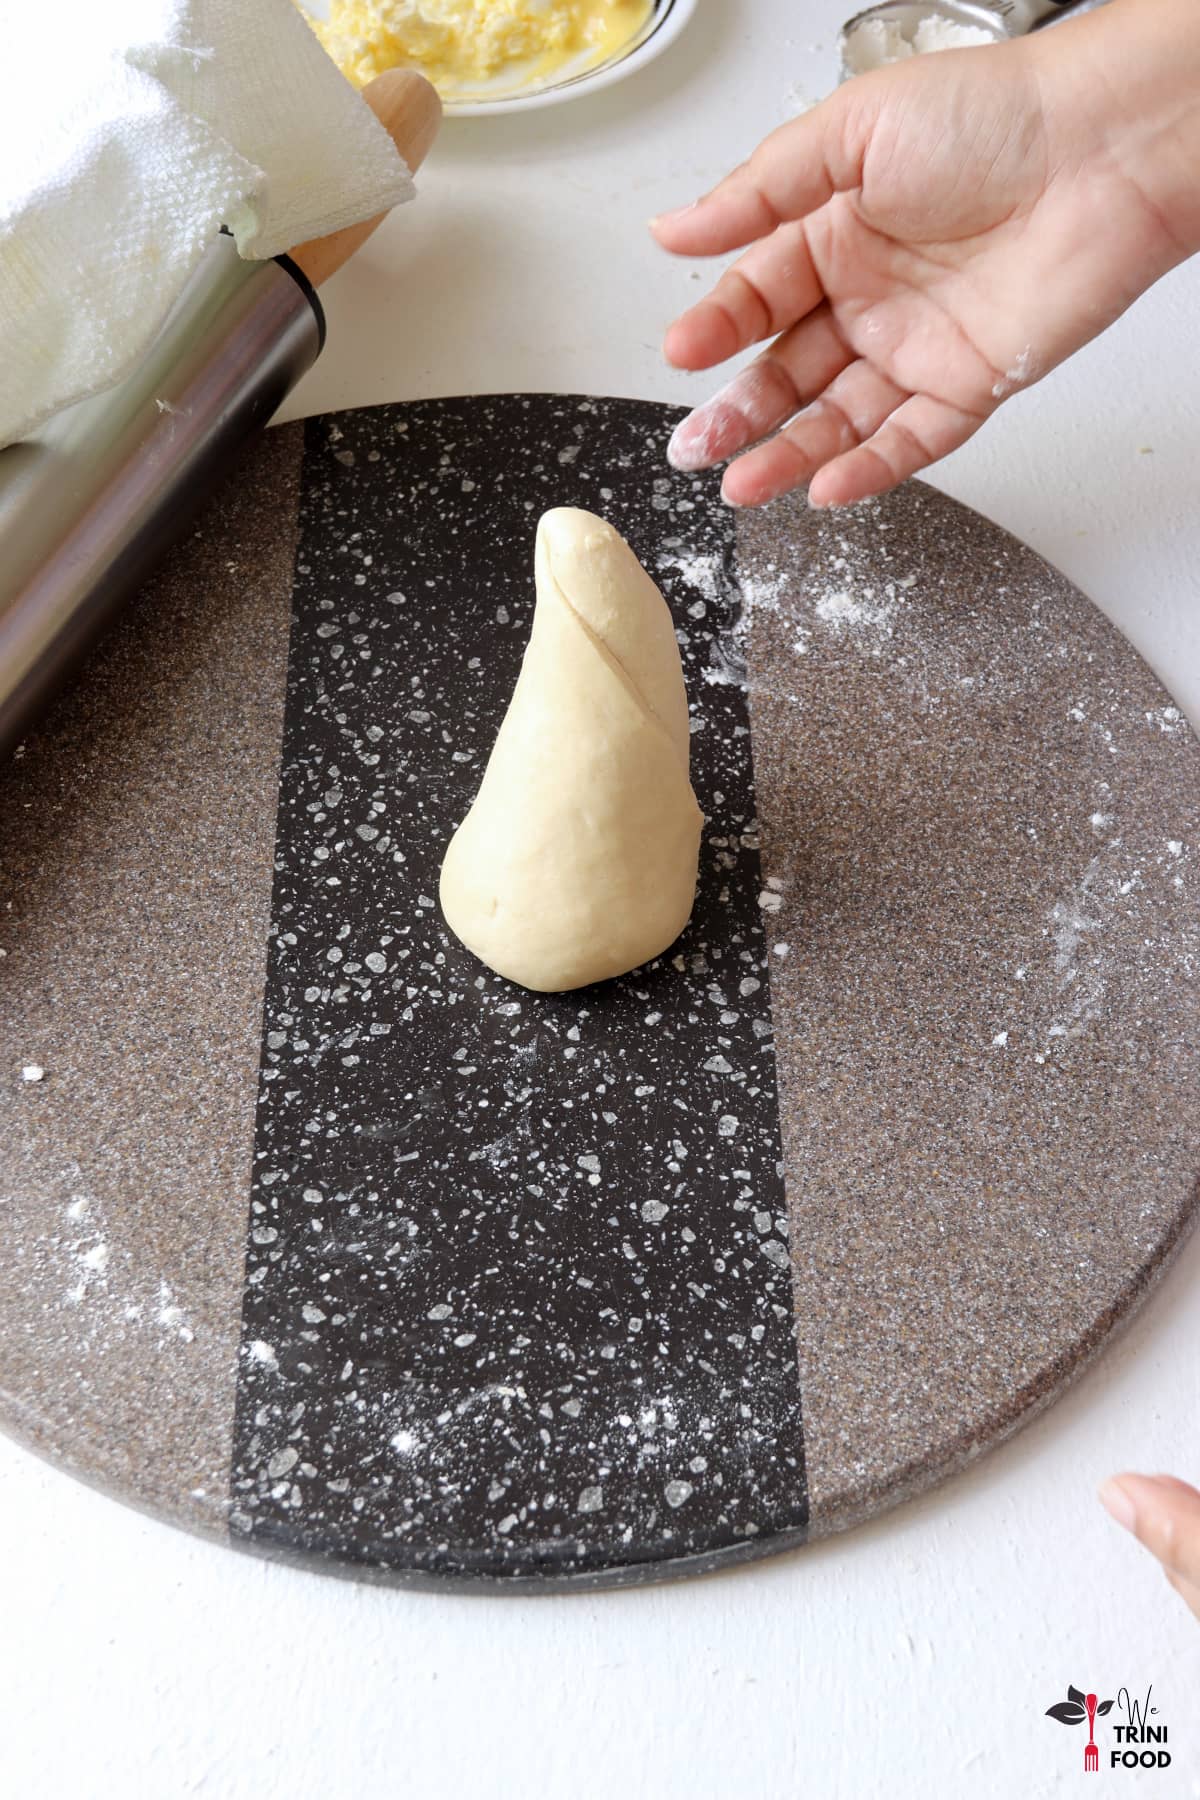
Step 14: Fold or roll the roti from one cut edge all around to the second cut edge (stop a couple inches before the second cut end). The roti should now have a cone-like shape – a pointed top where the center was and thicker base where the rolls are.
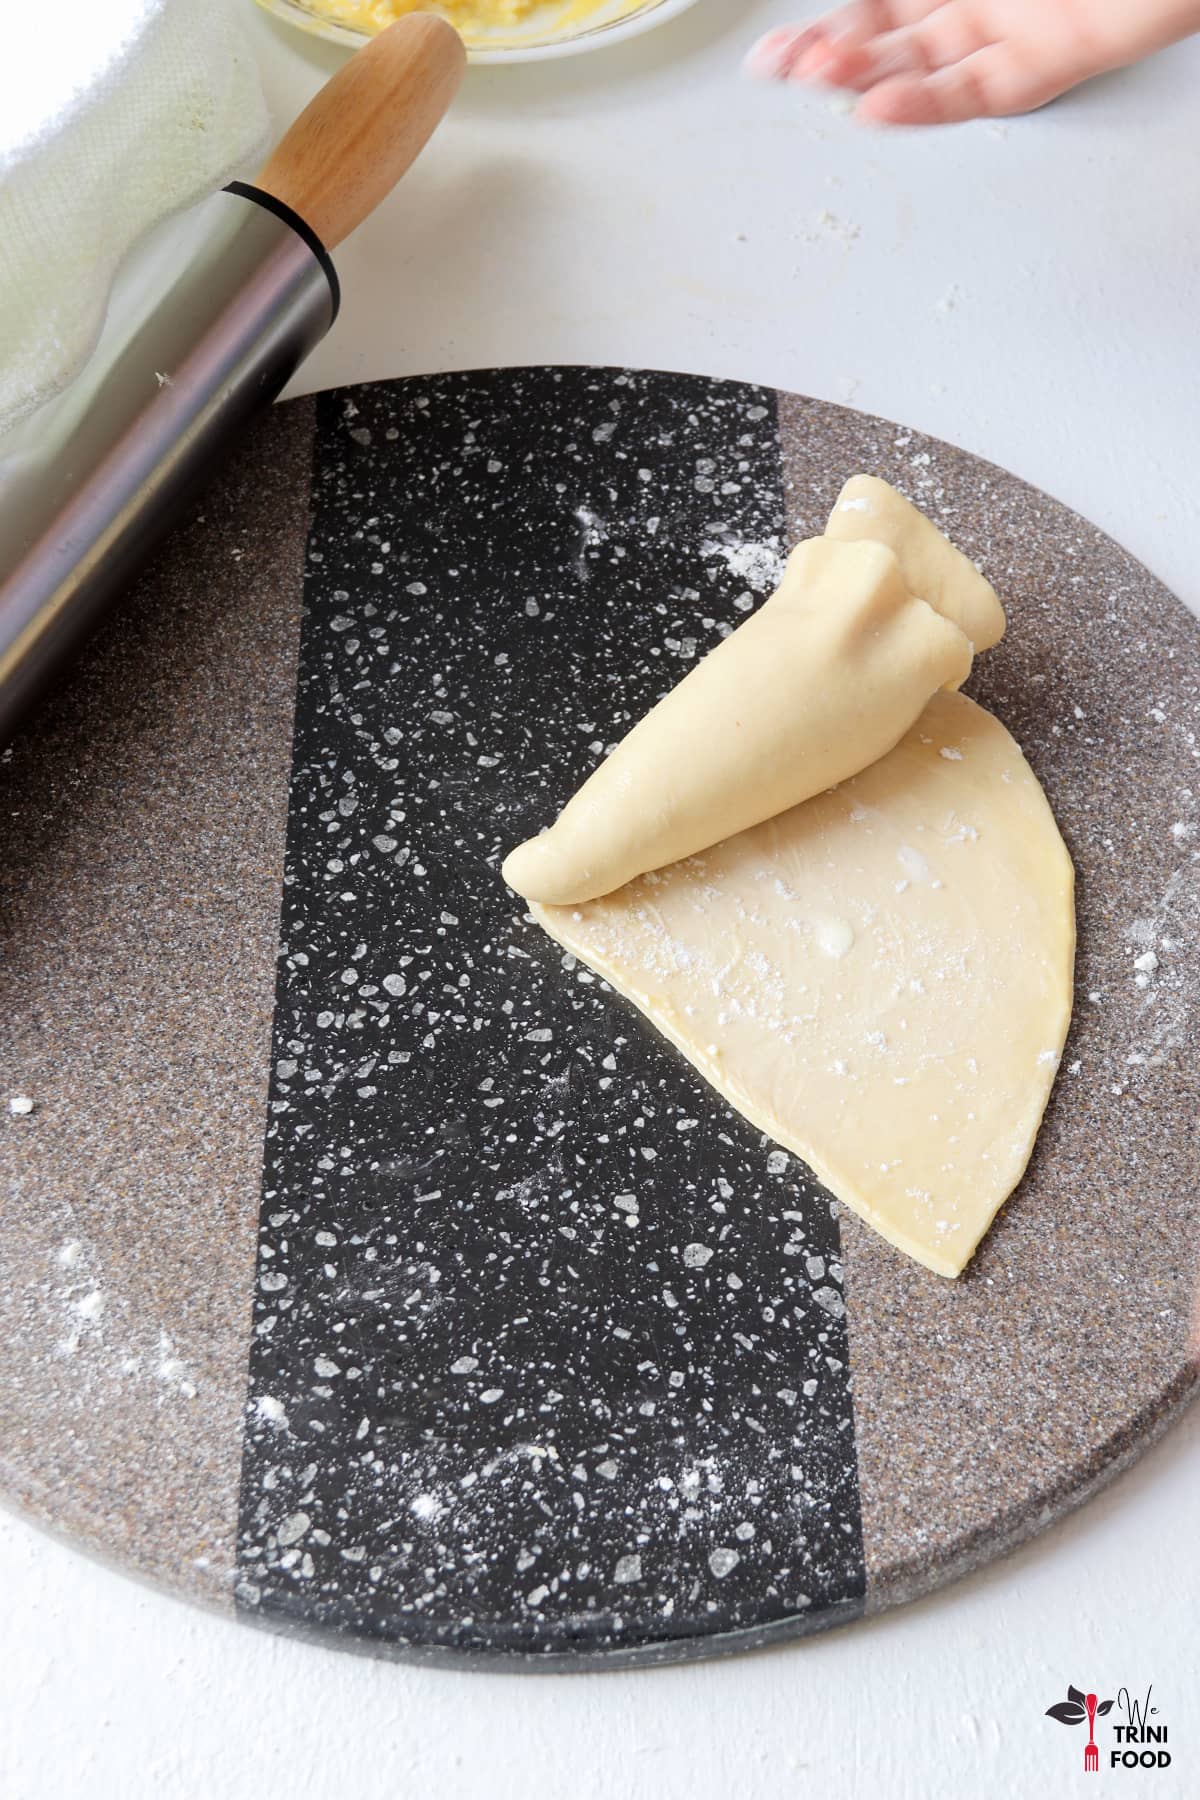
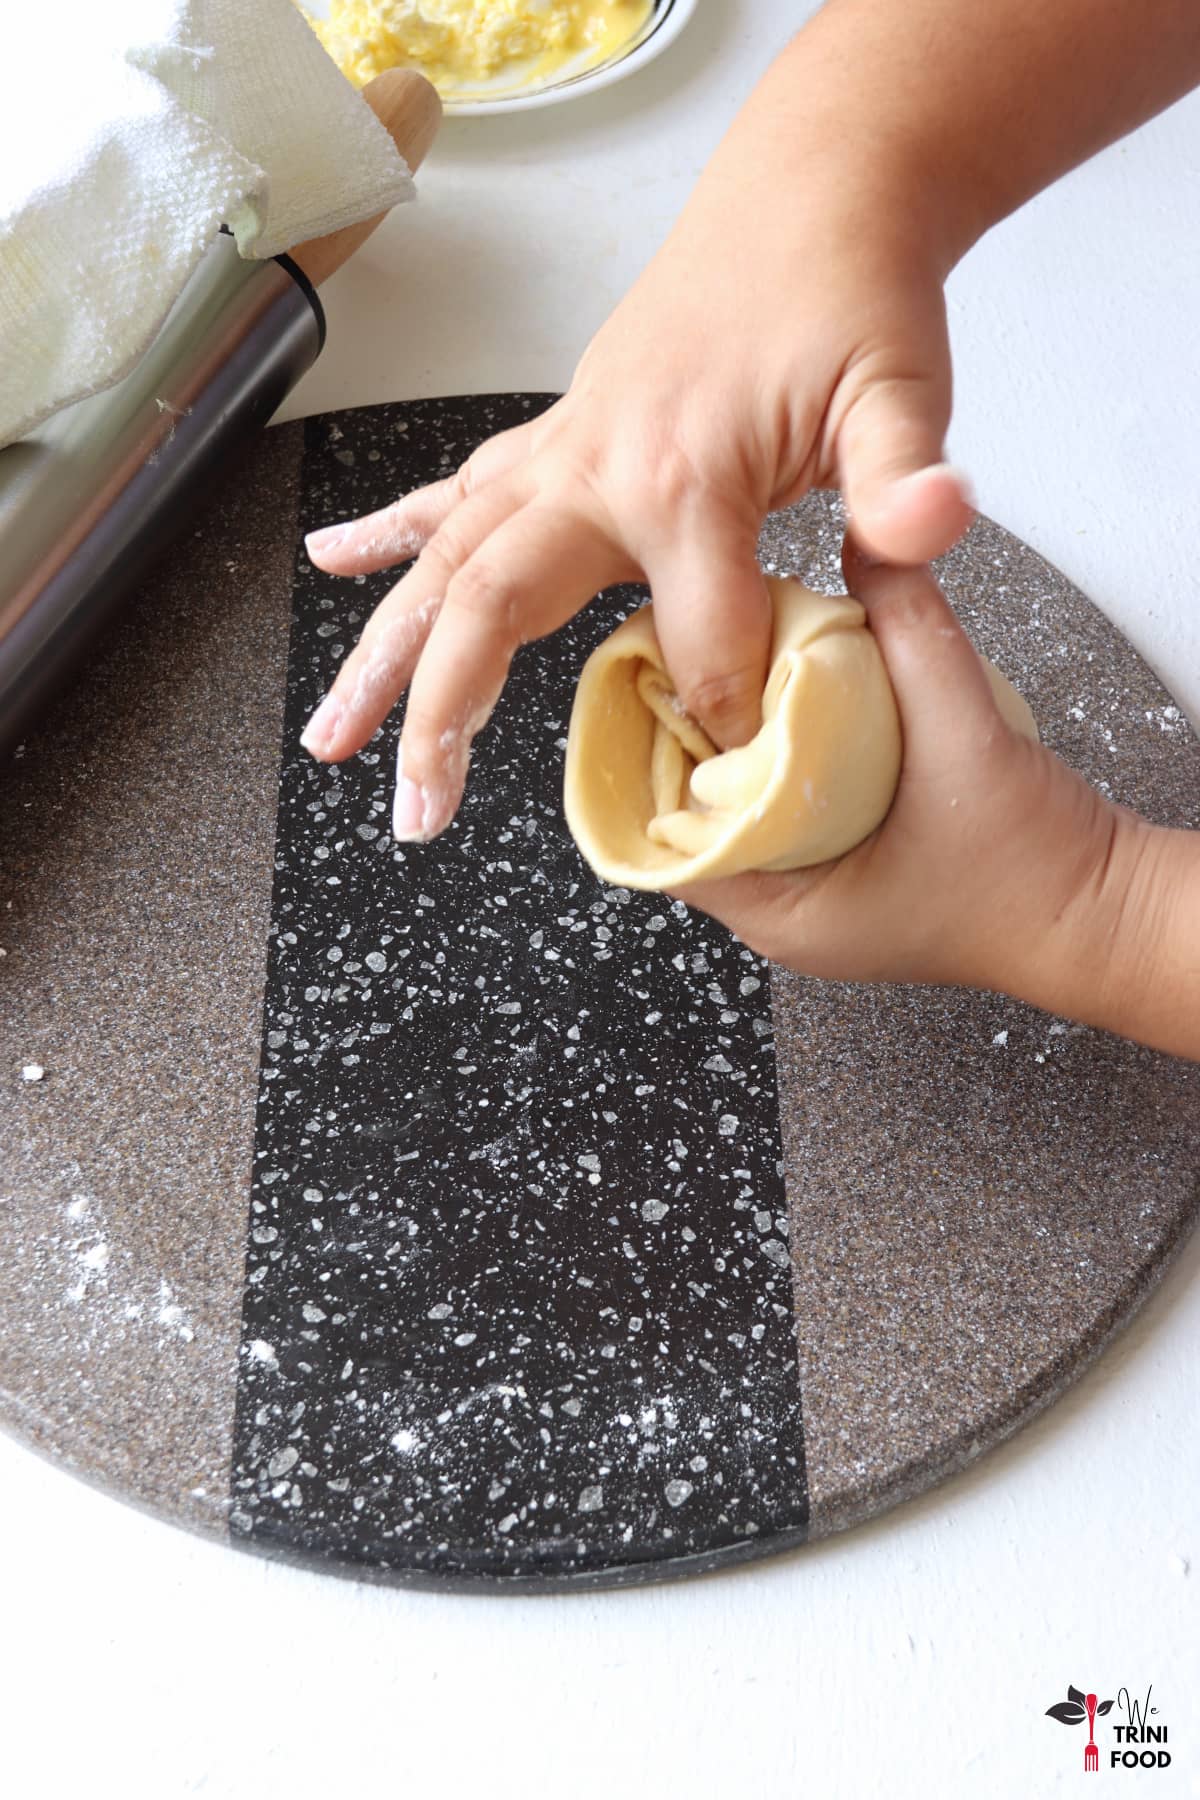
Step 15: Take the edge of the second cut end and pull it towards the thicker base. Tuck into the base and continue to tuck the edges in until the base looks relatively flat.

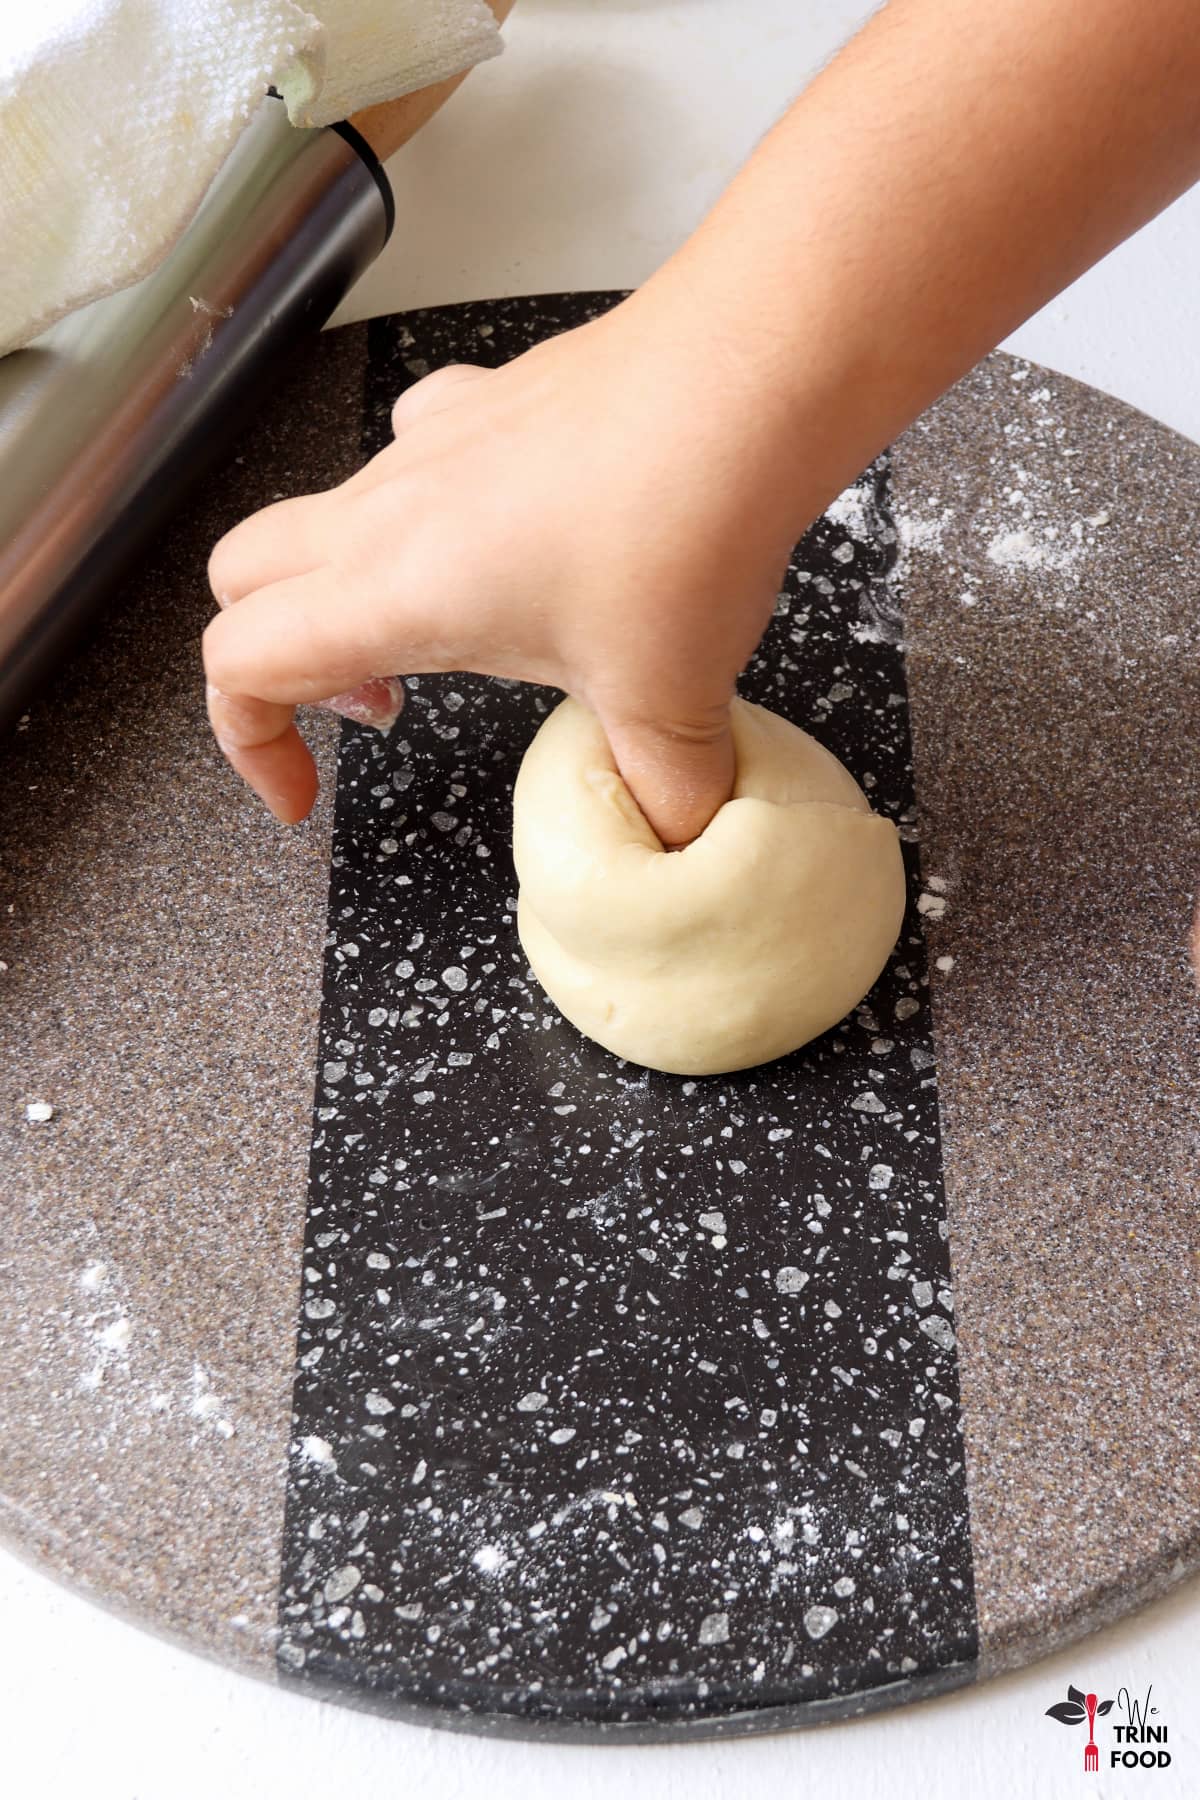
Step 16: Place the cone, thicker side down on your surface. Press your thumb onto the pointed top and push down. The dough should now resemble a dough ball with an indent in the center.
Step 17: Cover the prepped dough and repeat Steps 9 through 17 for the remaining loyahs or dough balls.
Step 18: Leave the dough to rest for another 20 minutes
Cook the buss up shut roti
Step 19: Place the tawa or a flat cast iron pan on the stove on low to medium heat. I measured the temperature of the tawa and it varied between 120°F to 150°F.
Step 20: Dust your rolling surface and the loyah with flour. Press down on the dough to flatten and press along the edges too.
Step 21: Using the belna or rolling pin, roll the dough out, flipping a couple of times, to form a circular roti about one quarter of an inch thick.
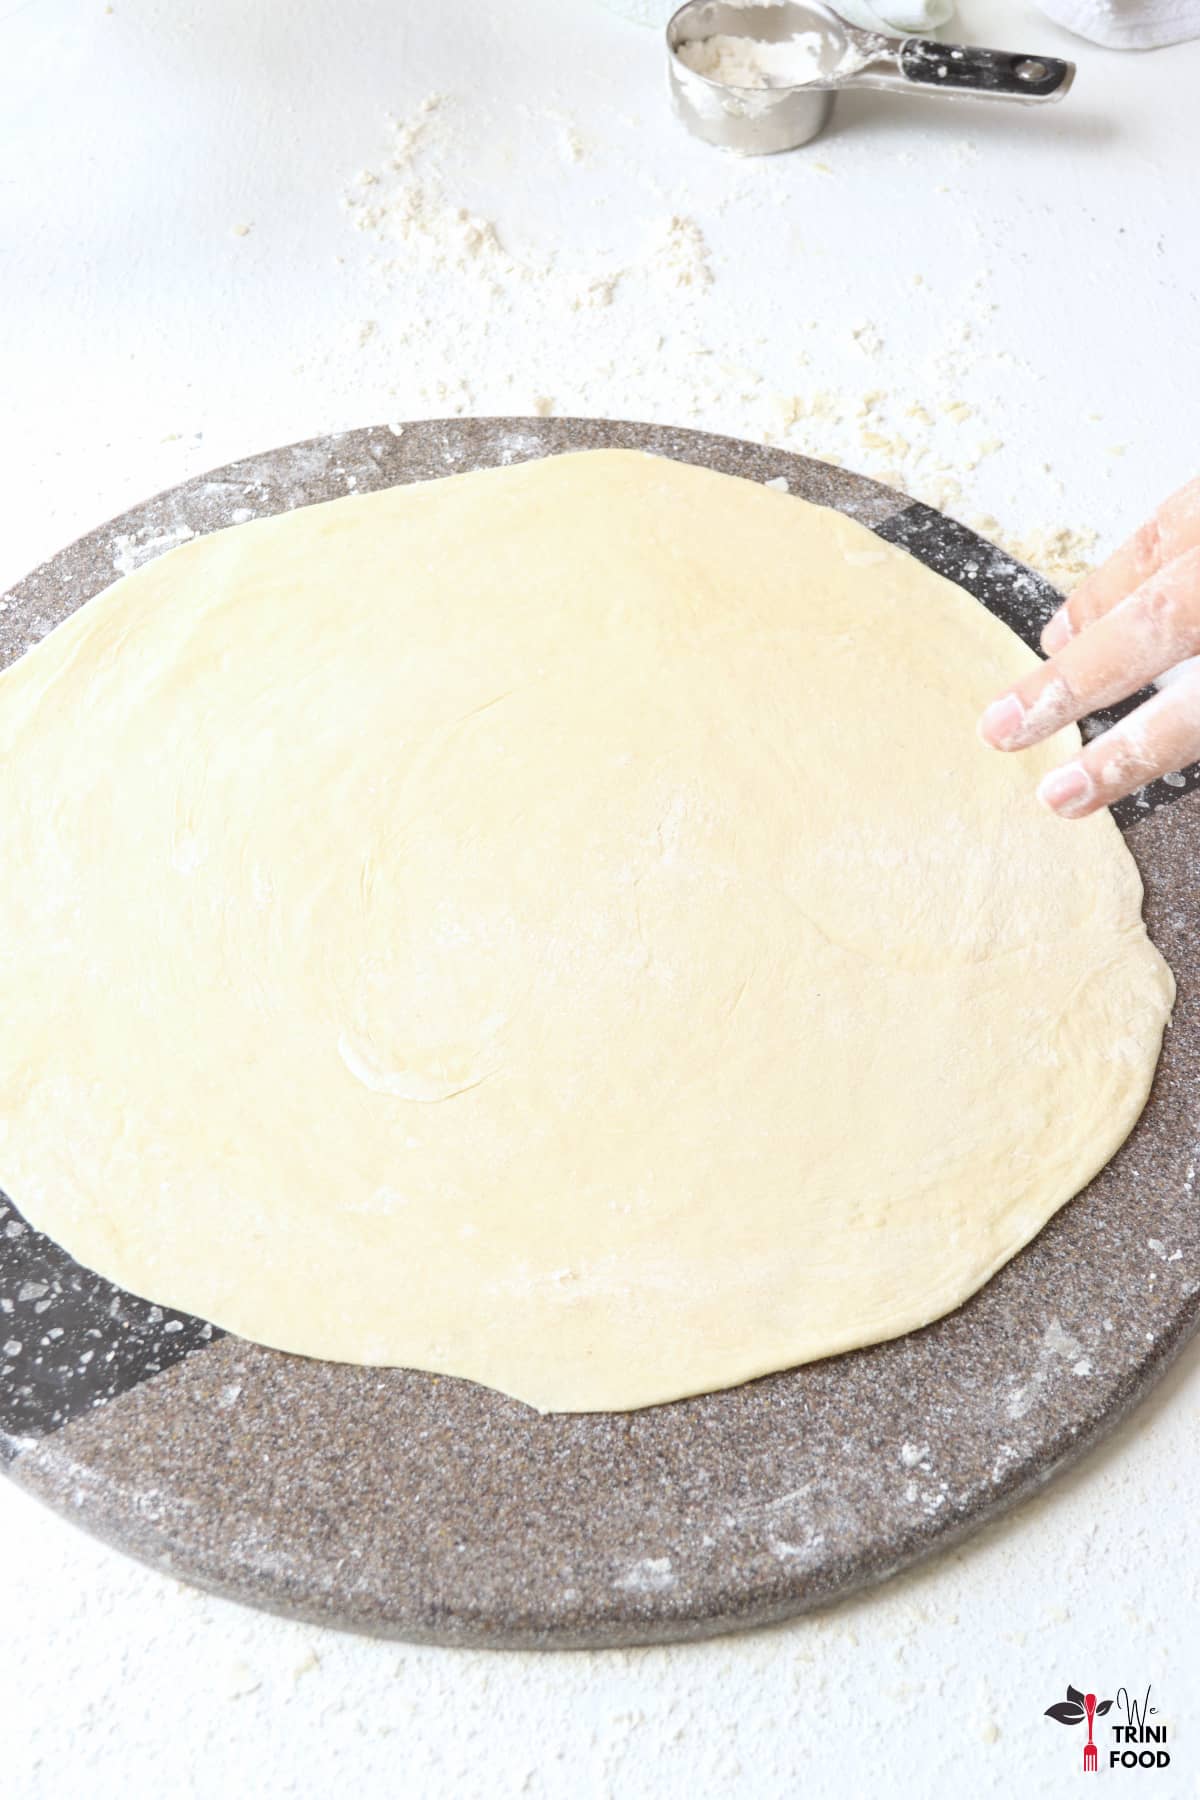
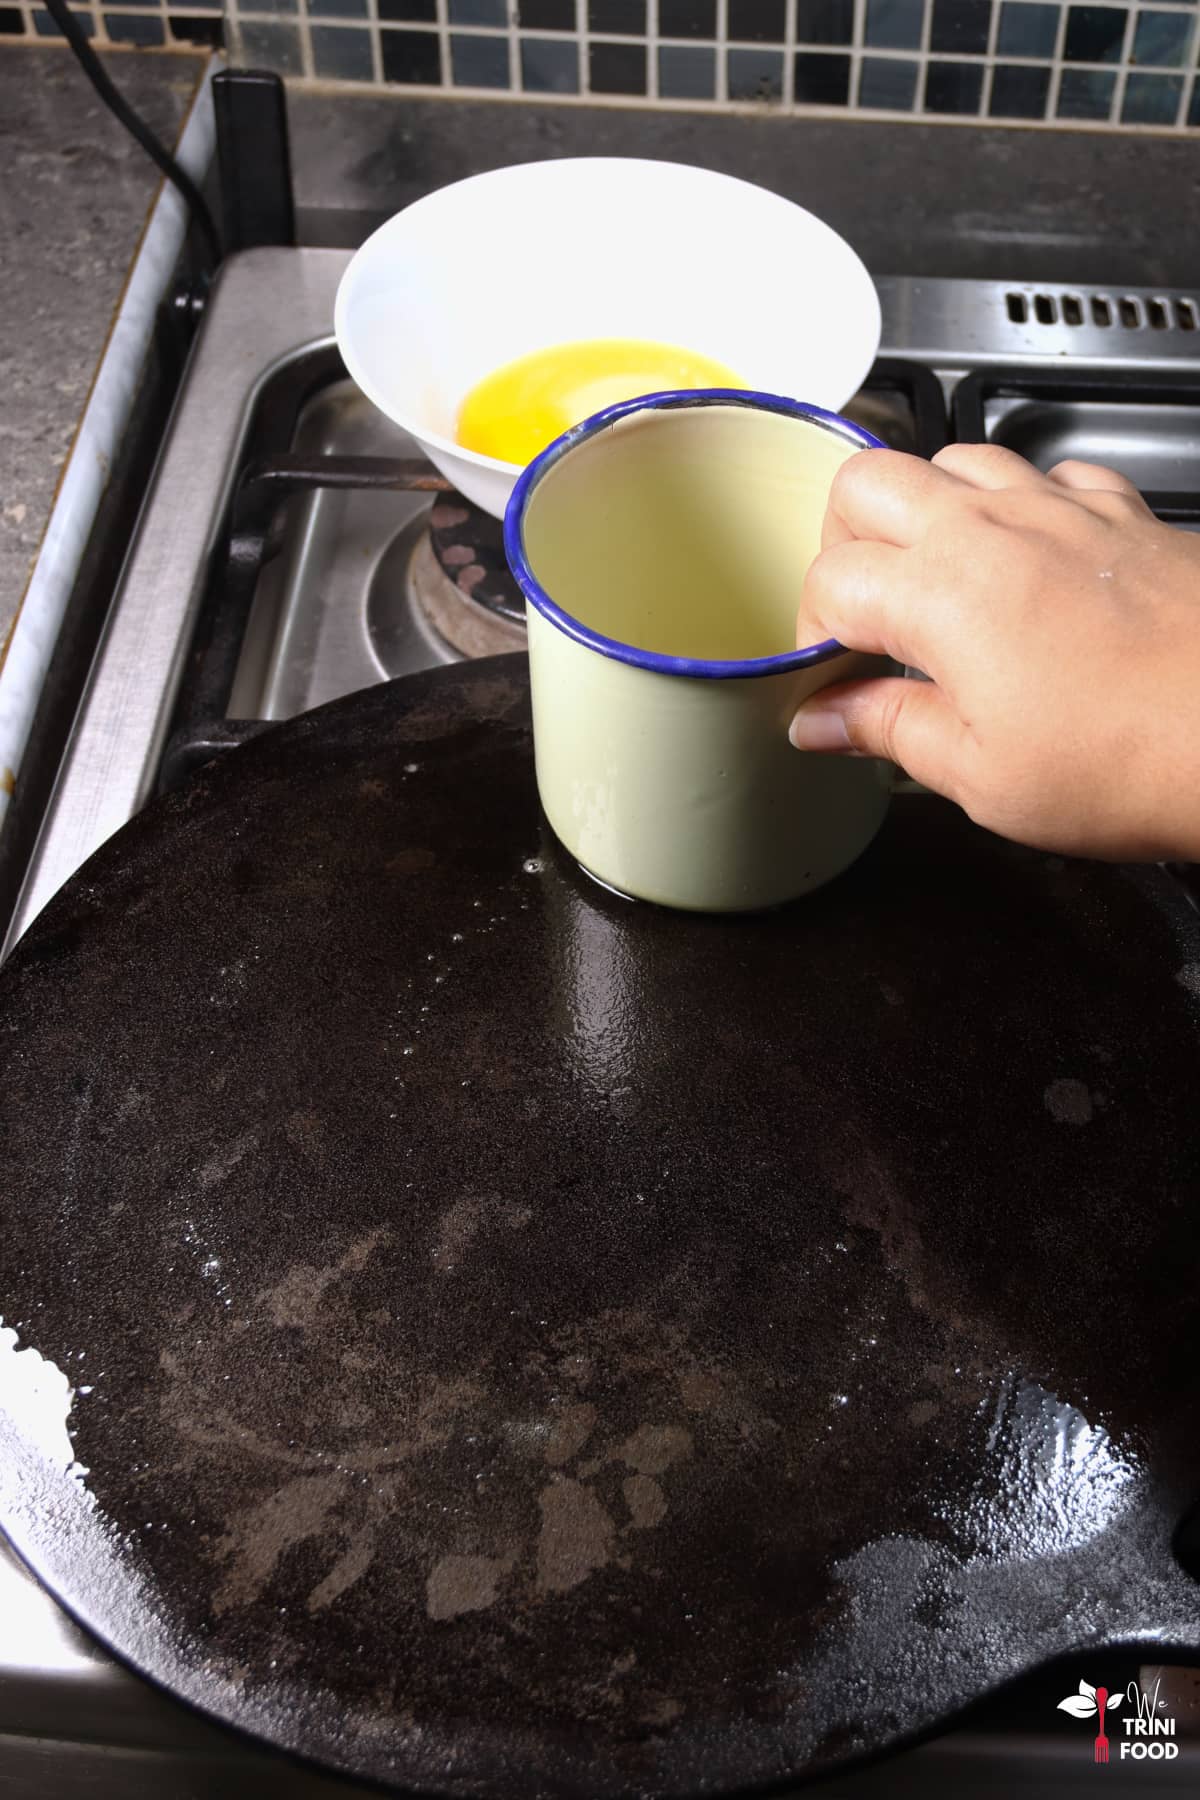
Step 22: Add butter to a small bowl. Pop in the microwave for 30 seconds to melt. Brush some of the melted butter onto the tawa. Note, you can use vegetable oil or ghee here instead of butter.
Step 23: Gently lift the roti and place on the tawa.
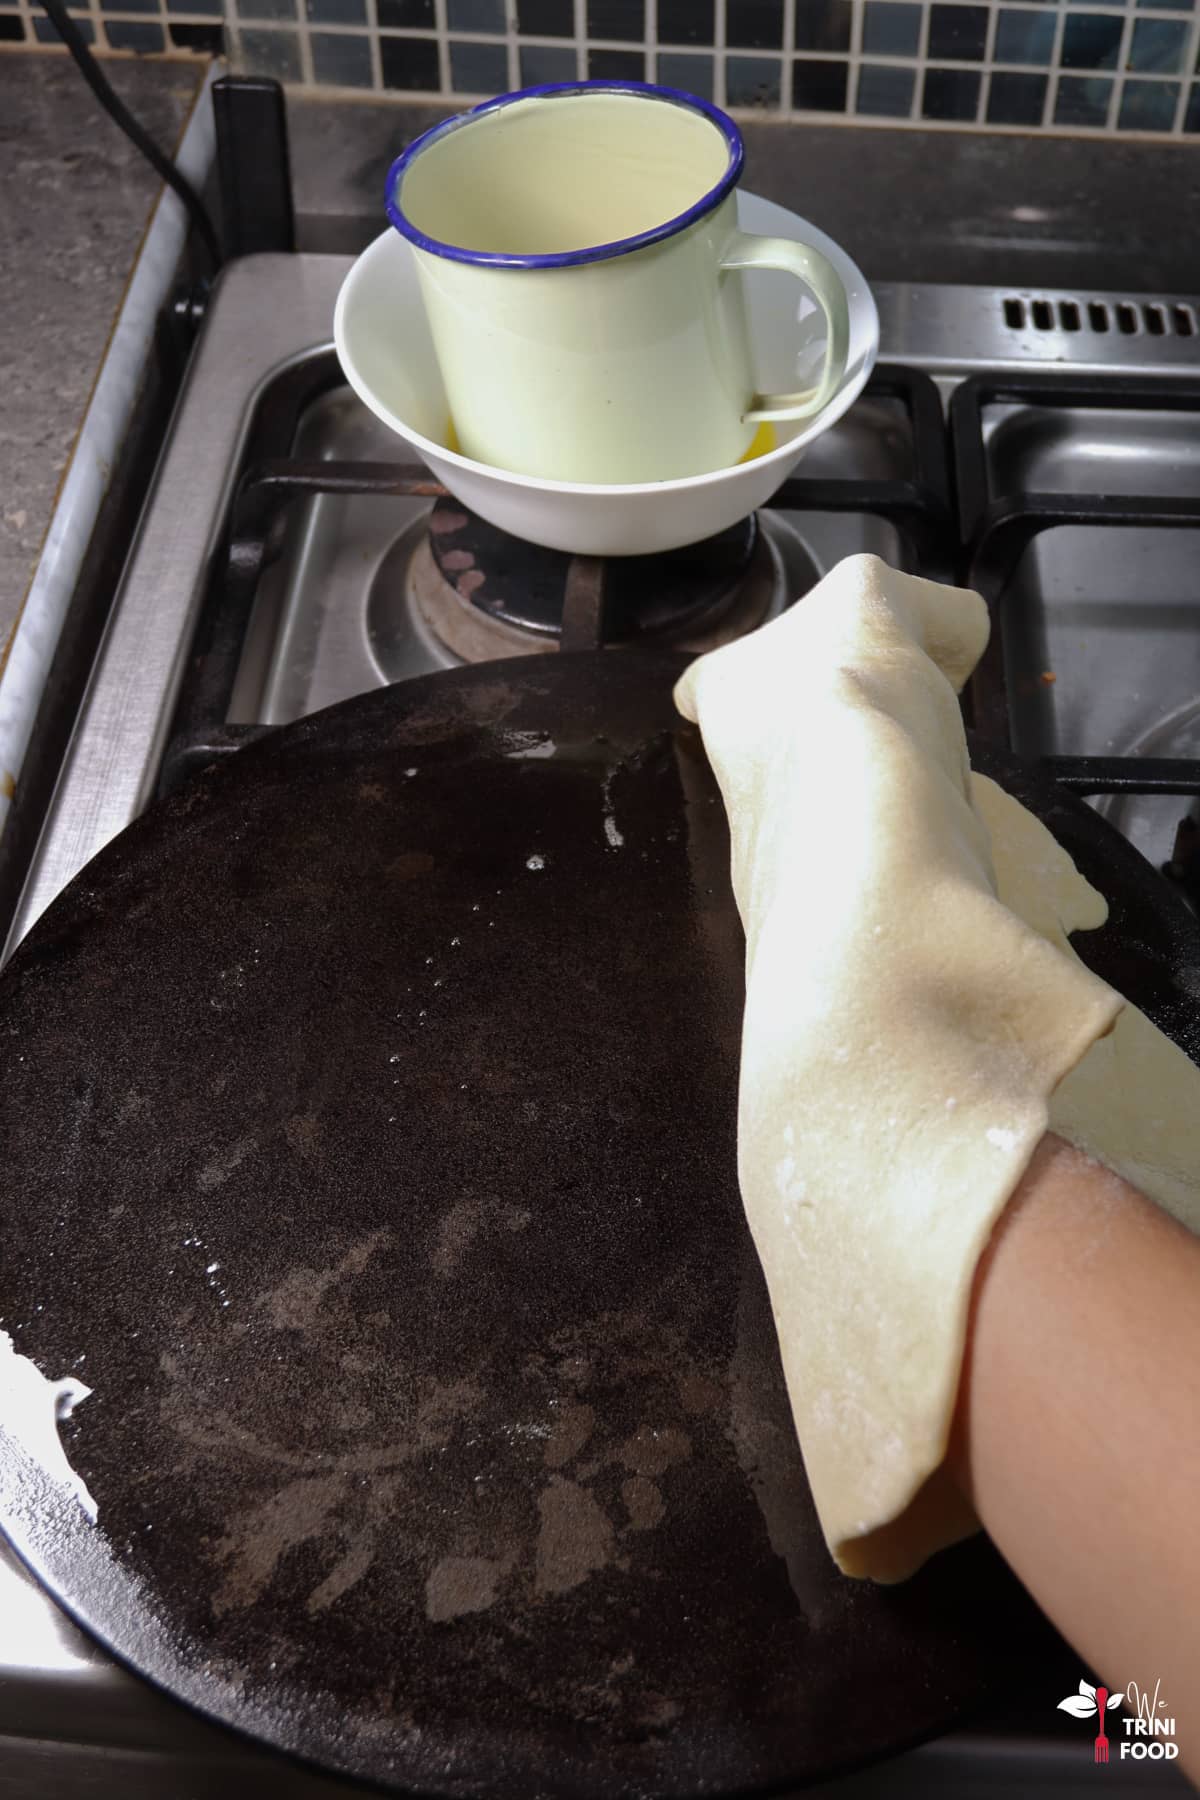
Step 24: As the roti cooks, it will undergo a slight change in color and darken. Bubbles may even appear. After 15 to 30 seconds, flip the roti over using your wooden spatula or dabla or spoon handle.

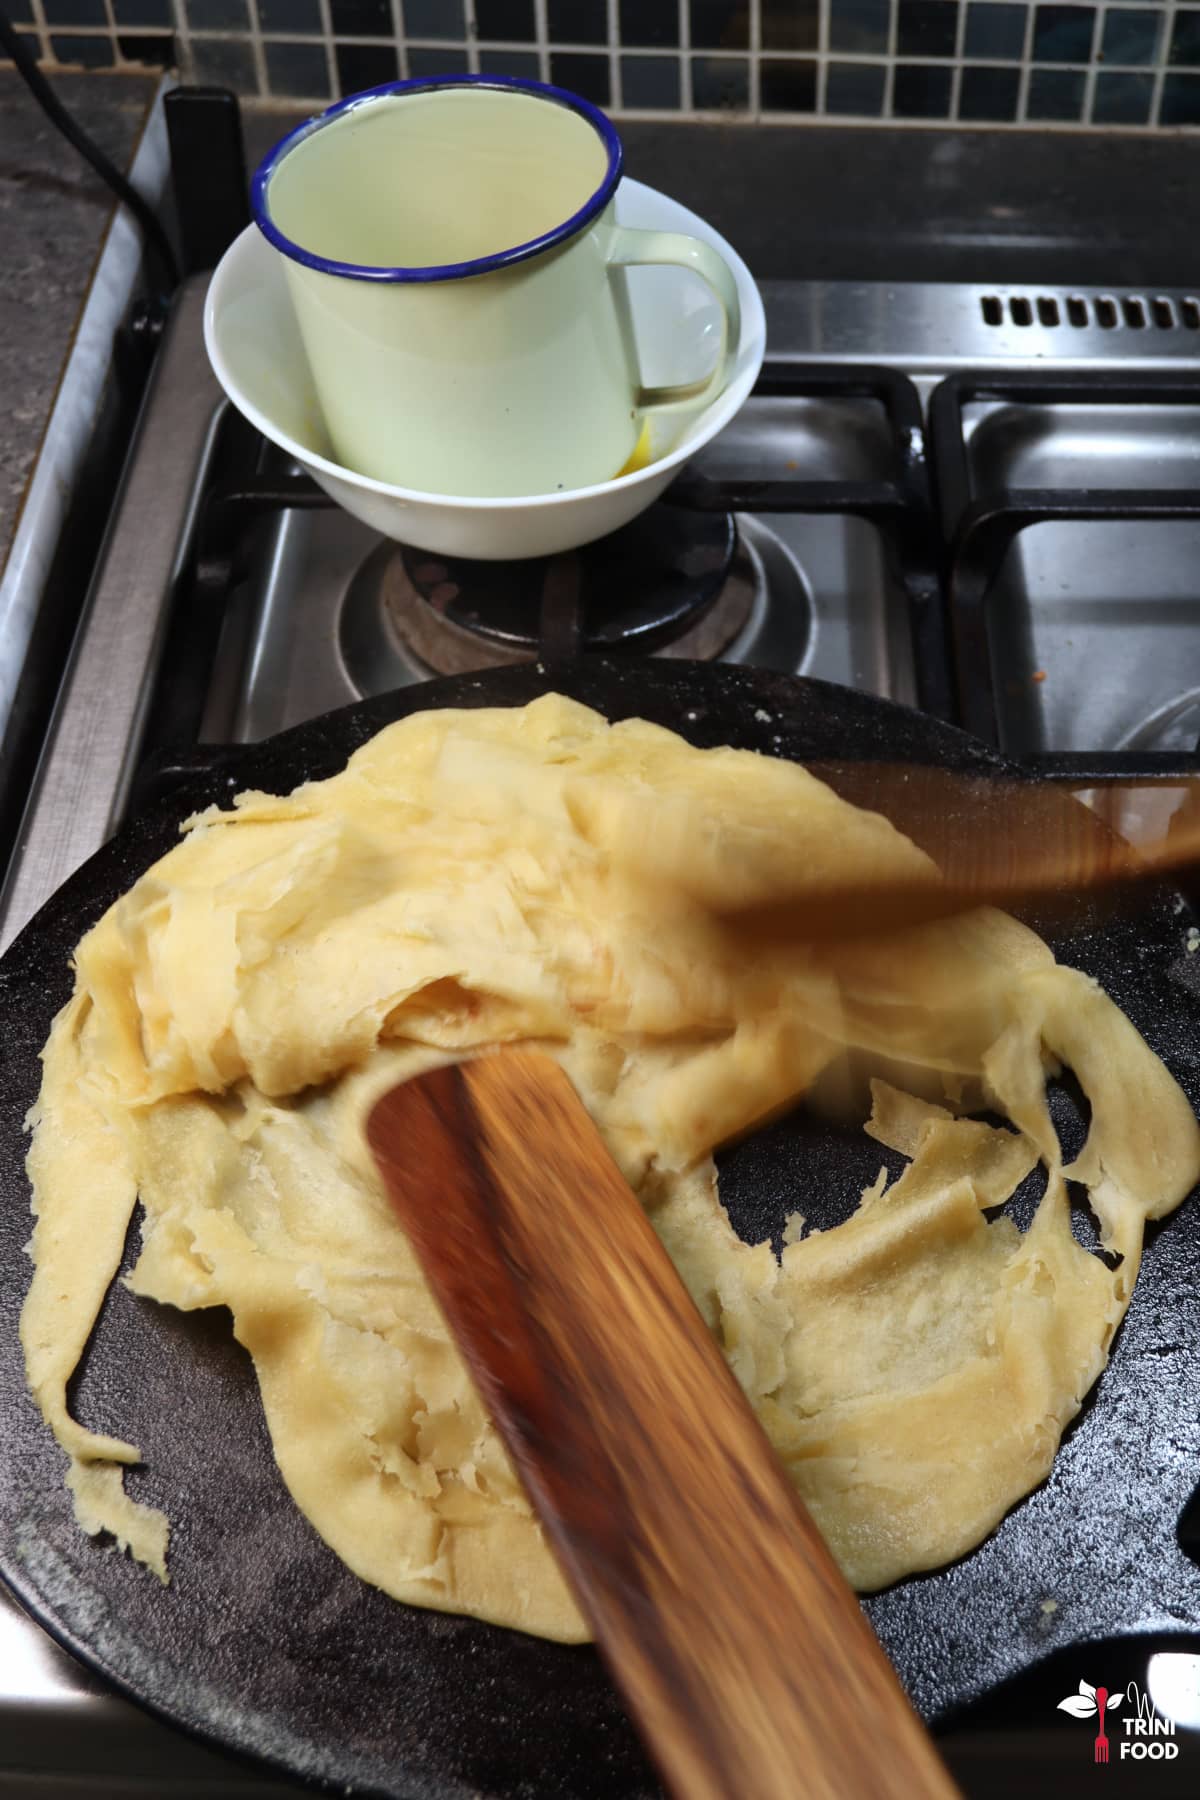
Step 25: Brush the roti with some of the melted butter (or oil). Ensure the edges are well coated since they will take the longest to cook. Here, I’m using the bottom of an enamel cup instead of a brush.
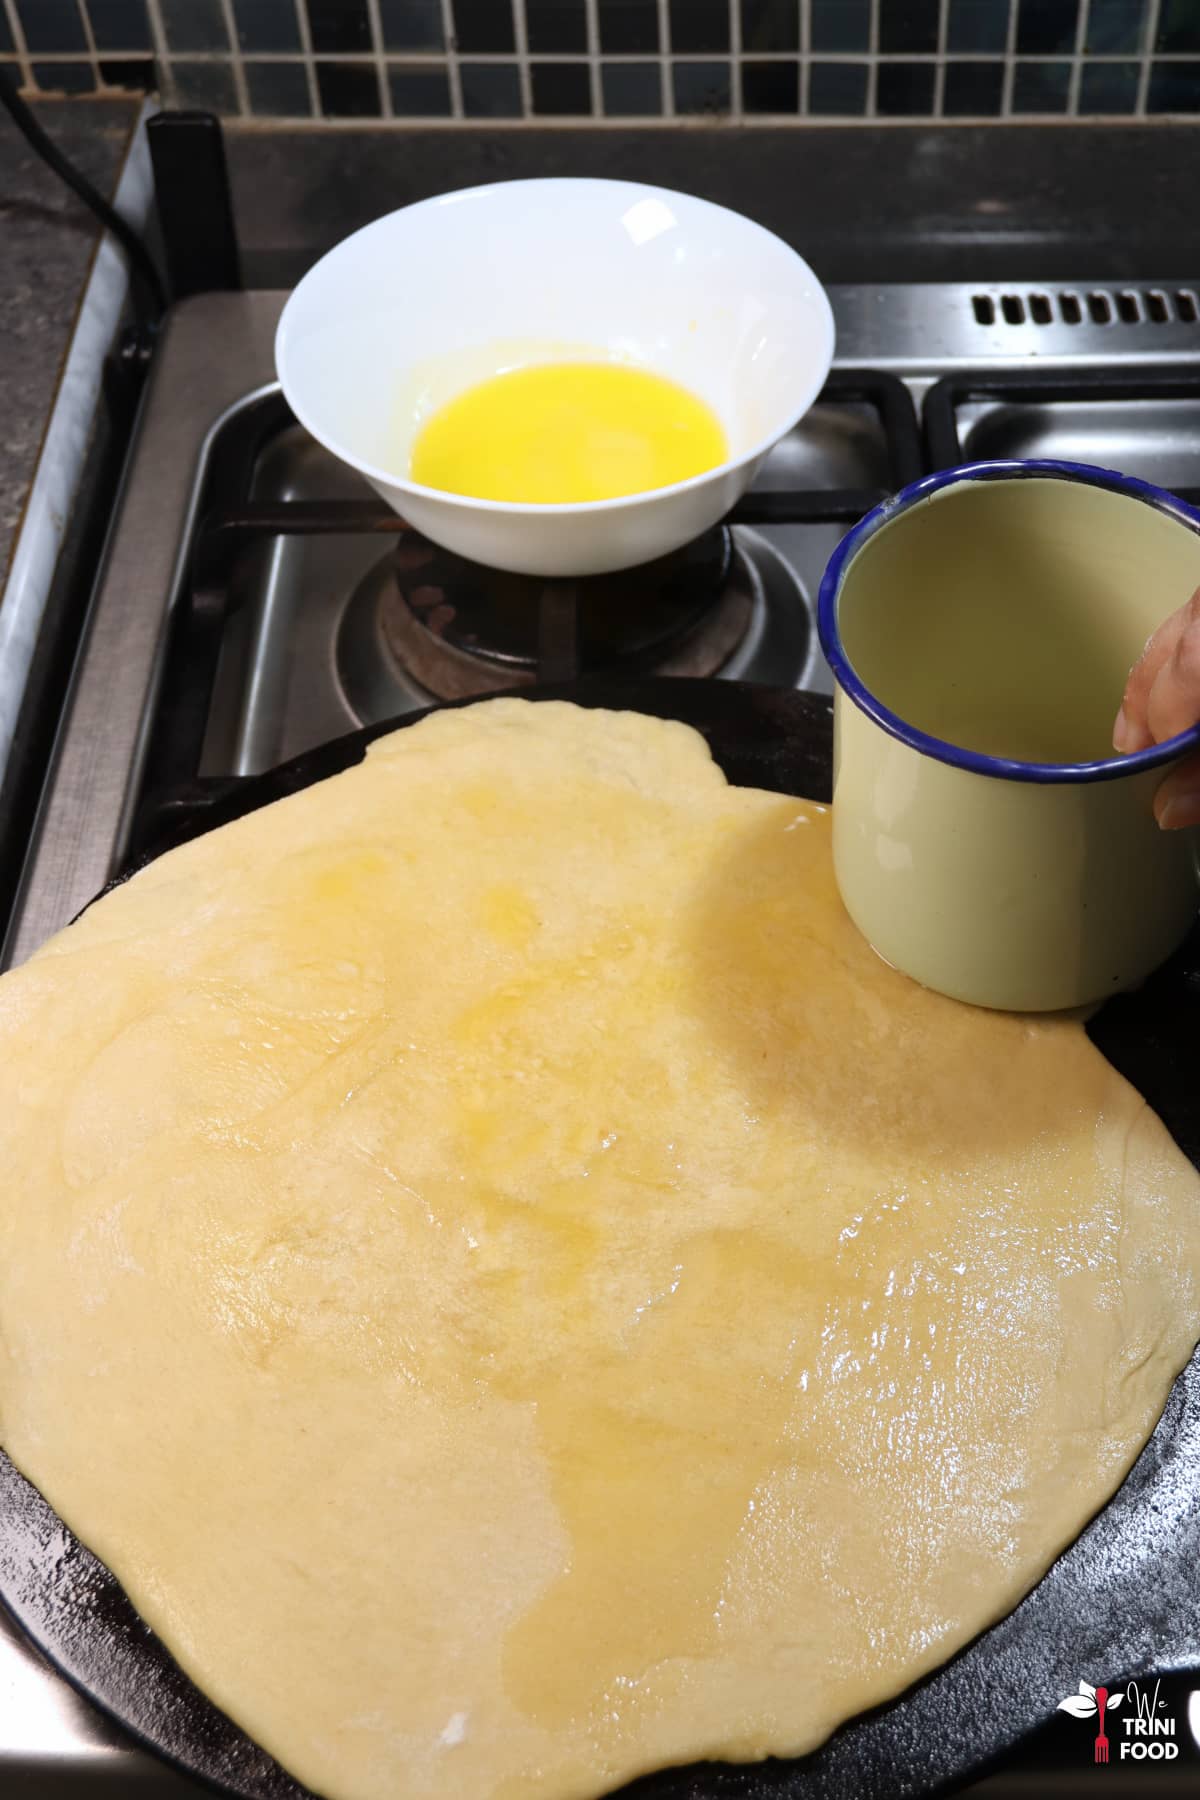
Step 26: Flip the roti over and coat the next side with more melted butter.
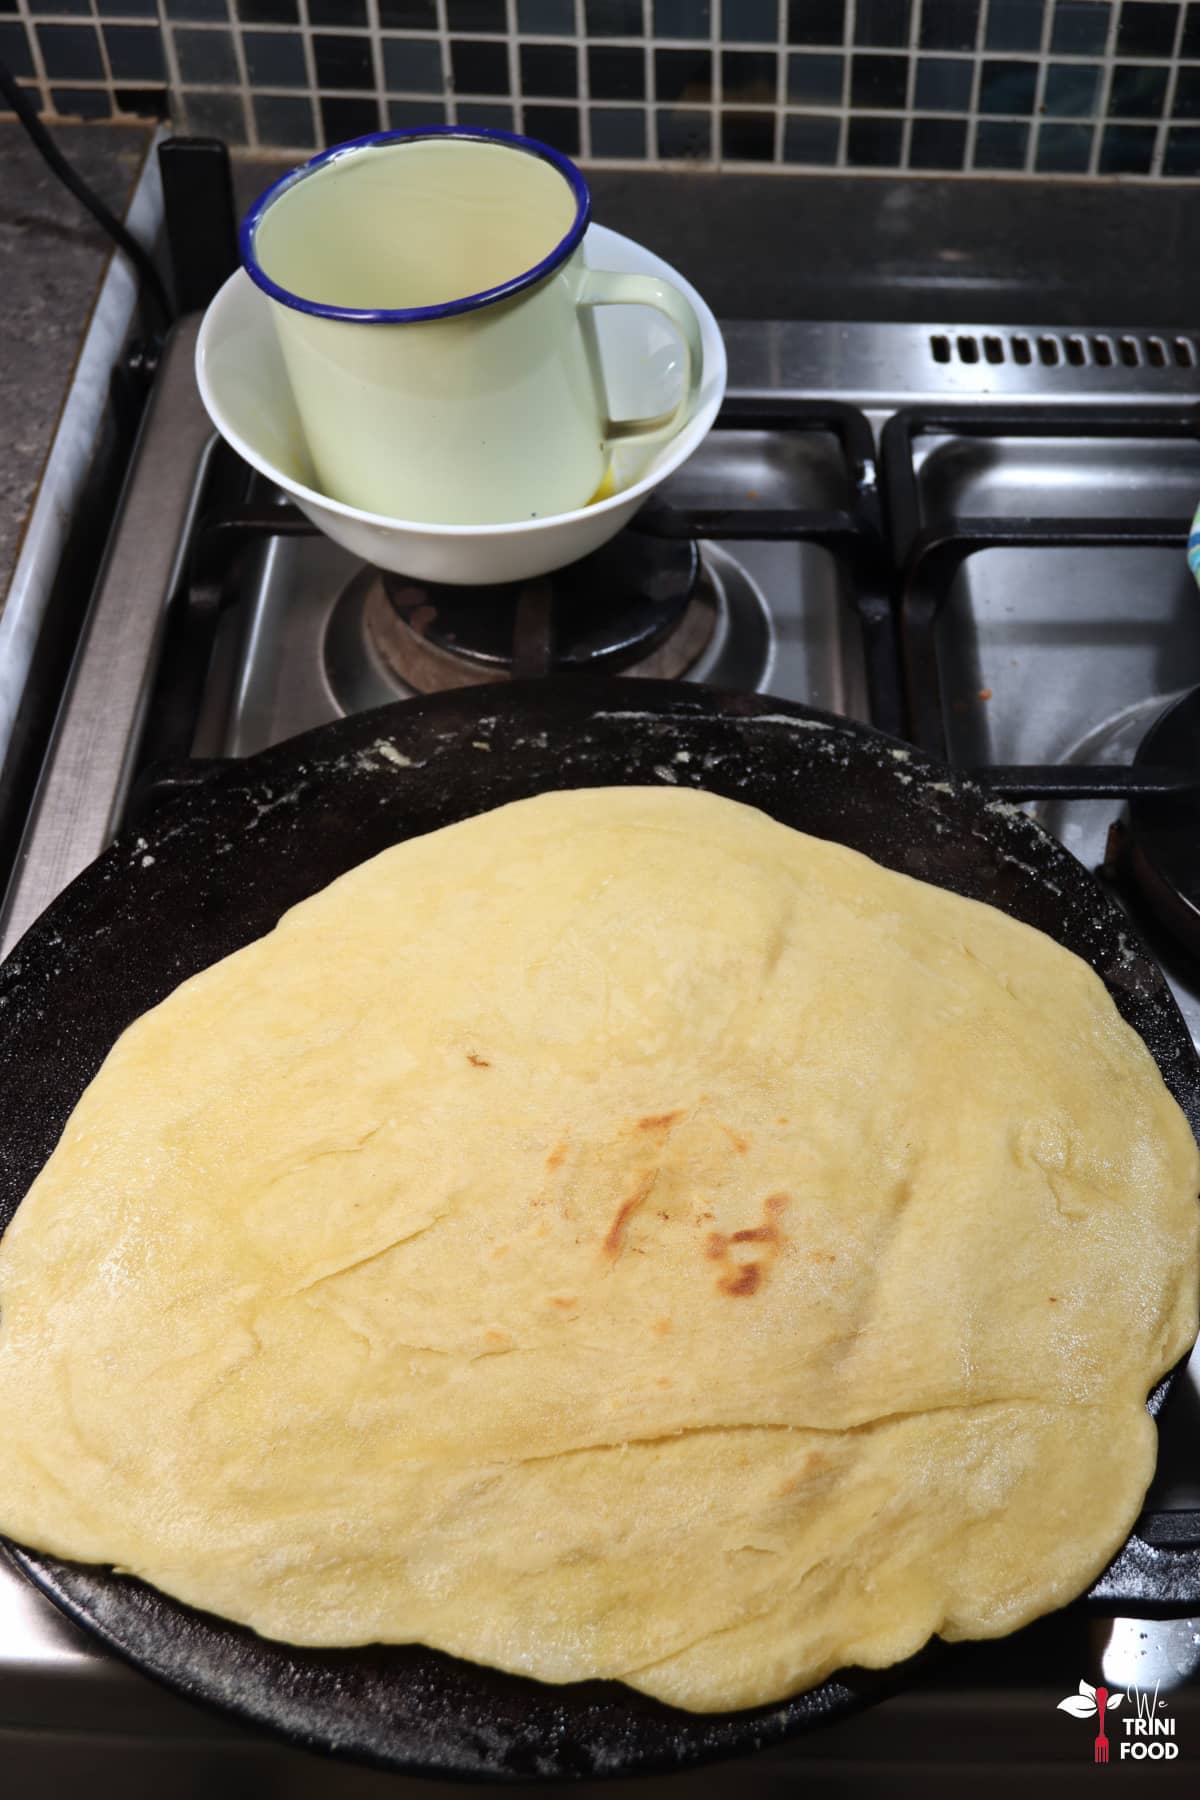
Step 27: Flip the roti over again. If the top looks a bit dry, feel free to add another coating of butter/oil since you want the roti to be super soft. Turn the roti with the dabla and press the ends to ensure even heating. Flip again. The layers should start separating and the roti should be cooked within 2 to 3 minutes. Don’t leave it for too long on the tawa otherwise the layers may become crispy … and soft, silky buss up shut is what you want.
Step 28: Place each dabla or handle at opposite ends of the roti. Bring them together so the roti becomes smooshed in the center. Rotate and repeat. You can also hit the roti with the dabla (that’s how it’s made for larger events).
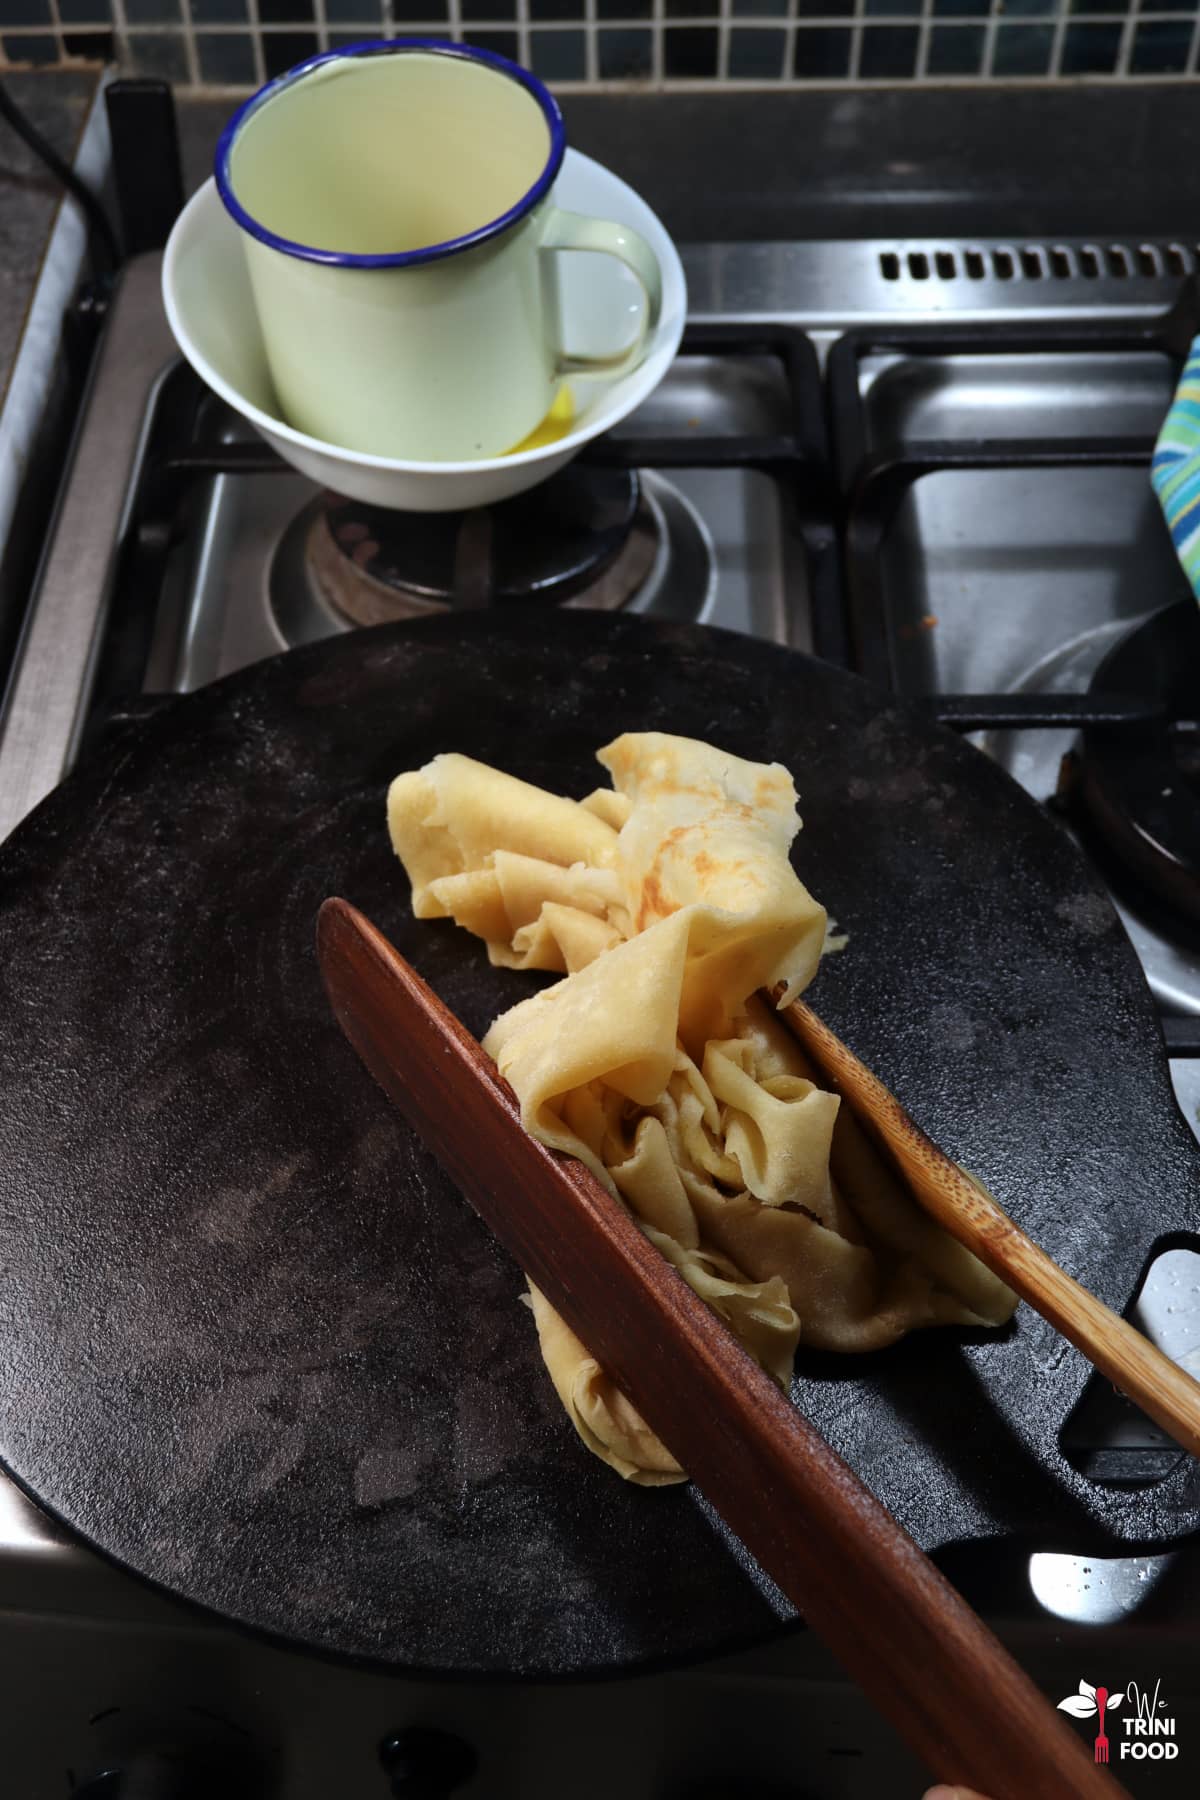
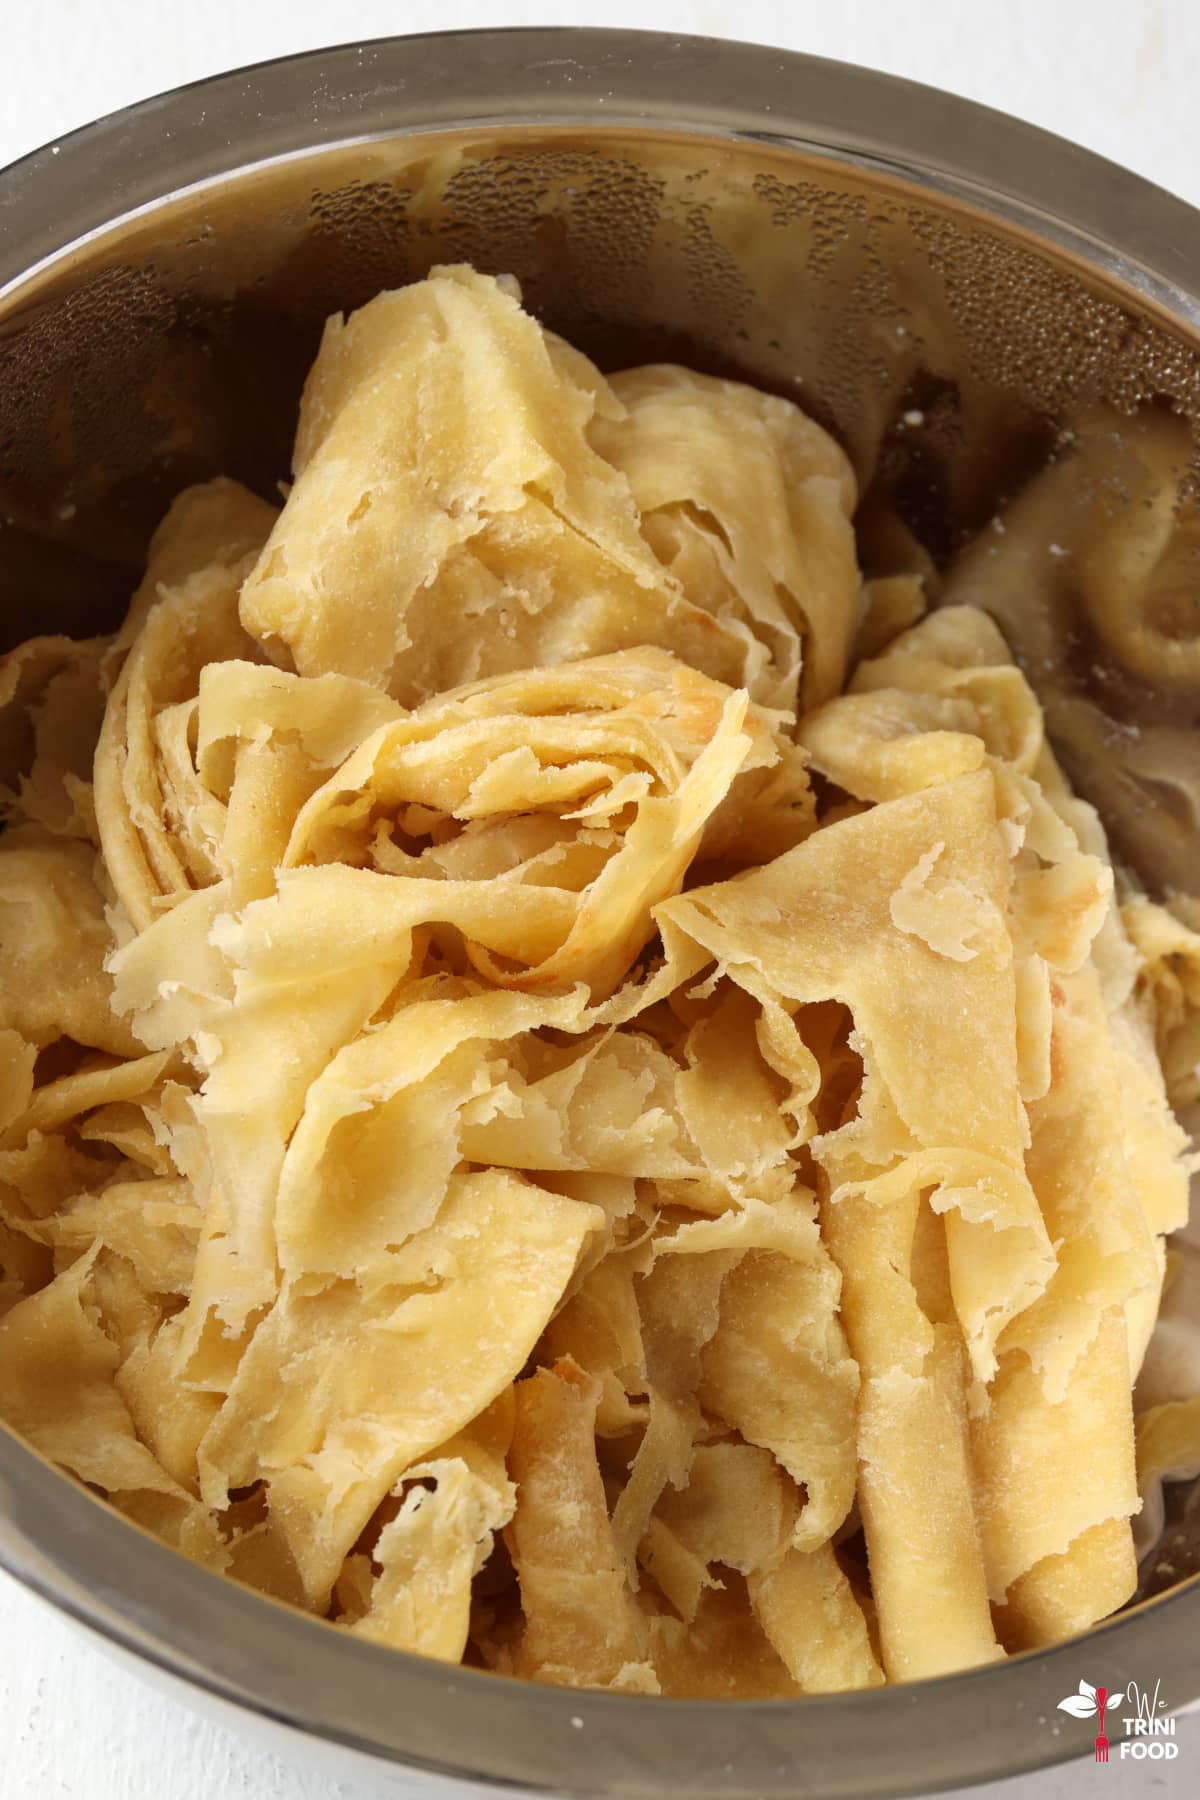
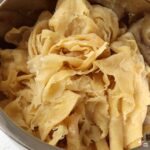
Step 29: The roti should be torn up at this point, resembling a burst shirt. Remove from the heat and store in a wax paper lined cooler or airtight container. The heat and steam will continue to cook the roti and keep it soft. I highly recommend using way more butter or oil than I did to guarantee the roti stays soft.
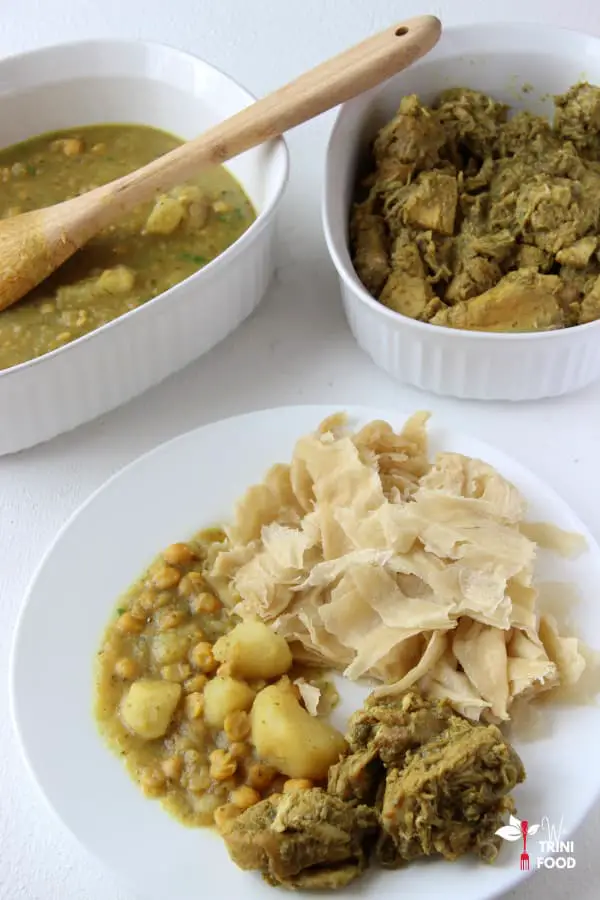
Step 30: Serve warm with your favorite curries.
Freezing and reheating buss up shut
Can you freeze buss up shut?
Buss up shut roti can be frozen and should be well wrapped in plastic or foil so that it is airtight to prevent freezer burn. It will stay well for about 3 months in the freezer. The dough can also be frozen and made at a later date.
How do you reheat buss up shut?
Buss up shut can be reheated in the microwave once it is covered with a damp cloth or paper towel. This keeps the moisture in the roti which ensures it stays soft. Refrigerated roti will be warm and ready within 45 seconds in the microwave while frozen roti will take about 2 minutes to become soft (though this may vary).
What to eat with buss up shut
These dishes are best enjoyed with buss up shut:
Buss up shut with milk recipe
Buss up shut roti (paratha roti)
Ingredients
- 3½ cup all purpose flour (525 grams)
- 1 tbsp baking powder (11 grams)
- 1 tbsp sugar (15 grams)
- ½ tbsp salt (8 grams)
- 1 pack evaporated milk (330 mL)
- ¼ cup water (60 mL)
- ½ cup flour [for dusting and rolling out dough]
- ⅛ cup butter (20 grams) [for the dough]
- ⅛ cup cookeen (or shortening) (20 grams) [for the dough]
- ½ cup butter (110 grams) [for cooking]
Equipment
- belna or rolling pin
- tawa or flat cast iron pan
- pastry brush or enamel cup
- dabla or wooden spatula
Instructions
Kneading
- Add all purpose flour, baking powder, sugar and salt to a large bowl. Mix.
- Pour milk and water into a large jug. Stir.
- Add half of the liquid to the dry ingredients. Mix to combine.
- Continue to add the liquid a little at a time until the dough comes together.
- Knead for 5 minutes to form a soft, smooth dough (pull with the fingers and push with the base of the palm).
- Cover. Leave to rest for 20 minutes.
Rolling
- Add ⅛ cup of butter and cookeen to a small bowl.
- Microwave for 30 seconds to 1 minute.
- Mix to combine.
- Divide the dough into 5 or 6 dough balls. Keep them covered.
- Lightly flour the rolling surface.
- Remove one dough ball.
- Press down to flatten.
- Roll the dough out using a rolling pin in one direction.
- Flip over and roll in the other direction.
- Form a circular roti about ⅛th to ¼ inch thickness.
- Spread the butter-cookeen mixture over the roti.
- Lightly dust dry flour over the butter.
- Run a knife from the center of the roti to the edge.
- Roll the roti onto itself from one cut edge all around to the other cut end, to form a cone. Stop a couple of inches before the other cut end.
- Tuck the unrolled edge into the thick base of the dough.
- Tuck the edges of the base into itself until it becomes flat (becoming more cone-like).
- Place this flattened base onto the surface.
- Press the thumb onto the pointed top of the dough. Push down.
- Set this prepped dough aside. Cover.
- Repeat these steps (#5 to #19) for all the dough balls.
- Leave the dough to rest for 20 minutes.
Cooking
- Place the tawa (or flat cast iron pan) on the stove on low to medium heat (approx. 120°F to 150°F).
- Add ½ cup butter to a small bowl.
- Microwave for 30 seconds to 1 minute.
- Lightly flour the rolling surface.
- Remove one dough ball.
- Press down to flatten. Use extra flour if needed.
- Roll the dough out using a rolling pin in one direction.
- Flip over and roll in the other direction.
- Form a circular roti ¼-inch thick.
- Brush the tawa or pan with butter.
- Place the rolled out roti onto the tawa.
- Flip the roti after 15 to 30 seconds (the color of the roti should start darkening and bubbles may form).
- Brush the roti with some of the melted butter.
- Flip the roti again. Brush this side with more melted butter.
- Flip again. Add more butter if it is dry.
- Rotate the roti to ensure even cooking. Press on the edges.
- Flip again.
- Place each dabla on opposite ends of the roti.
- Bring the dablas together to smoosh the roti.
- Rotate the roti and repeat the smooshing.
- Gently tap the top of the roti until it begins to fall apart.
- Remove from the heat (the cook time per roti should be 2 to 3 minutes).
- Store in an airtight container like a wax-paper lined cooler.
- Serve warm.