How to Make Sada Roti Without Yeast
Sada roti is a popular Trini breakfast staple that is usually served with vegetarian sides.
Although it only requires a few ingredients, sada roti takes time to perfect.
Here is my go-to recipe for sada roti. Below the recipe, you’ll find all my troubleshooting tips for making this Trini favorite.
- Sada roti recipe
- What is sada roti
- What are the ingredients for sada roti
- How to make sada roti
- Cooking tips for making roti
This post contains affiliate links and may be compensated for qualifying purchases.
Sada roti recipe

Sada roti without yeast recipe
Ingredients
- 2 cups all purpose flour
- 2 tsp baking powder
- 1/2 tsp salt
- ½ – ¾ cup water
Equipment
- Rolling Pin
- Cast iron tawa or flat griddle
Instructions
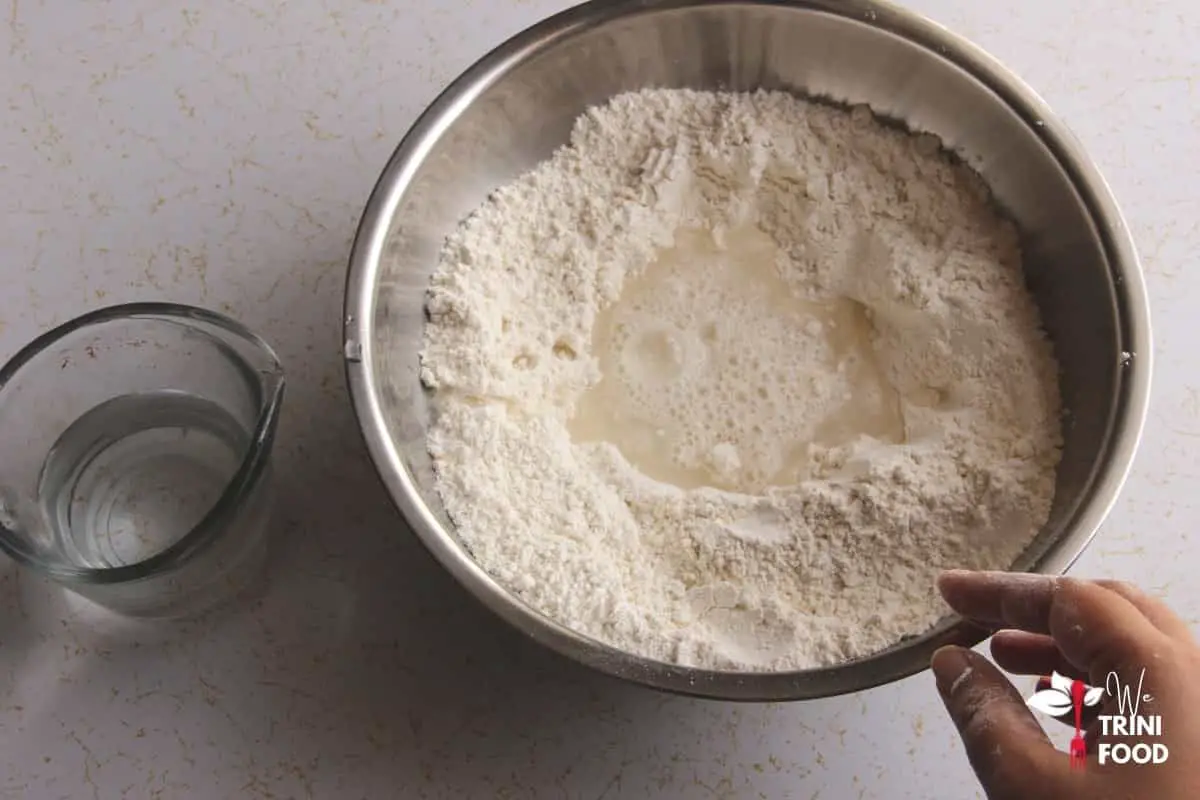
- Mix the dry ingredients together.
- Make a small well in the center.
- Pour half of the water.
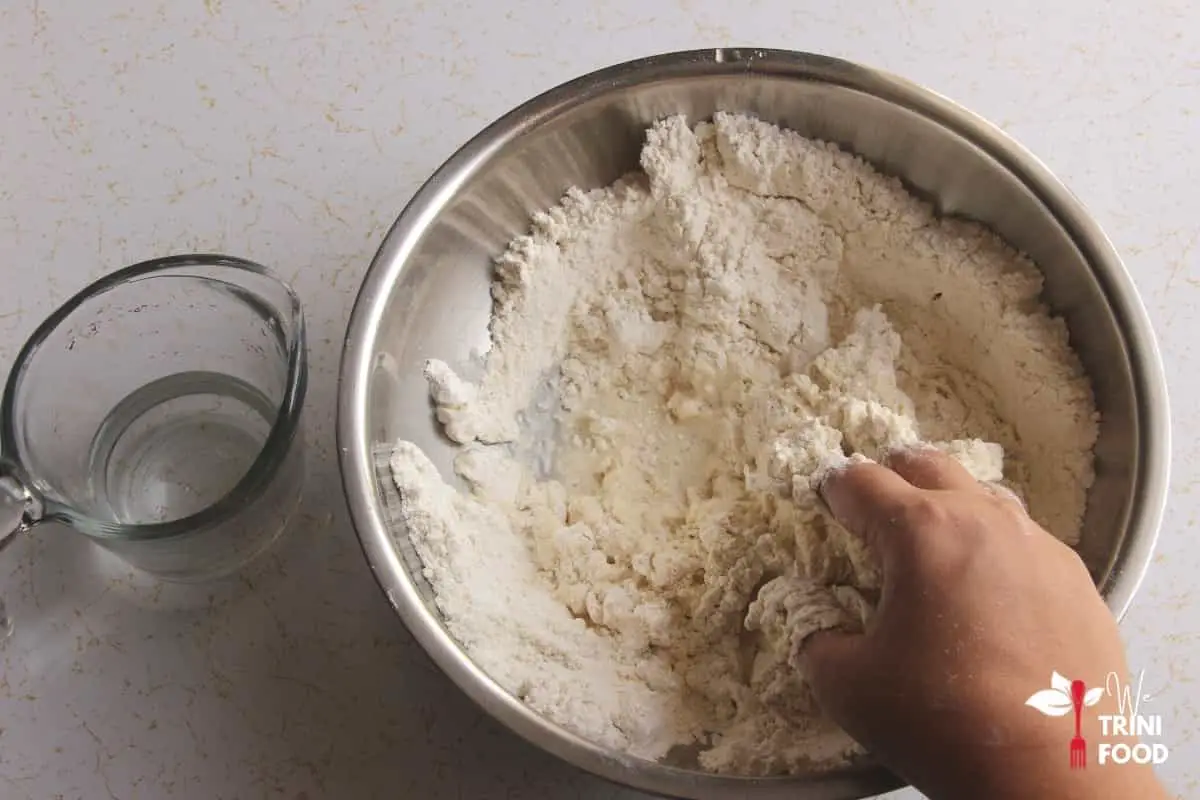
- Mix in a circular motion to incorporate the dough.
- Add the remaining water a little at a time to form a soft dough.
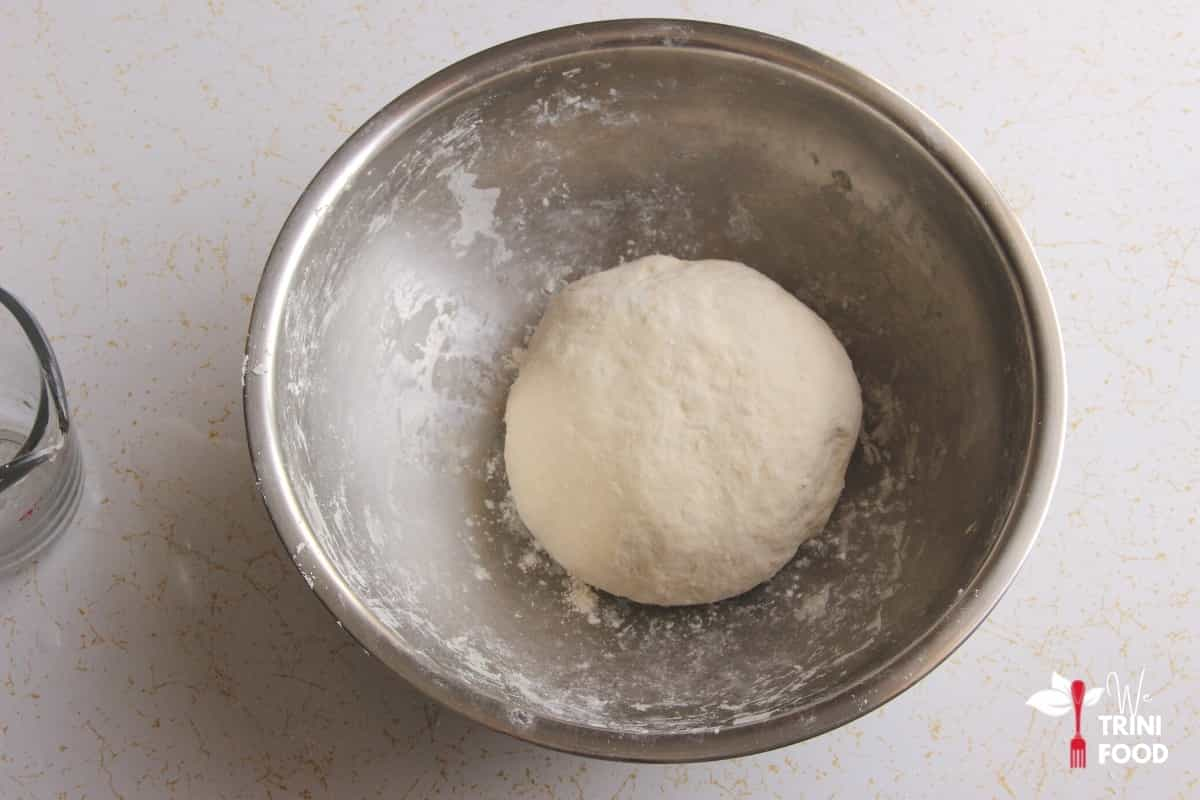
- Use the knuckles and base of the palm to work on the dough until it becomes smooth.
- Cover and allow to rest for 15 minutes.
- Place the cast iron tawa on medium heat to heat up for 10 minutes (5 minutes after covering the dough).
- After the 15 minute rest time, remove the cover.
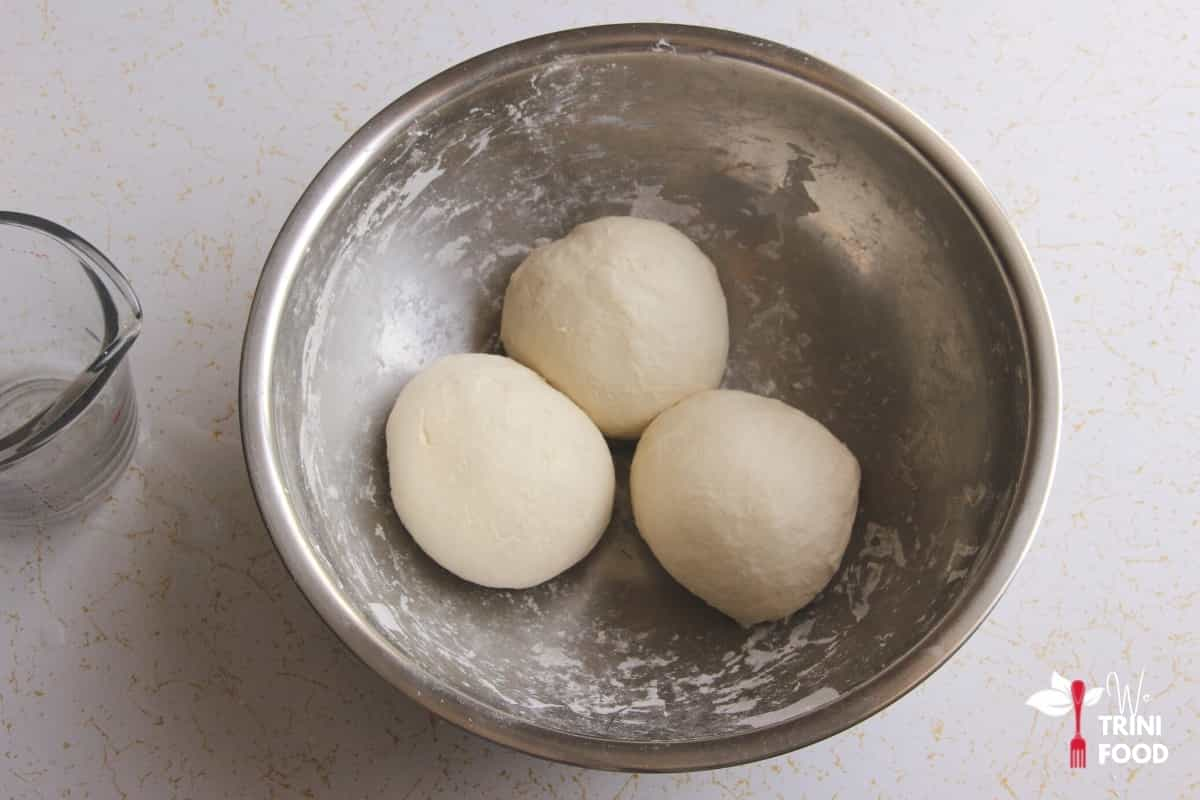
- Divide the dough into 3 dough balls.
- Apply liberal amounts of flour to a flat surface (chowki) and to one dough ball.
- Press down the dough ball onto the floured surface.
- Flip over and roll with a rolling pin.
- Flip again and continue rolling to form a circular roti with a thickness of 3 millimeters or so.
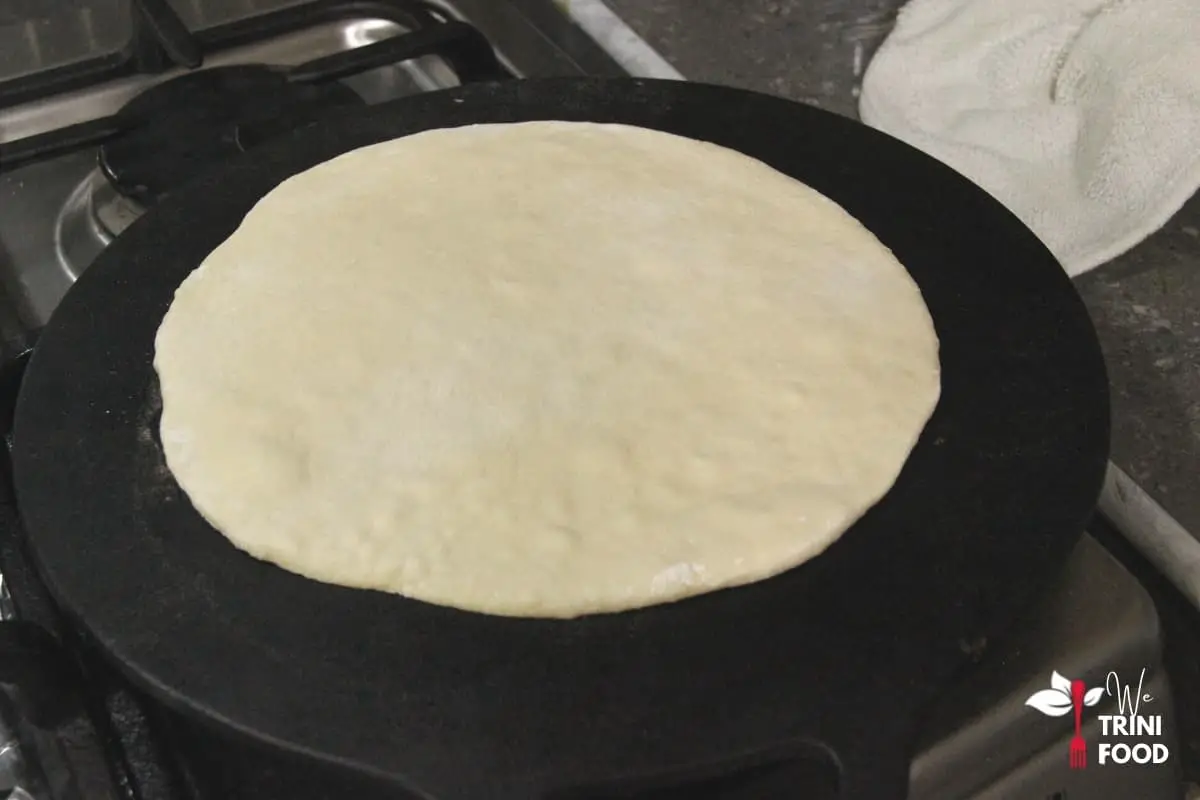
- Lift off the floured surface and place on the preheated tawa.
- After 10 to 15 seconds, flip the roti on the tawa.
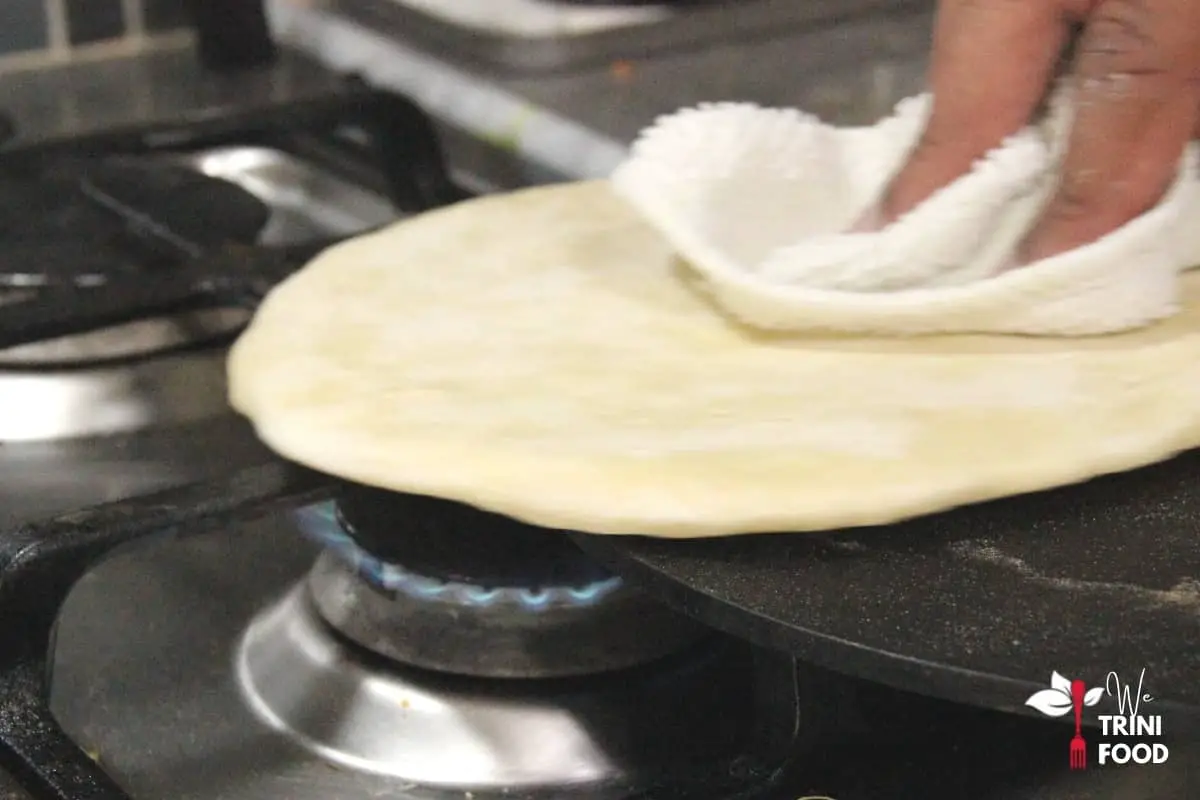
- Using a cloth, rotate the roti on the tawa to ensure even heating.
- After another 30 seconds to one minute, flip the roti over again.
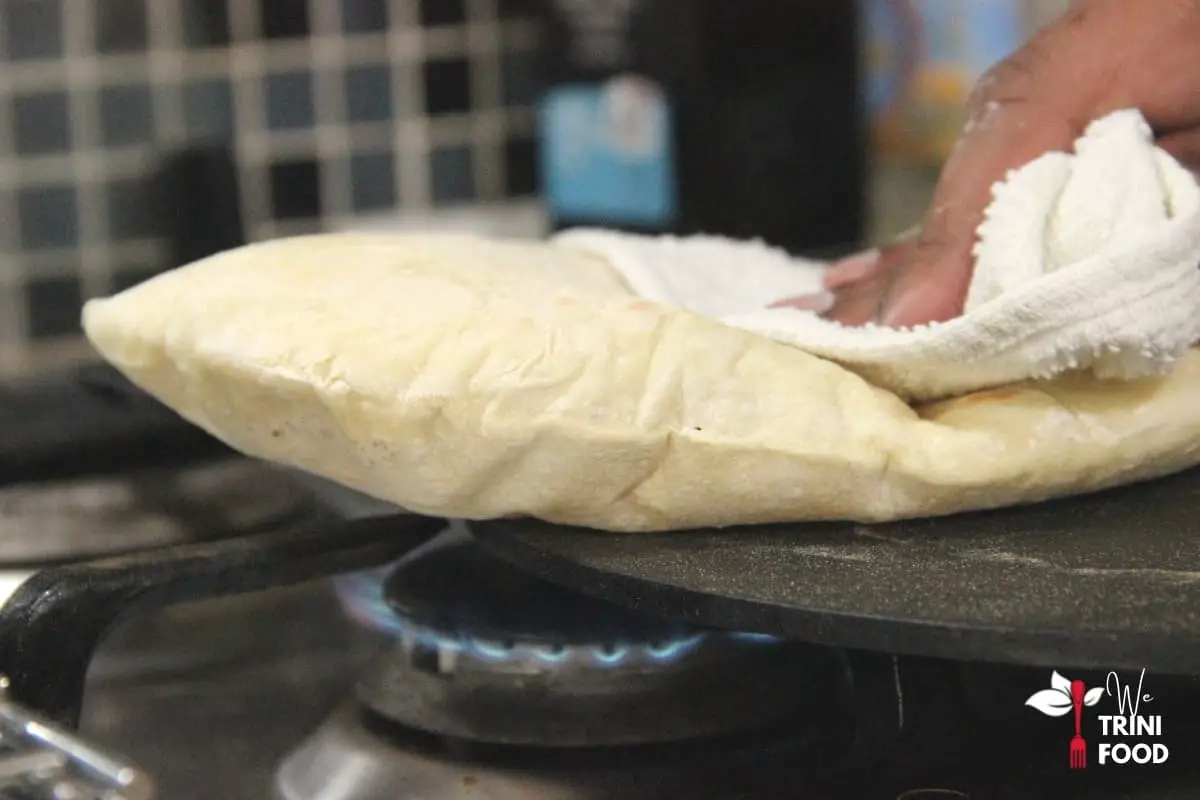
- The roti should begin to swell.
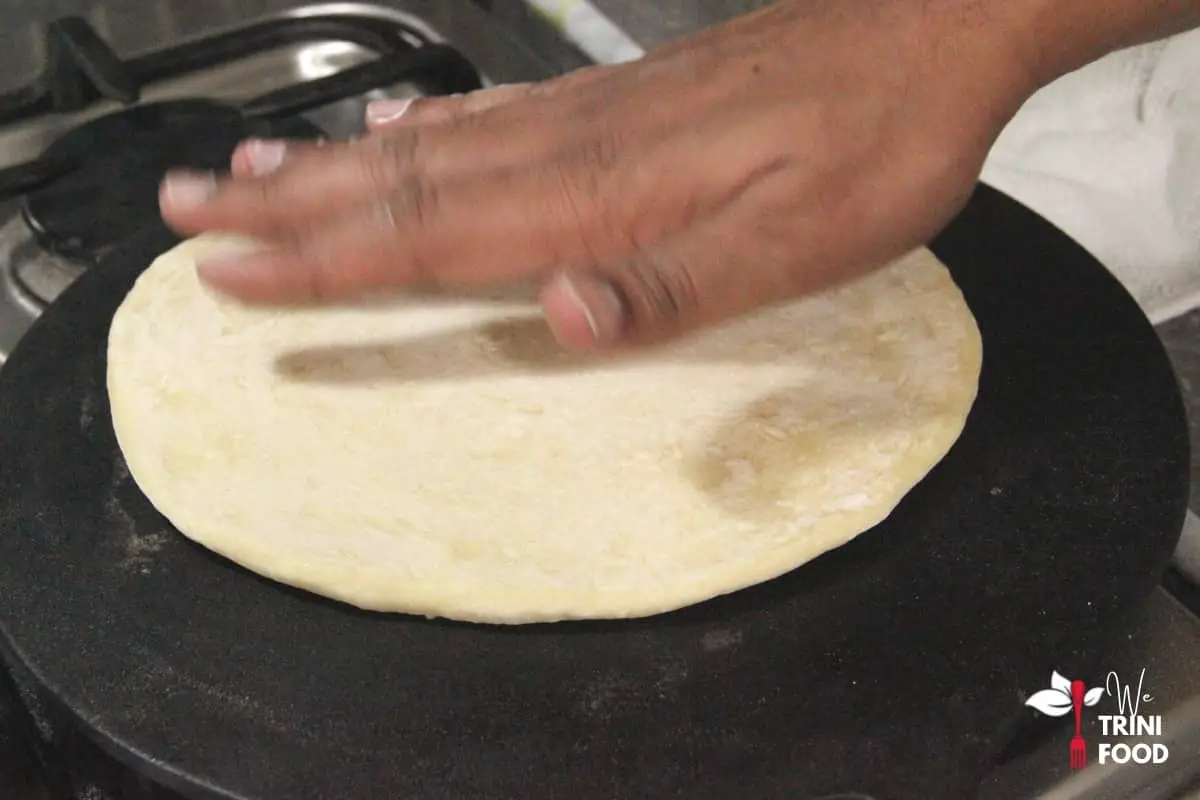
- Gently push on the swollen parts to force the steam to spread throughout the roti.
- If the roti hasn't swollen, pull the tawa slightly off the stove to expose the roti to the flames. Rotate the roti quickly so it does not burn in the flames.
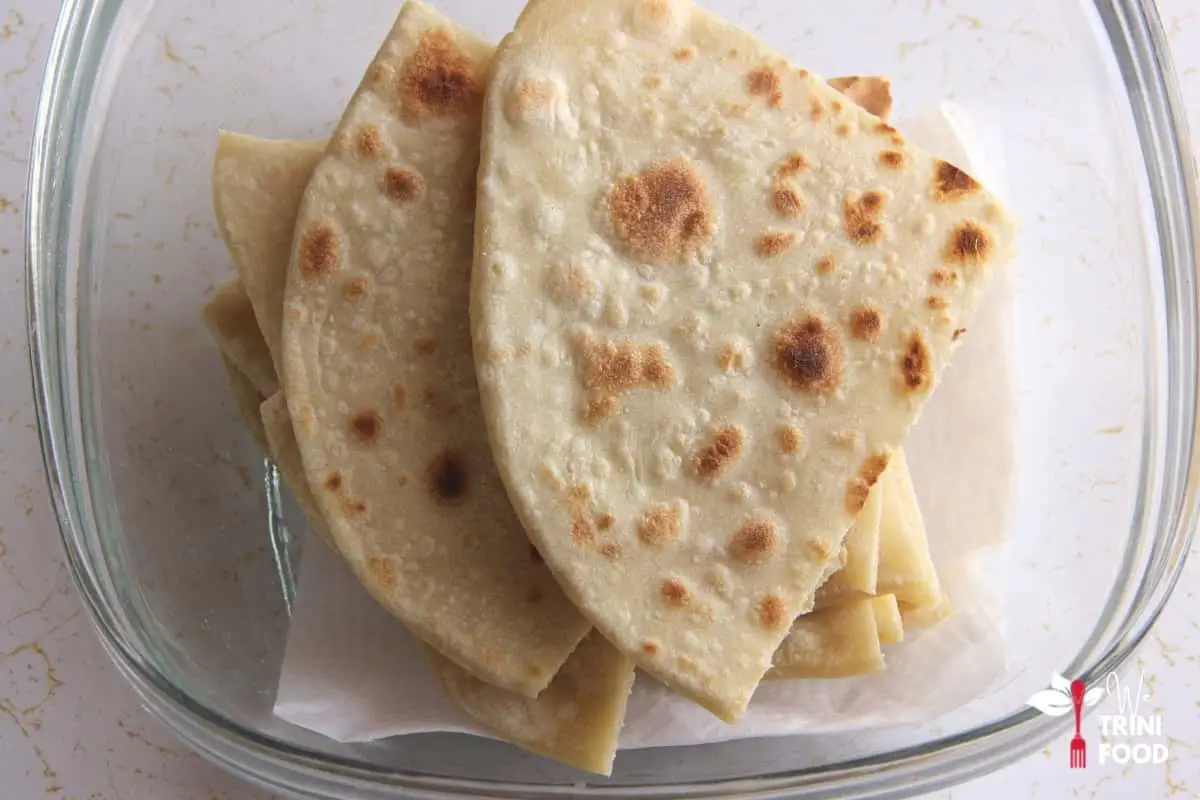
- Ensure the roti has small brown spots on both sides.
- Remove from the heat.
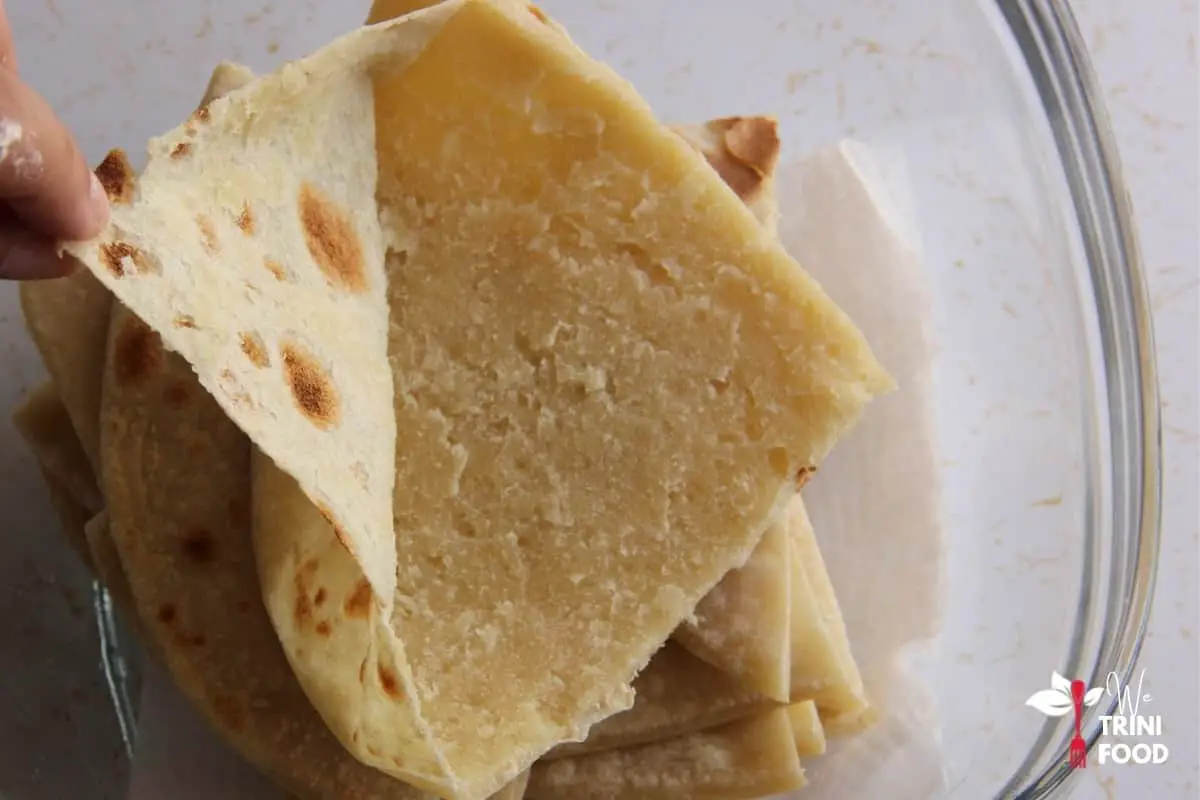
- Cut into quarters.
- Place in an airtight container.
- Cover tightly to trap the steam (the key to soft roti).
- Continue by rolling out the remaining dough balls.
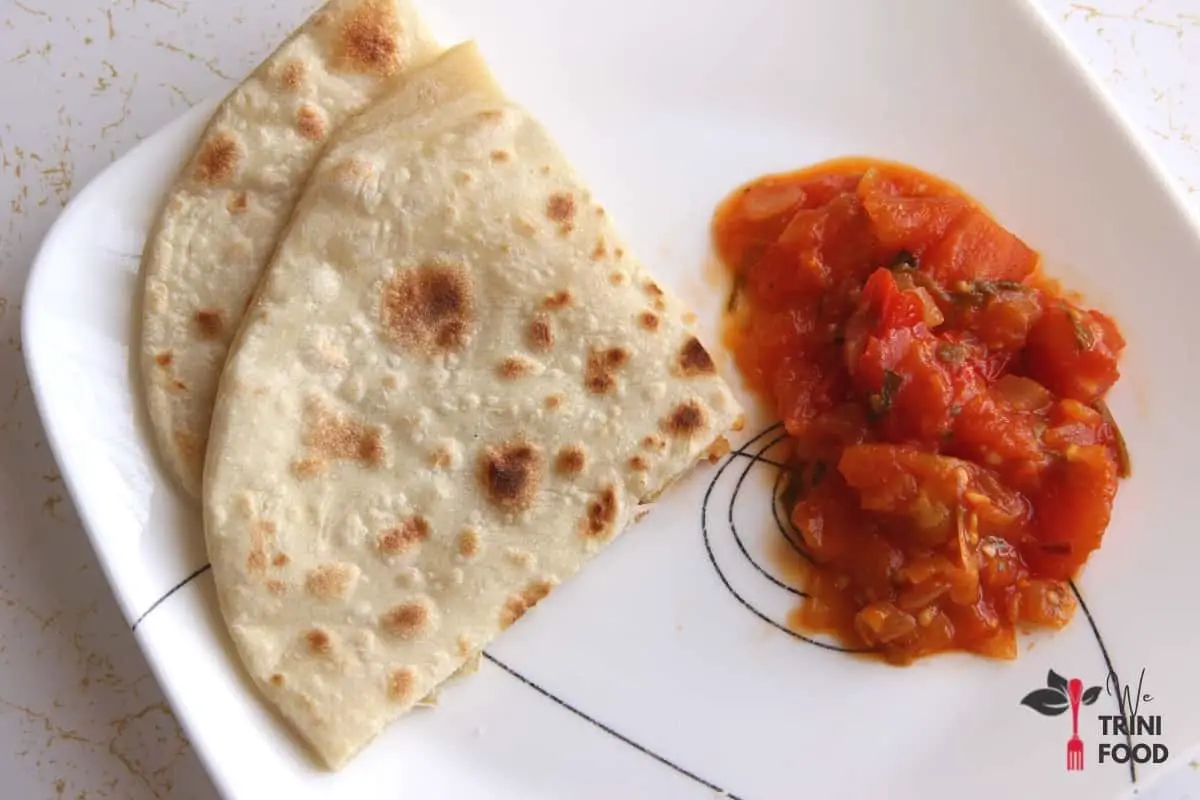
- Serve the roti quarters hot with your favorite sides.
That’s my sada roti recipe as promised. Now let me get into everything else you should know about sada roti plus all my troubleshooting tips.
What is sada roti
Sada roti is a type of Indian flatbread that is similar to chapatis. It is most often made with all purpose flour, baking powder, salt, water and sometimes butter. Since its raising agent is baking powder, and not yeast, it is classified as an unleavened bread.
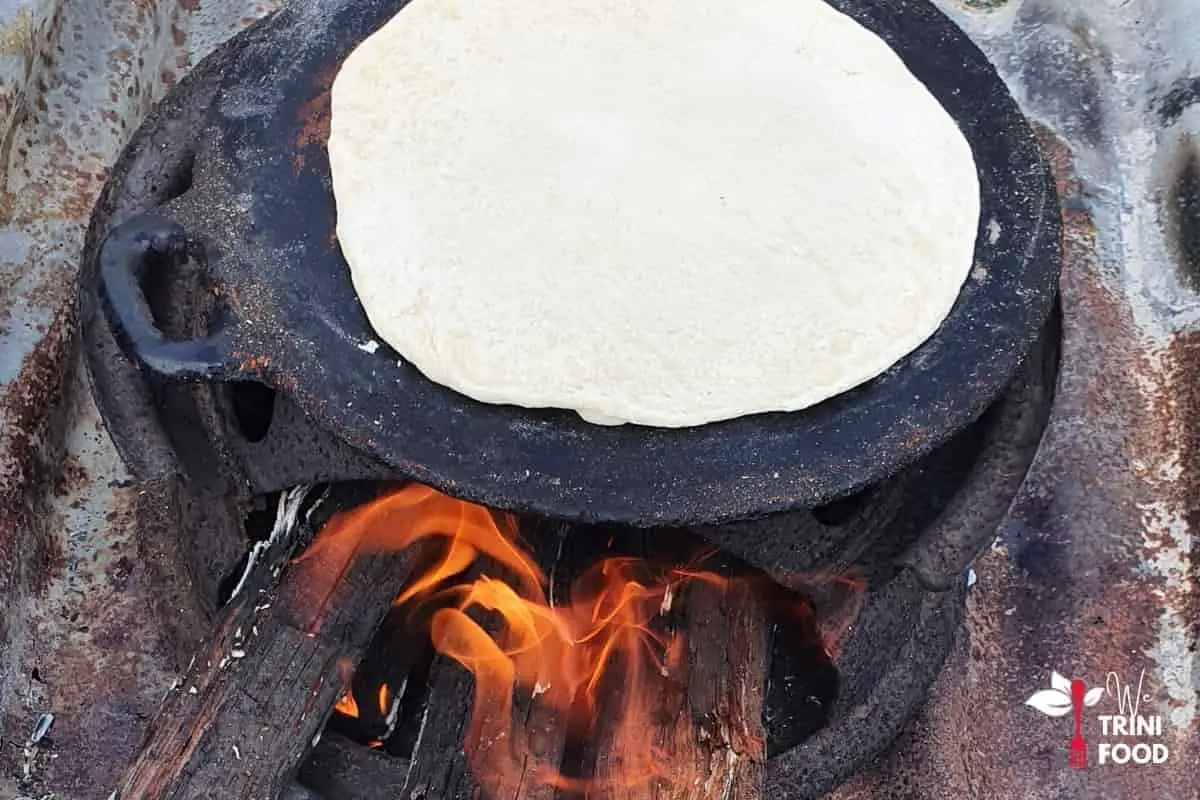
Sada roti is made by rolling out the dough and cooking it on a flat cast iron pan called a tawa. It is also cooked over wood burning mud stoves called chulhas but this is rarely done in Trinidad and Tobago today.
I must say roti made in a chulha tastes better! It has a slightly smoky taste that goes really well with chokas made with fire roasted veggies. Here’s a look at my hubby’s roti on a makeshift metal chulha (not the best photo quality though)…
But for a look at the more traditional way to make sada roti, check out Shanti’s Youtube video:
What are the ingredients for sada roti
To make sada roti, you will need:
- all purpose flour: The flour is important. Check the package ingredients list. If the flour you are using already contains baking powder (like self rising flour), you don’t have to add it, meaning you can make roti with just flour, salt and water. But, if the flour does not include baking powder, it must be added for the roti to swell.
- baking powder: You can use aluminum free baking powder in this recipe. I use Bob’s Red Mill baking powder (you can get it on Amazon here).
- salt
- water
Optional ingredients can include:
- butter: Adding butter creates a softer roti that reheats better.
What do you need to make sada roti
In terms of equipment to make sada roti, you’ll need:
- rolling pin: to roll the dough into a thin, circular flatbread
- tawa or flat cast iron pan: this is the traditional Indian cookware used to make roti. You can find tawas on Amazon if you don’t have one. Or you can use a large cast iron griddle or pot. I’ve also seen some aunties turn their large cast iron saucepans upside down and use the bottom of the pans as the tawa.
How to make sada roti
Here’s a step-by-step guide on how to make sada roti.
Knead the dough
Step 1: The first step is to mix all the dry ingredients together. You want the baking powder to be fully distributed within the dough. Next, make a small well in the center.
Step 2: Pour half of the water into the well and use your hands in a circular motion to mix. If, for some reason you cannot mix the dough by hand (arthritis, cuts, etc), you can use a cake mixer with the dough attachment (I’ve used my KitchenAid mixer before). A food processor also works (the Ninja Kitchen System is what I’ve used). Or a blender will do.
Step 3: After the water has been incorporated, continue adding water a little at a time until a soft dough forms. Keep rubbing the sides of the bowl to pull all the dry flour into the dough. No wasting here.
Step 4: As the dough forms, you can use your knuckles and punch down the dough. The base of your palm (or heel of your hand as my mother calls it) can also be used to knead the dough. Water plus punching and kneading activates the gluten in the flour and makes the dough smooth and soft.
Leave the dough to rest
Step 5: Once the dough is soft, smooth and non-sticky, dust the bottom and top with some dry flour. Cover with a tea cloth and leave the dough to rest for 15 minutes. This will make the gluten more stretchy so the dough will be even softer and smoother.
If you are running short on time, you can punch and knead the dough for a few minutes more than before and use the dough right away to make the roti. But, I recommend resting the dough.
Preheat tawa
Step 6: While the dough is resting, place the tawa on medium heat and leave to heat up for about ten minutes or so. The cast iron must be hot before adding the roti. If it is not hot enough, the roti may not swell, so give it some time. If it is too hot, it will leave burn spots on the roti which may affect swelling; if that happens, reduce the heat.
Divide the dough
Step 7: While the tawa is preheating and after the resting period, it is time to divide the dough into three. You don’t want to fold the dough over too much. Just roll on a flat, lightly floured surface to shape the dough. Cover the dough balls while working on one.
Roll out the roti
Step 8: Dust flour liberally on a flat surface like a chowki or your counter top. Dust flour on the dough ball as well. Flatten the dough ball using your fingers (as Shanti did in the video above) or place the dough ball down on the surface and flatten there. Doing this helps to keep that round shape of the roti.
Step 9: Next, roll the dough a couple times, flip over and turn the dough so the longest part is now parallel to the rolling pin. Roll again. Move the rolling pin to the top left, then top right, then bottom left and bottom right to make sure the roti (including the edges) is uniform in its thinness and is circular in shape. You can also flip the roti over and continue rolling. The dough thickness should be around 3 millimeters.
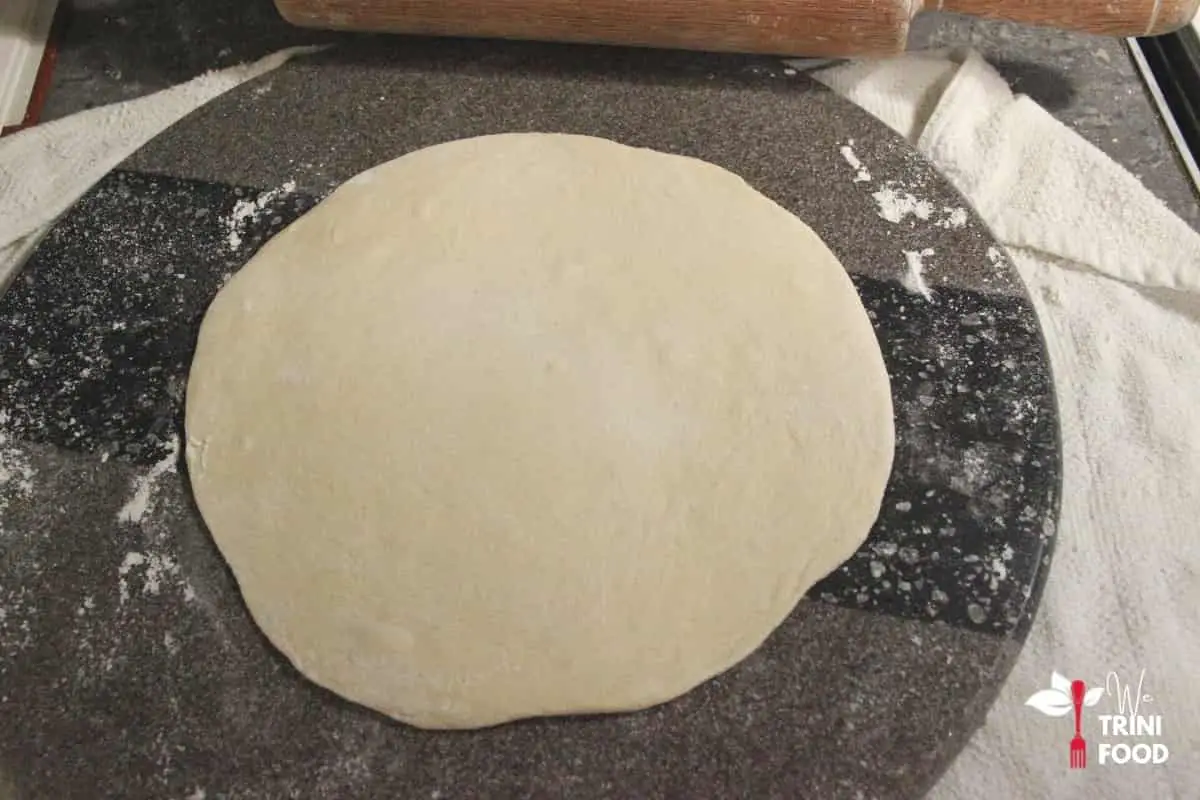
If at any point, the roti sticks to the surface or rolling pin, spread a little loose flour on the area and continue rolling.
Cook the roti
Step 10: When it is all rolled out, lift the roti up and place on the tawa. Smooth out any raised areas since it should lay flat on the hot cast iron tawa. After a couple seconds, the dough will start to change color and darken. Small bubbles will also form.
Step 11: When the color change happens (about 10 to 15 seconds later), carefully flip the roti over. After five to ten seconds, spin the roti (use a cloth, we call it a sapee). Continue spinning intermittently. Pockets of swelling with start forming at this point. Continue spinning to distribute the heat. Use the cloth to gently push on the swollen areas to force the gas/steam to move and spread throughout the whole roti.
Step 12: Flip the roti over to ensure there is even browning on both sides. Once it is fully swollen, remove from the tawa. If the roti is not swelling, pull the tawa slightly off the stove to expose the flame. Push the edges of the roti towards the flame. This direct heat will cause the gas/steam to form faster and so the roti will start swelling. Rotate or spin the roti while it is over the edge to ensure even heating. This is called sakaying the roti. Once fully swollen, push the tawa back in place and take the roti off.

Cut and cover roti
Step 13: Place the roti on a flat surface and carefully cut in half and then quarters. Be careful, the swollen roti is full of hot gas.
The gas form pockets in the roti. Pull open to ensure the pocket forms all the way to the edge of the roti quarter. If your roti did not swell all the way to the edge, pulling the pocket open at this point will be necessary.
Step 14: Next, place the roti quarters in an airtight container. Or place on a plate and cover with several tea towels. This traps the steam. The steaming process is key to having soft roti and keeping it soft for the entire day.
Turn the stove down slightly and roll out the remaining dough balls and cook.
Eat the sada roti with:
Serve the roti hot. But what to eat with sada roti?
Spread butter or cheese and enjoy as a simple pleasure. Or eat it alongside avocado, tomato choka, baigan choka, aloo choka, fry aloo, fry bodi, fry ochro, plantain and more.
Cooking tips for making roti
Before I get into all the tips, there are a few things you should know about gluten and baking powder.
Gluten
Gluten is a type of protein that develops when kneading wheat flour. Its compounds bond together and give the dough its shape and stretchiness. The bonds also trap gases within the dough that may be produced by yeast and acid-base reactions.
The more the dough is kneaded, the stronger the gluten bonds will be. But, if the dough is over-kneaded, too much gluten forms and the dough becomes tough, chewy and less stretchy. Resting the dough reduces this and improves the stretchiness.
Baking powder
Baking powder contains a dry acid (like tartaric acid (cream of tartar) or sodium aluminum sulfate) and a base (sodium bicarbonate (baking soda)). When baking powder mixes with water, it activates the acid and base. They usually react to form carbon dioxide gas and a salt. The gas gets trapped by the gluten in the dough.
Many baking powders today (double-acting powders) contain calcium acid phosphate. This acid releases some carbon dioxide when mixed with water but even more when it is heated.
The carbon dioxide gas and steam (from the water) are responsible for rotis swelling.
Understanding these principles can help troubleshoot your roti problems. Let’s get into a few now.
How to make sada roti soft
To make soft sada roti, the dough must not dry out while resting and the finished roti must be wrapped tightly to trap the steam and moisture.
Here are a few more pointers to achieve that:
1. Use the right amount of baking powder: The recommended baking powder to flour ratio is 1 teaspoon of baking powder for every 1 cup of flour used for making sada roti. More baking powder makes the dough drier and stiffer.
2. Knead a soft dough: After adding the water to the well in the center of the dry ingredients, don’t wait until all the water has fully incorporated and layers of dough form. Instead, continue adding water a little at a time while kneading to ensure the dough is not too stiff. Keep kneading with your knuckles and the base of your palm until the gluten forms and the dough becomes soft and smooth.
3. Use warm water when kneading: Using tap water will achieve the desired softness of the dough, but you can try using warm water too. The warmth speeds up the baking powder reactions.
4. Don’t overknead the dough: Kneading causes gluten to form and more kneading creates stronger, tougher and less stretchy gluten bonds. This will make your dough too stiff.
5. Use oil: Butter or oil brushed on the formed dough will lock in the moisture, prevent dryness, and keep the dough soft.
6. Cover dough with a warm, damp cloth: This is especially necessary if you are in a dry climate to prevent the dough from drying out.
7. Dust off the excess flour: Loose flour will also dry out the dough. So, be sure to dust off the excess loose flour before placing the roti on the hot tawa. Some people toss the roti from one palm to another to do this (much like you do for pizza).
8. Wrap the roti once it is done: After cutting the roti, the hot gas and steam will escape. Place the roti in an airtight container or wrap it in several kitchen towels to trap the moisture and keep the roti from drying out.
How to stop roti from cracking
A soft dough is important for preventing cracks in the roti as it swells. Use all of the tips mentioned above.
How to make sada roti swell
Remember double acting baking powder releases more carbon dioxide gas when it is heated. And water in the dough turns to steam. These two gases cause the roti to swell.
Here are a few more tips to make sure your roti swells:
1. Don’t over-knead the dough: Remember, over-kneading causes the gluten to be stronger and less stretchy. You need the gluten to be stretchy to allow the gases to develop and expand in the roti.
2. Allow the dough to rest: While resting, the gluten bonds reduce in strength and increase in stretchiness. So, leaving the dough to rest will improve the stretchiness you need for the roti to swell.
3. Preheat the cast iron: Heat is needed for the double action of the baking powder but cast iron takes time to heat up evenly. So, give it time.
4. Maintain the right heat: If the tawa is not hot enough, the roti will not immediately develop the excess gases needed to swell. The dough will also take longer to cook. If the tawa is too hot, it will leave burn spots in the roti which will allow the gases to escape before they can spread throughout the dough. Medium to medium-low heat on my second burner works for me.
5. Flip over quickly the first time: Do not leave the dough to develop small pockets of gas before flipping over. Instead, flip as soon as the dough darkens slightly and is no longer super soft to the touch.
6. Spin: The tawa may not be the same temperature throughout so spinning the roti will allow each section to experience the hotter areas.
7. Apply direct heat: If the roti is not swelling, expose it to the direct flame by pulling the tawa slightly off and pushing the roti towards the fire. Another approach is to move the tawa and place the entire roti directly onto the fire. This almost always works but be sure to use a large tongs and cloth to ensure you do not get burned.
8. Use a microwave: When all else fails and your dough is cooked but didn’t swell, place the roti in the microwave for 30 seconds to a minute. Microwaves work by energizing water molecules in food and turning them into steam, which is one of the gases responsible for the swelling action.
How to reheat roti
Wrap roti in a damp paper towel and microwave it for 15 to 30 seconds. The microwave will turn the water into steam and the paper towel will trap some of that steam and allow the roti to absorb the moisture. Remember, moisture is what makes roti soft.
Instead of a damp paper towel, you can also brush both sides of the roti with oil or butter and microwave for 15 to 30 seconds. This will also soften the roti.
Another way to reheat roti is to place it over steam (maybe in a steam basket). The steam will add that heat and moisture you need to soften the roti.
Do you have more tips and tricks for making sada roti? Share them with me in a comment below.
Pin this:
Ok seriously thanks for all these tips! I followed them and I can’t believe my roti came out great.
Tried it to the letter but am disappointed. Perhaps too much kneeding. Will try again.
There are so many variables: type of flour, rest time, temperature of the tawa, etc. Try it again, maybe add a little baking powder and hopefully it comes out great.